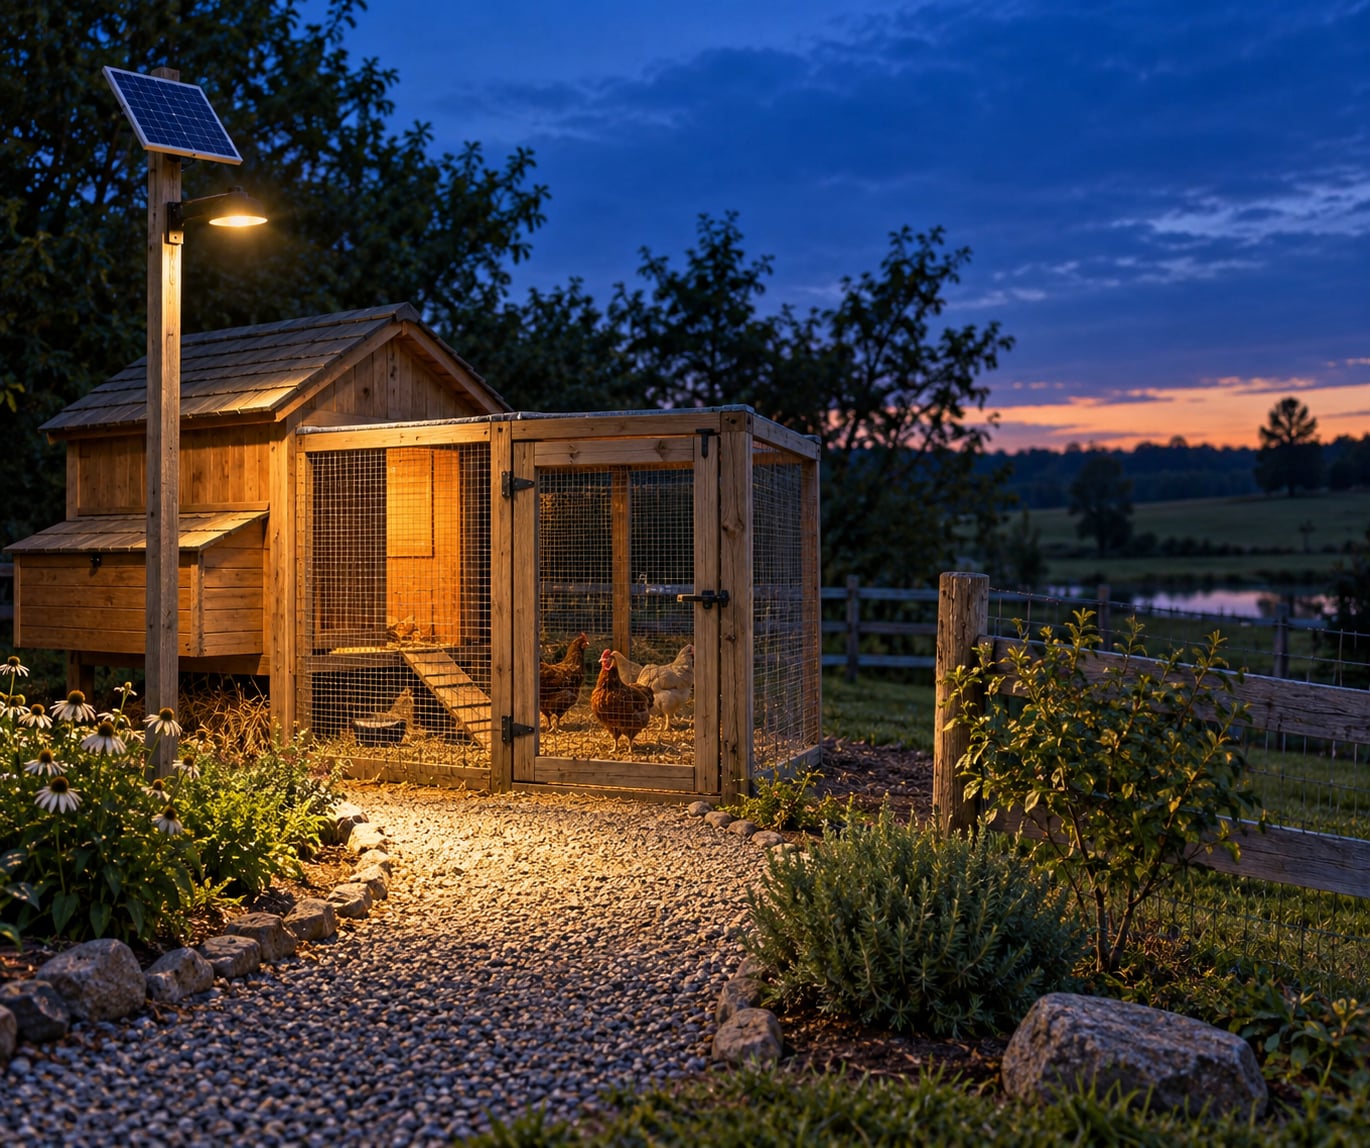
To light a chicken coop with solar, mount a panel above the birds, run a 12V DC cable down to a charge controller and deep cycle battery, then hang an LED fixture over the door or path on a dusk sensor or timer. Nothing touches the grid, so there is no cord across the yard to trip over or chew through.
It also fixes two things most keepers only notice after dark: the pop-hole door and the walkway are visible when you check on the flock, and the flock stays shut in because the door is lit and easy to find. Budget a Saturday afternoon and basic tool skills.
The piece most people get wrong is the relationship between panel and battery. An undersized panel is the reason solar coop lighting seems brilliant in July and abandoned by December.
Table of Contents
- What You Need
- Step-by-Step: Install Solar Lighting for a Chicken Coop
- Plan how to light a chicken coop with solar before you buy parts
- Mount the panel where it gets full sun
- Wire the panel, controller and battery in that order
- Mount the fixture and aim it down
- Set the switch on a timer, a sensor, or both
- Test the installation before you call it done
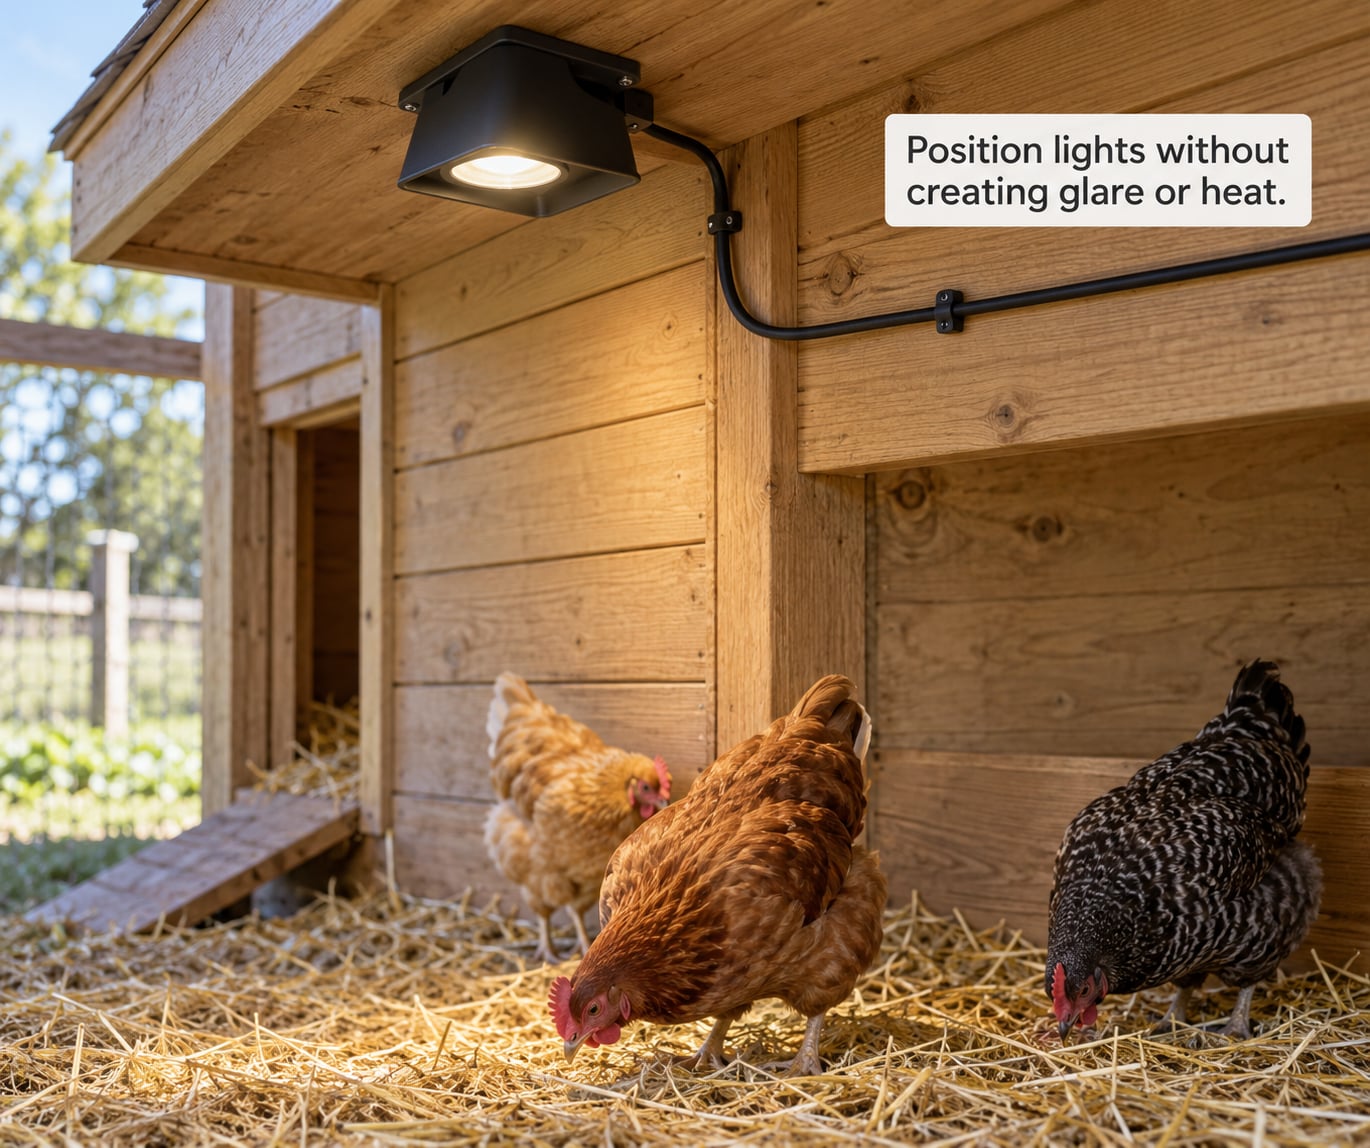
- Position lights without creating glare or heat
- Common Mistakes
- Frequently Asked Questions
- What type of solar light is best inside a chicken coop?
- Do chickens need light on all night in their coop?
- Will solar lights work on cloudy days?
- Is there a solar chicken coop light with a timer?
- Where should I mount the solar panel on a chicken coop?
- How do I keep solar wiring safe inside a chicken coop?
- Conclusion
What You Need
Start with the load, because it drives every other decision. Multiply the fixture wattage by the hours you actually want lit, and that figure is your daily watt-hour budget. Most coops land somewhere between 30 and 120 watt-hours a day.
- A solar panel sized to that budget. Divide daily watt-hours by the usable sun hours at your site, then add roughly half again for cloudy days.
- A charge controller matched to the panel. MPPT types harvest more power from a given panel than PWM types, which matters when the panel is small.
- A deep cycle battery such as AGM or gel. A deep cycle marine battery stores several nights of charge. A cheap motorcycle battery does not.
- A 12V DC LED fixture rated IP65 or better. That rating means dust tight and protected against water jets.
- A timer, a dusk-to-dawn photocell, or a fixture with both. Many units add a remote control, which saves more walking than anything else in the build.
- Mounting hardware, conduit or clip guards, and hand tools. Stainless fixings outdoors, plus a weatherproof enclosure for every junction.
Write down what you are lighting before you buy: the path, the door, the roost bars, or all three. That decision changes how many fixtures you need.
Step-by-Step: Install Solar Lighting for a Chicken Coop
Seven steps in this order. Each one can be tested before you start the next, so a mistake shows up where it is cheap to fix.
Plan how to light a chicken coop with solar before you buy parts
The best install plan is a night walk. Go from the house to the coop after dark and note every place you stumbled, every latch you could not feel, and every stretch where you slowed down to guess. That list is your lighting plan.
Most keepers end up with three zones: the walkway, the pop-hole door and its latch, and the roost bars. Light the path first, then the door, then the interior. Path and door light are safety and flock-security items; interior light is mostly convenience.
Do not plan to burn light all night. Chickens roost in darkness, and a lit roost bar keeps them restless. Two to five hours around the door and path covers the real need.
Mount the panel where it gets full sun
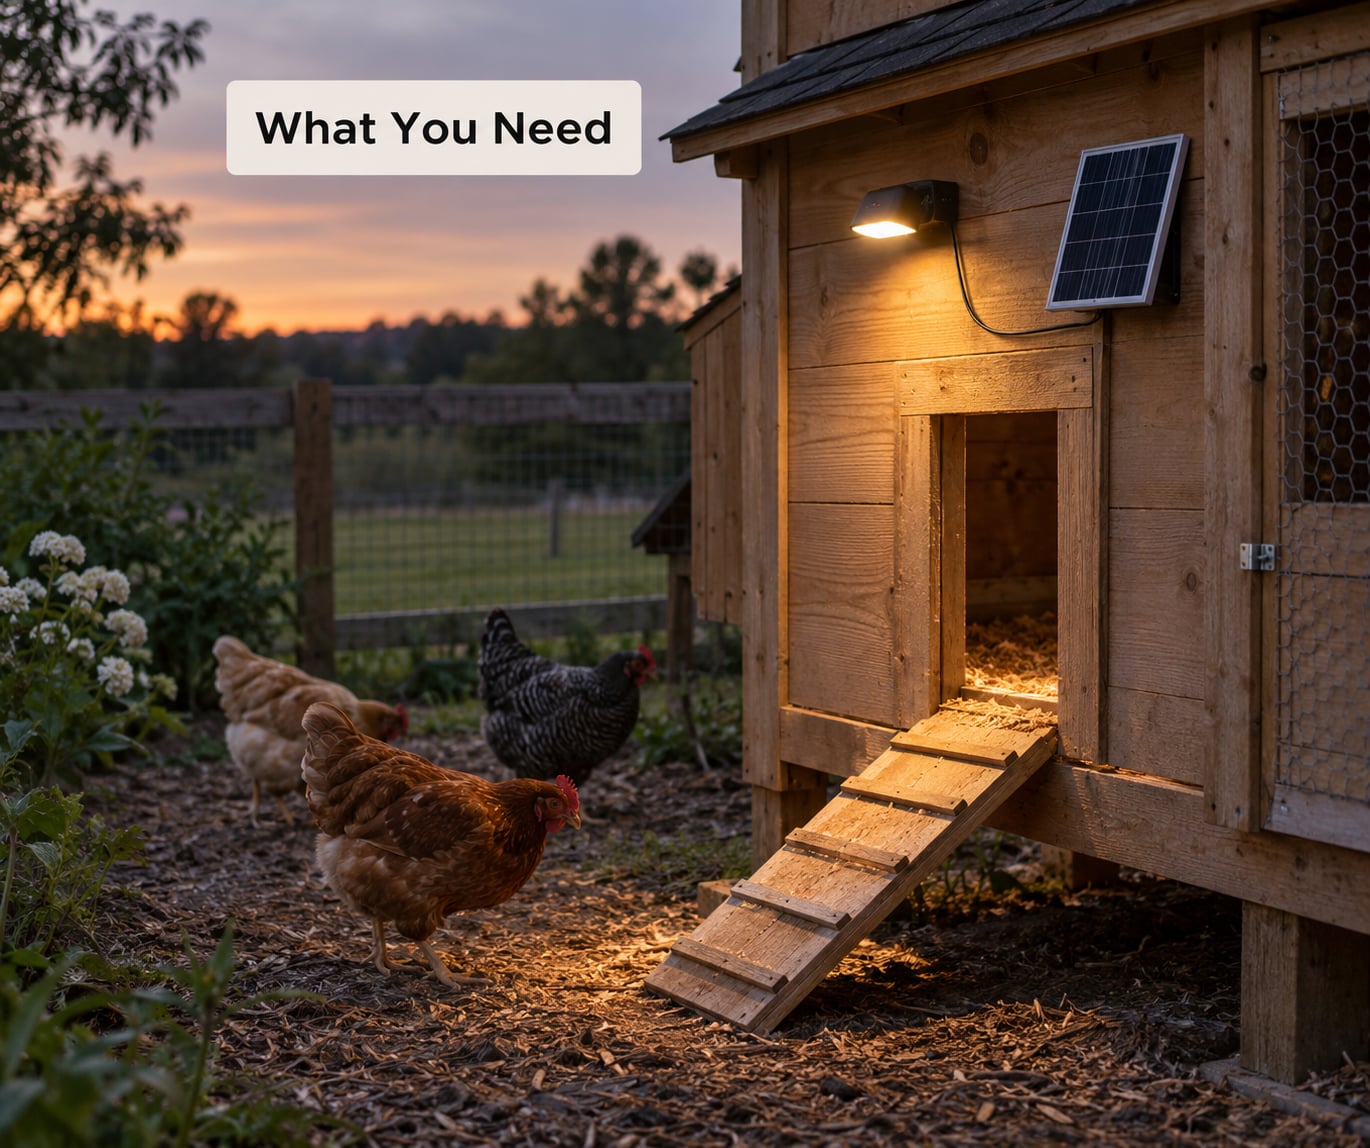
Put the panel above the birds, angled toward the sun, with no shade for six hours a day. A pole on the sunny side of the coop beats a bracket on a shaded wall every time. In the northern hemisphere, aim south; down south, aim north.
Check the site midmorning, at noon, and in late afternoon before you drill anything. If you cannot see the panel from the spot you want to light, the panel is in the wrong place.
Once it is up, watch for a shadow crossing the face at midday. A partial shade cut can take a third off the output without looking obvious.
Wire the panel, controller and battery in that order
Panel to controller, controller to battery, battery to fixture, with correct polarity at every joint. Add a fuse on the positive lead close to the battery and a disconnect switch so you can safely work on the system later.
Keep the whole chain at 12V DC. Converting up to 120V AC to run a bulb wastes energy at every stage, and cheap inverters draw power even when switched off. Nothing in a lighting-only build needs AC.
Run cable in conduit or inside a clip guard, and set every run high enough that hens cannot peck at it. Leave a drip loop where cable enters a housing so water runs off instead of into it.
Mount the fixture and aim it down
Fit the light above the door or over the path, out of pecking range, with the beam pointed down and away from the coop interior. Stainless screws, gasketed housings, no exposed junctions.
Shield the LED face if the fixture has no hood. A bare LED at eye level from the path startles the flock every time somebody walks past.
Set the switch on a timer, a sensor, or both
A dusk-to-dawn photocell turns the light on at dusk and off at dawn without you thinking about it. A digital timer lets you set hours precisely, which is what a winter laying schedule needs. Several fixtures include both plus a remote, and that combination is the most useful thing in the whole build.
If you can only pick one feature, take the unit with a photocell and a timer together. You will reach for the timer far more often than you expect.
Test the installation before you call it done
Give it two full days of sun before judging anything. On the first day, confirm the controller shows a charging state. On the second, cover the photocell with tape and confirm the light comes on. That ten-second test proves the sensor, controller and wiring all work together.
If the light runs only part of the night, the cause is nearly always panel size or shade, not the battery. Check for shade first, then redo the watt-hour math.
Position lights without creating glare or heat
Two problems hide in plain sight here: light aimed straight into the roosting area, and heat buildup where a fixture sits close to bedding.
Point every fixture down or across the path, never into the coop. Inside, a low-wattage bulb on a pull switch beats a bright overhead fixture, because hens register a dim glow without fully waking.
Keep lights clear of bedding, straw and dry leaves. Leave the coop vents alone too, because cutting ventilation to trap warmth causes respiratory trouble far more reliably than cold does.
Common Mistakes
Cheap all-in-one solar lights cause most of the disappointment. Keepers report a meaningful share failing within weeks, and the ones that do work often fade to about half their original capacity after a season. The built-in panel is simply too small to recover a bad winter charge.
Undersized panel. A 5W panel paired with a 20W fixture borrows from the battery every night and never catches up. A 20W fixture running six hours needs roughly 120 watt-hours a day, which points to a panel in the 40 to 60W range and a battery of 50 to 100 amp-hours.
Panel in shade. One bush, one fence, or a leaf pile against the winter side of the coop halves the output. Clear that before you blame the battery, and look again after the leaves fall.
Battery not charging properly. An undersized controller, a panel in poor sun, or a flooded battery sitting flat all winter will do this. Deep cycle AGM or gel types tolerate that abuse far better than an old automotive battery.
Exposed wiring. Hens peck cords, people step on them, and rodents chew. Run cable in conduit or clip guards, keep it off the floor, and use stainless fixings outdoors.
Lights aimed into the coop. Bright light at roost level makes birds restless and can trigger pecking problems. Dim it, aim it down, and put it on a schedule.
Leaving the light on all night. Mature layers benefit from 14 to 16 total hours of light, and the extra hours belong before dawn rather than after sunset. A dark night is what lets birds rest.
Weak weather sealing. IP44 only means splash resistant. IP65 is dust tight and jet protected, and that is the sensible minimum for anything mounted on the outside of a coop. Gasket every cable entry.
Two habits keep a good system running. Wipe the panel when the leaves do it, and run the photocell test once a season. Neither takes five minutes.
Frequently Asked Questions
What type of solar light is best inside a chicken coop?
A 12V DC LED fixture on a pull switch, or a low wattage bulb on a short timer, suits a coop interior better than an all in one solar light. Built in panels are small, so they lose charge quickly in winter and stop working through the part of the year you need them. Outside the coop, an IP65 wall light with a photocell works well.
Do chickens need light on all night in their coop?
No. Chickens roost in darkness, and a lit roost bar keeps them restless and can contribute to pecking problems. Light the walkway and door for two to five hours, and keep the roost area dark. If you extend daylight for winter laying, mature hens do best on roughly 14 to 16 total hours, with the extra hours before dawn rather than after sunset.
Will solar lights work on cloudy days?
A properly sized system runs through cloudy days, because the battery stores several nights of charge. A cheap all in one light usually will not. Size the panel and battery for the worst winter month, keep daily watt hours modest, and expect runtime to shorten after two or three grey days. Keep a headlamp by the back door regardless.
Is there a solar chicken coop light with a timer?
Yes. Plenty of fixtures have a built in timer, a photocell and a remote control, often in the same unit. A photocell switches the light on at dusk, a timer lets you set hours precisely, and the remote saves walking out to the coop in the dark. For winter laying schedules the timer is the feature that matters, since a photocell cannot hold a fixed number of hours.
Where should I mount the solar panel on a chicken coop?
Above the birds, angled toward the sun, with no shade for at least six hours a day. A pole on the sunny side of the coop is better than a bracket on a shaded wall, and a tilted panel beats one lying flat. Check the spot in summer and again after the leaves fall, because winter shade is what kills most first year installations.
How do I keep solar wiring safe inside a chicken coop?
Keep everything at 12V DC, run cable in conduit or inside clip guards, and keep every run off the floor where pecking birds and rodents can reach it. Twelve volts is safer than mains and avoids conversion losses. Fuse the positive lead near the battery and add a disconnect switch so you can safely work on the system.
Conclusion
Start with the walk. After dark, note every place you stumbled, every latch you could not feel, and every stretch of path where you slowed down. That list is your install plan, and collecting it takes twenty minutes.
Then match panel and battery capacity to the light you actually need, aim fixtures down and away from the roost, protect every cable and keep it off the ground, and wipe the panel when the leaves do. Do it once and solar coop lighting becomes a set and forget job that keeps working when the days get short.