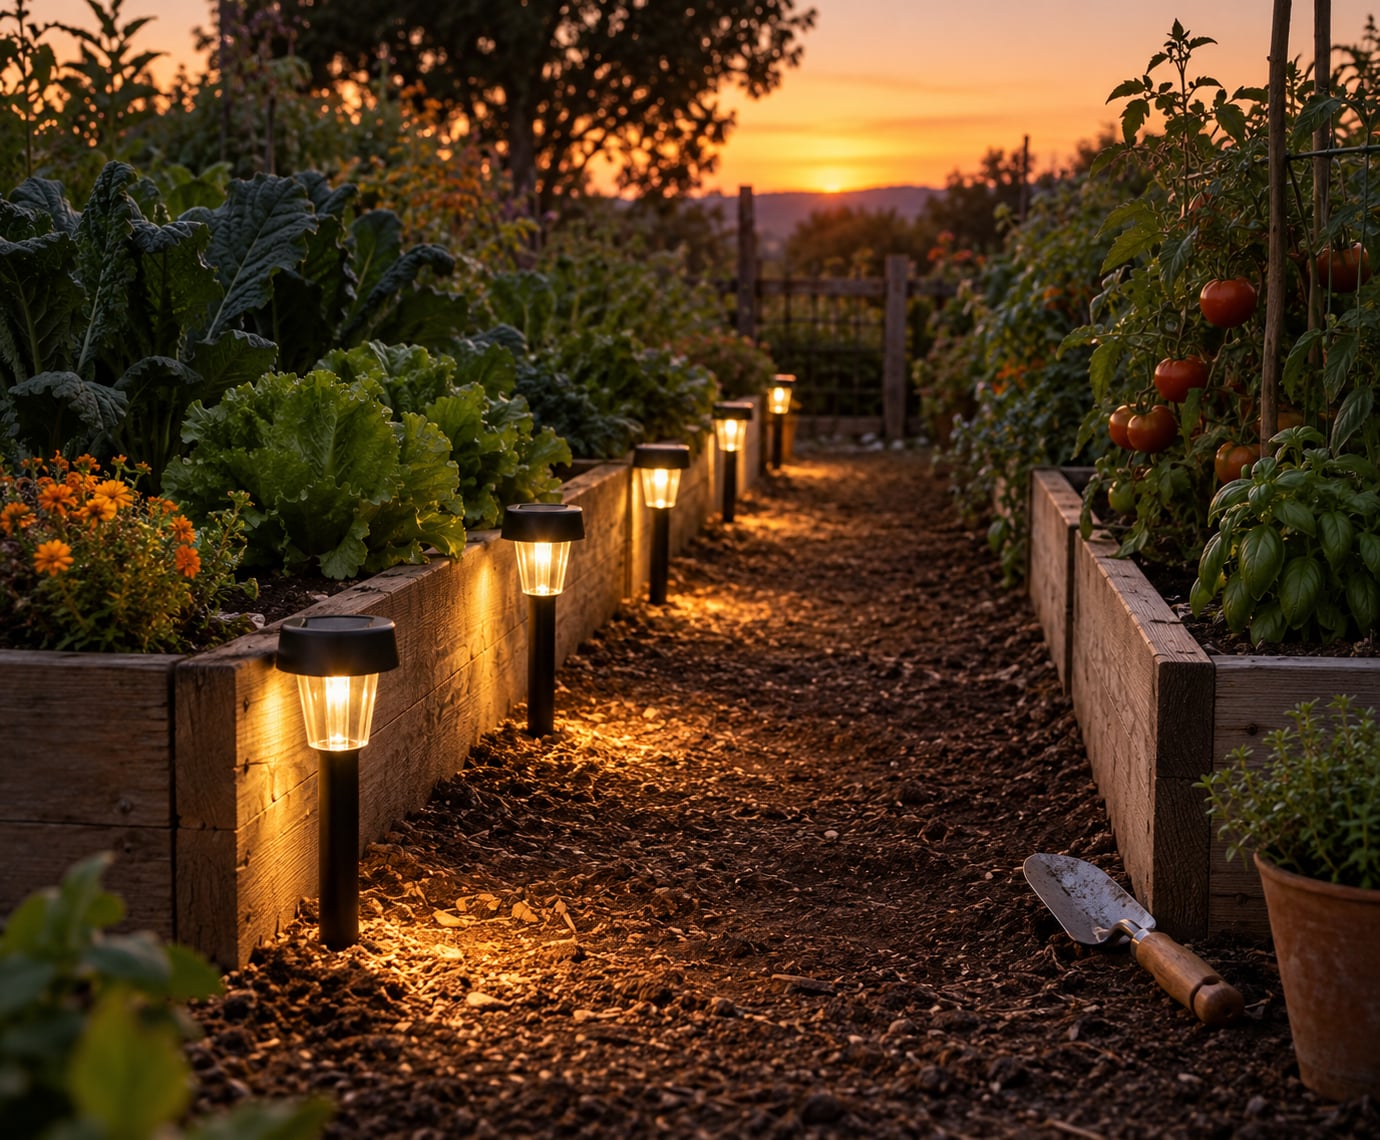
Lighting a vegetable garden path means setting fixtures along the edges of the walkway that runs between or around your beds, so the ground is easy to read after dark and nothing trips you on a root or a hose. Most gardeners do it with stake-style solar path lights, spaced 6 to 8 feet apart, with the panels in full sun.
The reason a vegetable path needs its own plan is that it is not a normal walkway. You carry a five-gallon watering can, a basket of tomatoes, a roll of drip line, and a hoe, and you move sideways between beds that are only 18 inches wide. A light on one side, at the right height, solves that. A light in the middle of the bed is something you will hit with a fork in June.
Here is the order I would use: walk the route after dark, mark what you cannot see, work out where the sun actually falls, choose the fixtures, stake them, then test at night and adjust. Most of the job is the marking, not the installation. Updated for 2026.
Table of Contents
- What You Need
- Step-by-Step: How to Light a Vegetable Garden Path
- How to light a vegetable garden path safely
- Choose lights for the route
- Mark the fixture positions
- Prepare each solar panel location
- Install and test the lights
- Common Mistakes
- Tips for a Brighter, More Efficient Path
- Frequently Asked Questions
- How far apart should solar path lights be?
- Do solar lights work in winter?
- Are solar grow lights necessary along a vegetable garden path?
- How many solar lights does a garden path need?
- Should you put solar lights in a vegetable garden?
- Conclusion
What You Need
Nothing on this list is exotic, and most people already own half of it. Gather everything before you buy lights, because the measurement you take in daylight decides how many fixtures you need.
- Tape measure — walk the full length of the path and write the number down, including turns.
- Chalk, landscape marking paint, or a mason’s line — for the layout. A garden hose laid along the path works as a quick guide if the path is straight.
- Hand trowel and a garden fork — for loosening compacted soil at each stake point.
- Watering can or hose — you water the soil before staking so the spike goes in without force.
- Rubber mallet — to seat stakes in hard soil without splitting the housing.
- Solar path lights, or low-voltage LED fixtures plus a transformer — count them after measuring, then add two spare.
- Optional motion or dusk sensors — dusk-to-dawn sensors come built into most solar lights; motion sensors are worth adding near a shed or gate.
- Work gloves, a small flashlight, and a step ladder — gloves matter more here than usual because the ground is damp and often thorny.
- A multimeter — only if you are running low-voltage cable, and only to test the transformer output.
Step-by-Step: How to Light a Vegetable Garden Path
Six steps cover most vegetable gardens, whether the path runs between two raised beds, around the perimeter of an in-ground plot, or both.
How to light a vegetable garden path safely
Start with the route itself, at night, before a single fixture goes in the ground. The hazards in a vegetable plot are specific: a board over soft soil, a raised-bed corner standing proud in the dark, a coiled hose, a low tomato branch that has grown over the edge since June, a gap where two beds meet.
Walk it twice. First at normal pace, then slowly, and mark every point where you slow down or step sideways. Use chalk or a spray marker on the path surface, and put a second mark on the bed frame or fence so you can find it again after a few weeks.
Pay attention to where light should not go. Aim fixtures down and slightly across the path so you see the ground rather than a glare straight into your eyes at eye level. Keep the beam away from neighbouring windows, and keep any fixture that would shine into a neighbour’s garden at 15 watts equivalent or less.
On the electrical side, keep it simple. Solar needs no wiring at all. Low-voltage cable is safe to lay yourself, but anything that ties into mains power belongs to a licensed electrician, and an extension cord running across a wet path is a hazard in itself.
Choose lights for the route
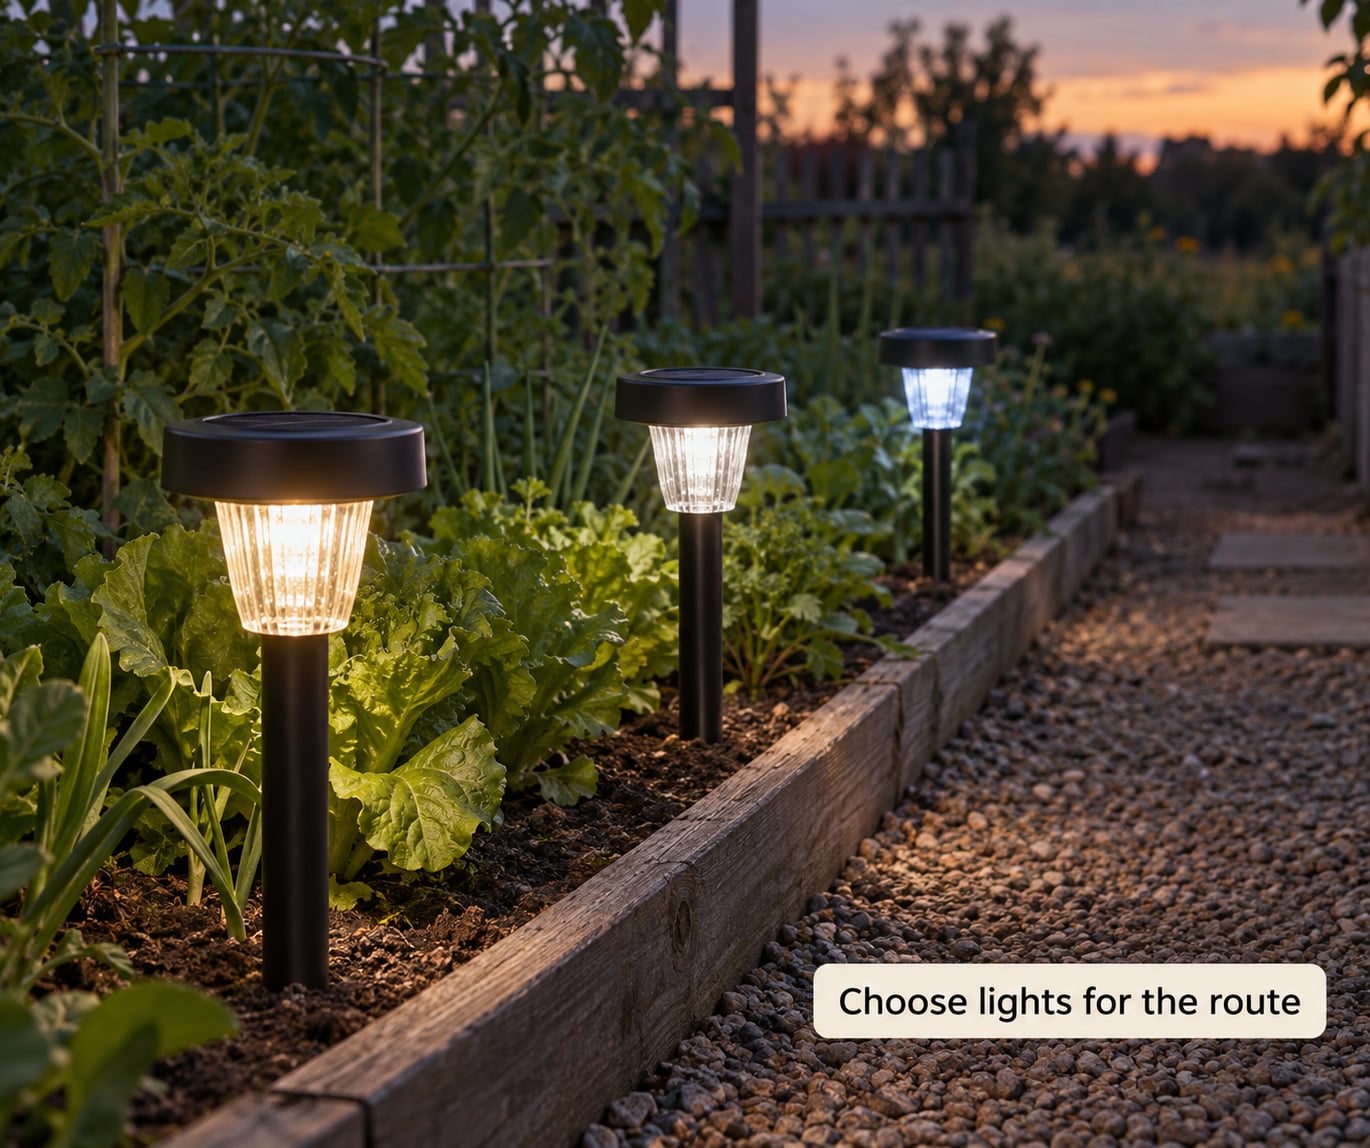
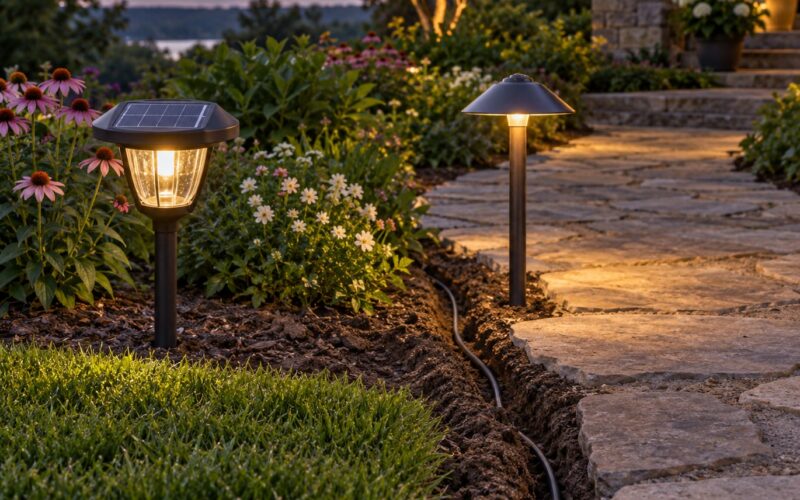
Stake-style solar path lights are the right default for a vegetable garden, because they need no trench, they move when you rotate your beds, and they light all night on a full charge. Low-voltage wired LED is brighter and more even, and it wins if you already have a nearby outlet and the path is permanent.
Colour temperature is a preference, not a performance difference. Warm white around 2700K looks softer and is easier on the eyes at close range; neutral white around 4000K shows trip hazards more clearly; cool white around 6000K is the brightest to look at but can be harsh over a long path. For a garden you walk through at dusk, warm or neutral is usually the nicer choice.
Read four things on the box. Lumens measure total light output, and for a path you rarely need more than 20 to 40 lumens per fixture — anything brighter tends to wash out your night vision and glare into the neighbours. The IP weather-resistance rating tells you how well the fixture handles rain and dust, so look for IP65 or higher. Panel size and battery capacity decide runtime, and they matter far more than brightness. Beam width tells you how far each pool of light reaches, which is how you calculate spacing. Anything claiming to be a full-spectrum grow light for a path is marketing; path lights are for walking, not for growing.
| Type | Power | Rough output | Runtime | Install effort | Best in a vegetable garden |
|---|---|---|---|---|---|
| Solar path light | Small panel, rechargeable battery | 20–40 lumens | All night on a full charge | Low: stake and place | Short or curving paths, movable beds, no trenching |
| Low-voltage wired LED | Transformer, buried cable | 100–300 lumens | As long as the power is on | Medium: trench, wire, connect | Long permanent paths near an outlet |
| LED string or stake lights | Battery pack or mains plug | Varies widely | Hours to a full night | Low: drape along a rail or fence | Raised-bed edges and pergolas rather than the ground |
| In-ground uplights | Usually low-voltage wired | 200+ lumens | As long as the power is on | High: dig, set, backfill | Accenting a shrub or feature at the path end |
Mark the fixture positions
Space path lights 6 to 8 feet apart along a straight run, and closer together — never closer than about 2 feet — wherever the path curves or changes level. Overlapping pools of light are what make a route readable; a gap between two bright circles is exactly where feet go wrong.
Mark the positions before you dig, not after. Lay the fixtures out along the path in their unopened boxes, or mark with chalk at each stake point, then walk the layout at night in your phone’s flashlight to see where the dark zones are. Adjust the marks while it is still easy to move chalk.
Two placement rules matter more in a vegetable garden than anywhere else. Keep fixtures on the path edge or just beyond it, never inside the bed footprint, so hoeing, weeding, mulching and harvesting stay clear. And keep them off the walking surface itself — a stake at ankle height in a narrow gap between beds is a shin hazard every single time.
For raised beds, run the line along the bed’s outer edge rather than between the boards, and stagger the fixtures on alternate sides if the path is wider than 3 feet. For a perimeter path, work around the corners and add an extra light at each gate, step and junction, because corners are where orientation is lost.
Prepare each solar panel location
Solar fixtures only work where they get direct sun, and this is the step people rush. Most path lights need 6 to 8 hours of direct sunlight to charge properly, so check the spot at midday, not in the morning, and check it again in the middle of summer when your crops are at their tallest and casting the longest shadows.
Clear vegetation from around each panel. A tomato plant that reaches the light in August will shade it every evening from then on. Cut back surrounding foliage and leave a little breathing room so air can move across the panel.
Turn the panel to face south or south-west in the Northern Hemisphere, and tilt it toward the sun rather than straight up. If you are in the southern half of the world, flip that direction.
Prepare the soil before staking. Water the spot thoroughly the day before, then work it with a hand fork the next morning so the spike enters without force. Never drive a stake in against compacted ground — that is how you bend a solar panel housing or crack a post. Work around roots, drip irrigation lines and buried cables, and use a hand trowel rather than a power tool anywhere close to them.
If your path is loose gravel or stone, staking is unreliable, so choose surface-mount or in-ground fixtures designed for that surface instead. Gardeners who cannot dig at all, including renters, can mount the same fixtures on the bed frame or a fence post a few inches above ground.
Install and test the lights
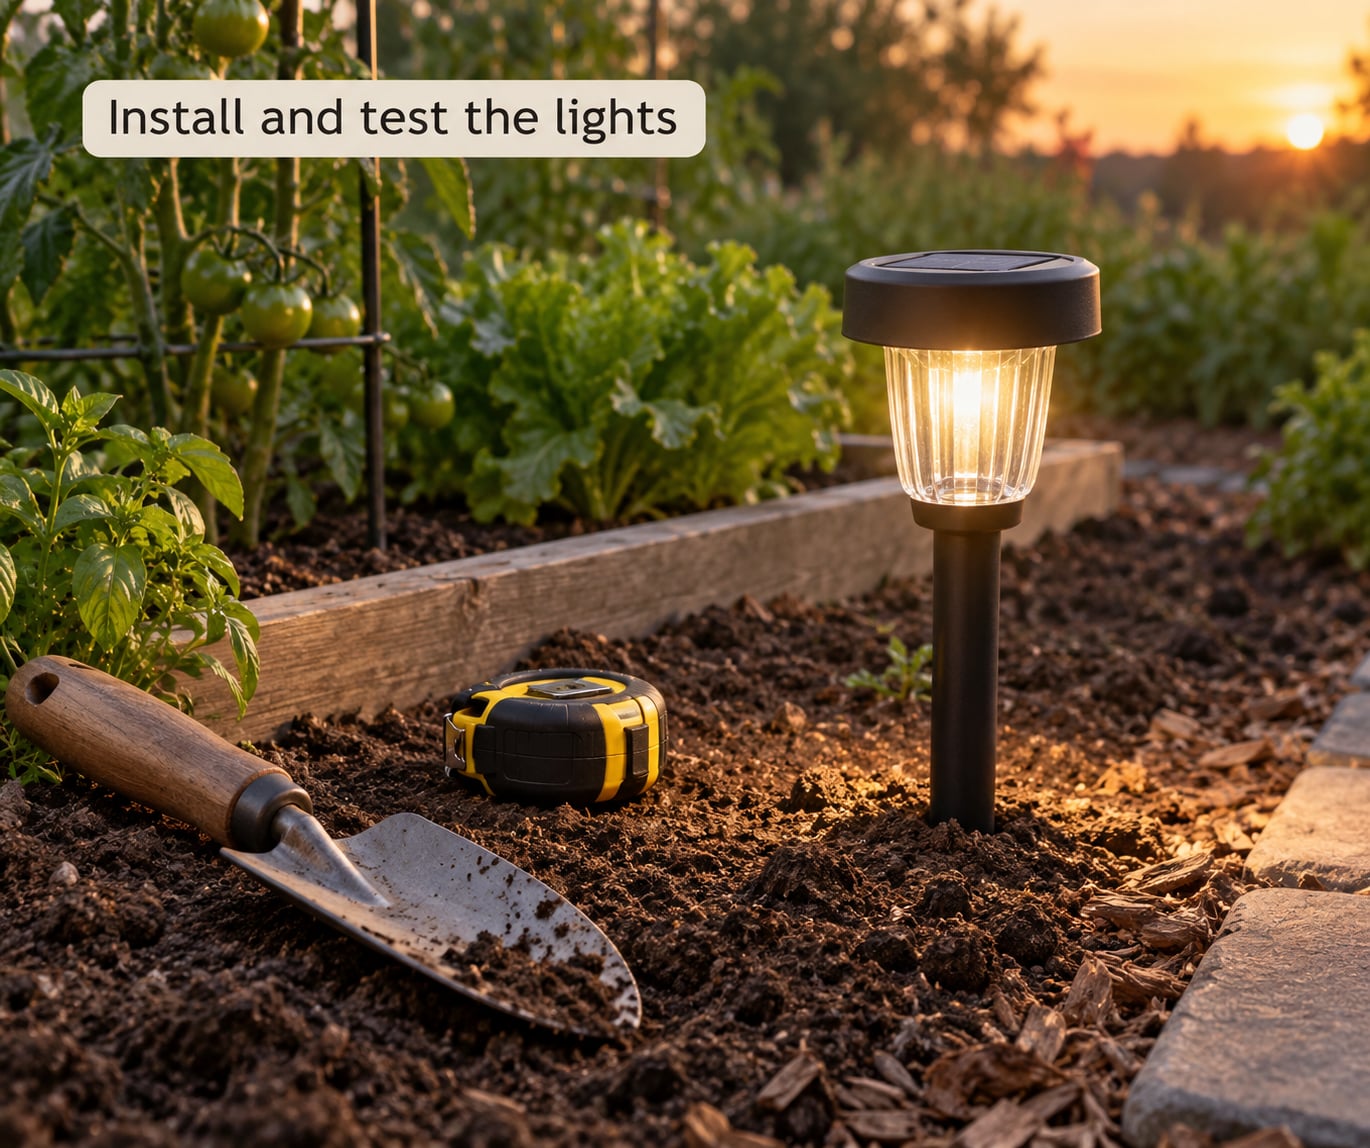
Before the final placement, put every solar fixture where it will get full sun and leave the switch in the on position for 12 to 14 hours of daylight, up to two days. New batteries usually arrive uncharged, and a light installed on a half charge will disappoint you for its first few nights.
Stake each light so the panel sits above surrounding foliage, and push until the stake is firm in the soil — a light that rocks in the bed after a storm is an annoyance you will think about every time you walk past. Seat stubborn stakes with a rubber mallet, never a metal one.
Check the sensor behaviour. Cover the panel with your hand and the light should come on within a few seconds; that is how you test the dusk sensor in daylight. Some models have a three-position switch, usually on, off and auto, so make sure it is on auto before you finish.
Test at night, on foot, at the speed you actually walk. Walk it with your eyes only and note where you cannot see the next few feet of ground; move or add a fixture there. Repeat the walk the following night, because shadows change when the moon comes up behind you.
If you chose low-voltage lighting, bury the cable at least 6 inches deep, and run it inside plastic tubing so a future fork or trowel does not cut through it. Keep the transformer above ground, dry and reachable, and use a ground-fault protected outlet on the supply side.
Common Mistakes
Almost every disappointing path lighting job comes down to one of these, and each has a simple fix.
- Spacing them too far apart. Individual pools of light look fine at dusk and leave black gaps at night. Halve the gap wherever the path curves.
- Putting panels in shade. A fence, a shed wall or a tall crop can cut charging hours badly. Relocate before you buy more lights, because that is usually the whole problem.
- Leaving the switch off or in the wrong mode. A fixture set to off after a daytime test never comes on at dusk. Check the switch position at each light.
- Forcing stakes into compacted bed soil. You will damage the fixture or the roots. Water the soil, loosen it with a hand fork, and seat the stake with a rubber mallet.
- Installing inside the bed footprint. Lights among the crops get caught by hoes, blocked by foliage and shaded by plants. Move them to the path edge.
- Overdoing brightness. Very bright fixtures cause glare, kill your dark adaptation and spill into neighbouring homes. 20 to 40 lumens per path light is enough; keep anything aimed at a neighbour’s property at 15 watts equivalent or less.
- Skipping the pre-charge. A light installed straight from the box will be dim for days. Give it 12 to 14 hours of full sun first.
- Letting foliage cover the panels. Re-check clearance at the start of each season, and trim back before the plants reach the fixtures.
- Running extension cords or touching mains wiring. Cords across a garden path collect water and get damaged by foot traffic. Use solar, or have a licensed electrician run the circuit.
Tips for a Brighter, More Efficient Path
A short seasonal routine keeps the route working for years. Clean the panels with water and a soft cloth a few times a season, especially after pollen, dust or leaf fall, since a dirty panel loses a noticeable share of its charging ability. Wipe the light sensor too, because grime on it causes lights that stay on all night or never switch on at all.
Rechargeable batteries in solar path lights usually last one to three seasons depending on how much sun they get. When a fixture starts glowing faintly or only lasting part of the night, replace the battery rather than the whole light. Most models use standard cells, and keeping one spare on hand saves a trip to the shop mid-season.
Buy a couple of spare fixtures up front and keep them somewhere dry. Matching spares make a mid-season fix a five-minute job, and mismatched lights are the reason a finished path looks patchy.
Use motion or dusk sensors thoughtfully. Motion-activated lights near an open gate or a shed cut runtime dramatically, but position them so they do not trigger on animals or on passing pedestrians, which is both irritating and a waste of battery.
Design for the seasons and for your neighbours. Re-angle panels as the sun path shifts, since trees that are bare in winter cast shadows the opposite way in summer. Aimed down and slightly across the path, most fixtures stay inside your own boundary and light the ground rather than the sky.
Two adjustments pay off in vegetable gardens specifically. For raised beds, run the line along the outer bed edge so you can hose the boards without wetting a fixture. For a plot you rotate every year, keep lights portable so you can move them when the layout changes, and reconsider positions each spring after the first beds are established.
Frequently Asked Questions
How far apart should solar path lights be?
Start with 6 to 8 feet between fixtures on a straight run, then adjust for the maker’s stated beam width. Closer spacing is needed wherever the path curves or changes level, and never closer than about 2 feet, which wastes light and creates harsh hot spots. Wider pools of light let you space fixtures further apart; bright wide-beam models can cover 10 feet or more.
Do solar lights work in winter?
They can, but expect shorter nights. Winter brings fewer daylight hours to charge with, snow sitting on panels, colder temperatures that reduce battery performance, and trees that are bare in one season and full in another, changing the shadows. Keep panels clear of snow and leaves, place fixtures where they get the most direct winter sun, and expect a few hours less runtime on a long December night.
Are solar grow lights necessary along a vegetable garden path?
No. Path lights illuminate walking routes, bed edges and trip hazards; they do not deliver the intensity or spectrum that growing plants need. Use dedicated full-spectrum grow lights on timers above seedlings and leafy crops if you want to extend the season. Running grow lights all night also disturbs plants, so keep them separate from the low-level path lighting.
How many solar lights does a garden path need?
Measure the path, divide its length by your starting spacing, then add one fixture for every turn, step, gate or junction. A 24-foot path with lights every 4 feet needs seven; the same path at 6-foot spacing needs five. Add one more for the corner of a raised bed and one at any access point such as a shed door or compost bin.
Should you put solar lights in a vegetable garden?
Yes, with one caveat: place them along the path edge, not inside the beds. Solar path lights need no wiring through growing rows, run all night on a full charge, and can be moved when you rotate your planting each year. The caveat is sunlight, since 6 to 8 hours of direct sun is needed for a full charge, and tall crops can shade panels late in the season.
Conclusion
First action: walk the path after dark and chalk-mark every place you slow down. Then lay out test lights at 4-foot intervals so the pools of light overlap, and only once the layout looks right do you stake the fixtures in the sunniest, edge-adjacent spots. That single evening of measuring will save you from a path full of dark gaps and lights stuck among your tomatoes.