The safest way to light a garden pond is to run low-voltage 12V DC LED fittings from a transformer plugged into a GFCI-protected outlet, keep the transformer and every connection above the waterline, and bury the low-voltage cable outside the basin. This guide covers how to light a garden pond safely from plan to dusk test, whether your lights are hard-wired or solar.
Water conducts, and a pond puts cable, connectors and hands in the same wet space. The realistic failure modes are not dramatic: a failed seal, a waterlogged joint, a transformer run too hard, a fitting that quietly corrodes. Each one ends the same way, with a dark pond or a trip to the doctor.
Safe pond lighting really covers four separate things, and this guide treats them as four. Electrical safety comes first. Fish and amphibian welfare come second, because koi have no eyelids and every beam pointed at open water reaches them. Equipment longevity is third, since submerged seals fail quietly. Maintenance is fourth, and it is the part most people skip until a light goes out mid-summer.
Budget a weekend for a single small pond. The physical work is straightforward; the parts where people get hurt are the wiring decisions, and those are the ones worth slowing down for.
If you already have solar garden lighting on hand, step 3 covers where panels and solar fixtures go. For mains-fed systems, a qualified electrician should handle anything beyond the plug-in transformer.
Table of Contents
- What You Need to Light a Garden Pond Safely
- Planning and measuring
- Lighting components
- Protective electrical equipment
- How to Light a Garden Pond Safely: Step by Step
- 1. Map the pond and plan how to light a garden pond safely
- 2. Check the electrical and water-safety requirements
- 3. Position the solar panels and lights
- 4. Route and connect the wiring
- 5. Secure the fixtures and remove trip hazards
- 6. Test the system at dusk and make adjustments
- Common Mistakes That Make Pond Lighting Unsafe
- Submerging a light that is not rated for immersion
- Leaving a connector where water can reach it
- Putting solar panels in shade
- Running cables across paths and mowing lines
- Over-lighting the water
- Assuming solar lighting is automatically safe
- Frequently Asked Questions
- Are solar lights safe to use in a garden pond?
- Can a solar light go underwater in a pond?
- Do I need an electrician to light a garden pond?
- What IP rating should outdoor pond lights have?
- Will lighting a pond at night harm fish and other wildlife?
- Conclusion
What You Need to Light a Garden Pond Safely
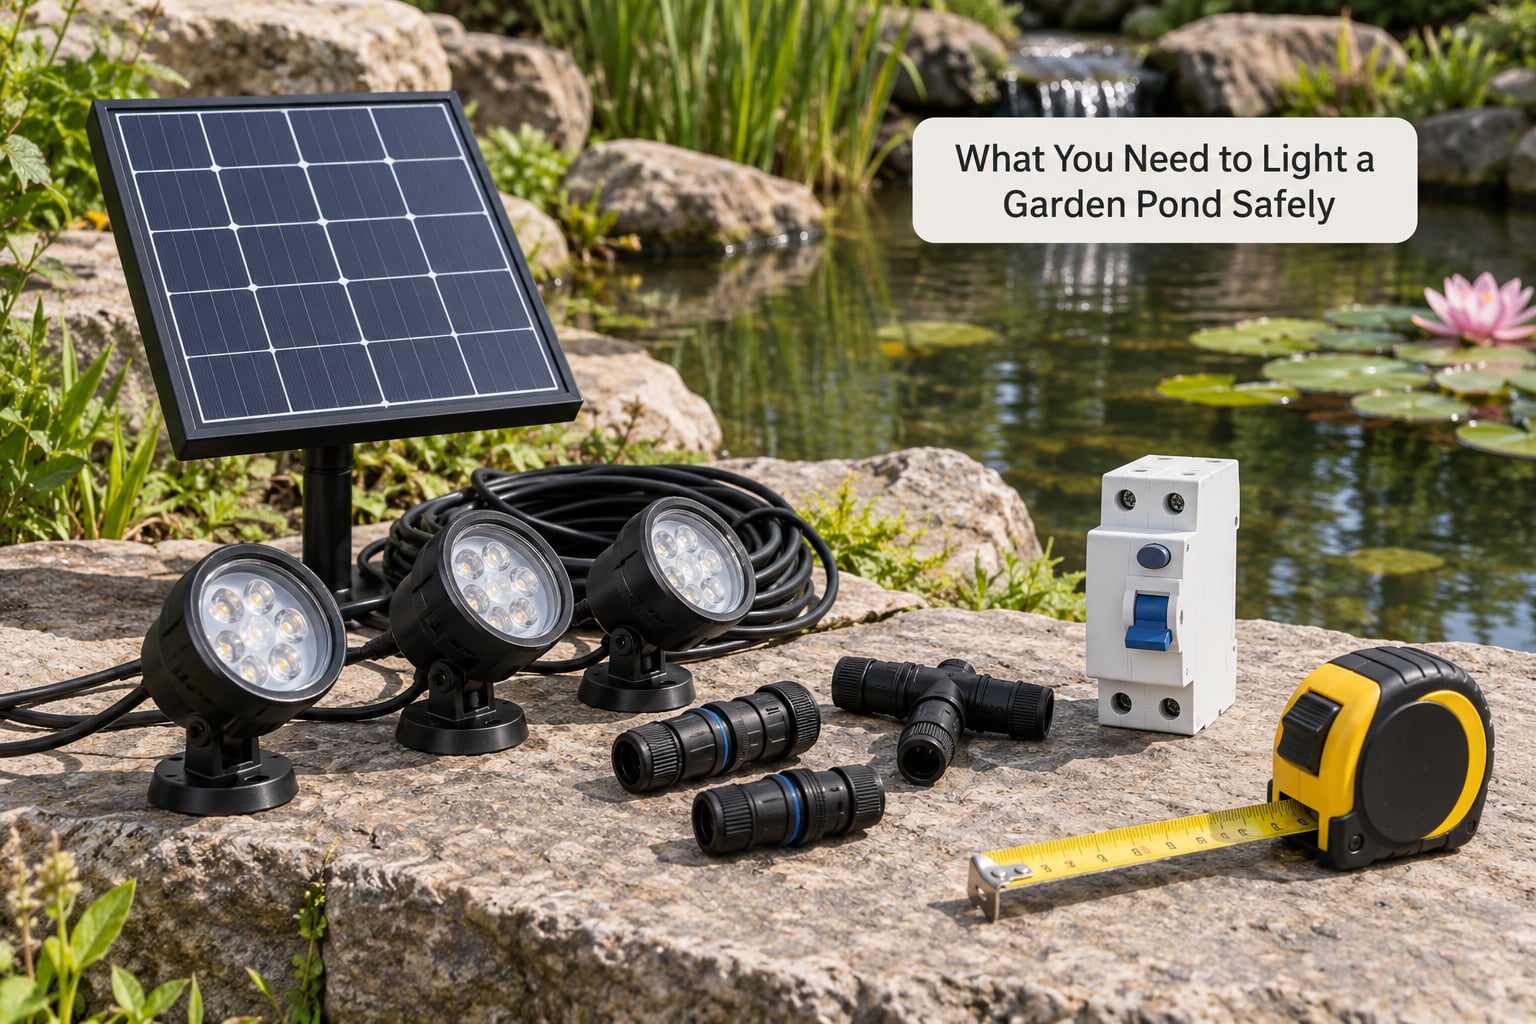
Most of what you need is cheap, and the expensive mistake is buying fixtures before deciding where they go. Work through this list first.
Planning and measuring
- A tape measure and a rough sketch of the pond, including the waterfall, stream runs and where people walk.
- A marker or pegs for setting out fixture positions in daylight before any cable is cut.
- A spade for the cable trench, plus a shallow trowel for lifting liner and edging carefully.
Lighting components
- Low-voltage 12V LED fittings, warm white around 2700K for a naturalistic pond.
- Fully sealed IP68 fixtures if any light is going under the water surface.
- Direct-burial low-voltage cable in the gauge your run length needs, plus enough slack for future fixture moves.
- A low-voltage lighting transformer, sized so your total load lands between 75% and 90% of its rated wattage.
Protective electrical equipment
- A GFCI-protected outlet in the US, or an RCD-protected spur in the UK, for the transformer.
- Gel-filled direct-burial wire nuts, or sealed junction boxes rated for the location.
- A residual-current device for testing the finished circuit before you energise it.
Submerged lights must be explicitly labelled for underwater use. A fitting described as weatherproof is not the same thing, and it is the single most common error in pond lighting installations.
How to Light a Garden Pond Safely: Step by Step
1. Map the pond and plan how to light a garden pond safely
Walk the pond edge in daylight and note four things: where people walk, where they sit, where the shallow shelves are, and where the pump, filter and cable already run. Those four observations decide your fixture positions faster than any design rule.
Mark the paths, stepping stones, deck edges and patio doors first. Those are the areas where darkness causes a genuine accident, so they get priority over the parts you most want to look at.
Then note what must not be disturbed. Pond liners, plant roots, the skimmer line and the waterfall pump all have cable-routing constraints, and cutting into liner is a repair job you do not want.
Aim beams at surfaces rather than into open water. Lighting the water itself looks like glare on camera and behaves like a spotlight to insects, frogs and fish. If you want the lit-pond effect, get it from fixtures aimed up at waterfalls and rock faces, where falling water breaks the beam up.
Success check: you have a marked-out position for every fixture, a route for the cable that crosses no path and cuts no liner, and nothing pointed straight across the water at head height.
2. Check the electrical and water-safety requirements
Low voltage is the whole safety argument. A transformer steps mains electricity down to 12V DC, and because the water-side circuit carries only 12V, the shock risk collapses even if a fitting is damaged.
Low voltage does not remove the code requirement, though. In the US, NEC Article 680 covers lighting circuits serving water features, and GFCI protection is expected on the supply. In the UK and Europe, the equivalent is IEC 60364-7-702 with RCD protection. Equpotential bonding of metallic parts around the water is part of the same picture.
There are three IP ratings you will meet, and they are not interchangeable.
| Rating | What it covers | Pond use |
|---|---|---|
| IP65 | Dust-tight, protected against water jets | Dry locations, under overhanging coping, garden edging |
| IP67 | Dust-tight, temporary immersion up to one metre | Occasional splash zones; not a permanent underwater fitting |
| IP68 | Dust-tight, continuous submersion beyond one metre | The only rating for a permanently submerged fixture |
The detail most guides skip: the entire wetted circuit must be rated, not just the light head. If a connector or a small junction box sits underwater and carries only IP65, you have a pond that is waiting to fail.
Success check: the transformer sits in a dry, ventilated, accessible location above your pond’s highest water line, plugged into GFCI or RCD protection, and every fixture going into the water is IP68 throughout.
3. Position the solar panels and lights
Solar panels need several hours of direct sun, which usually rules out anything under a tree canopy or against a north-facing wall. A panel that gets two hours on a good day will run your lights short every night, and short nights are when a pond looks abandoned.
Keep panels high enough that nobody brushes them while weeding, and off the ground so grass and splash do not creep over the panel face. Clean them a few times a season; dust on the glass is the main reason output drops.
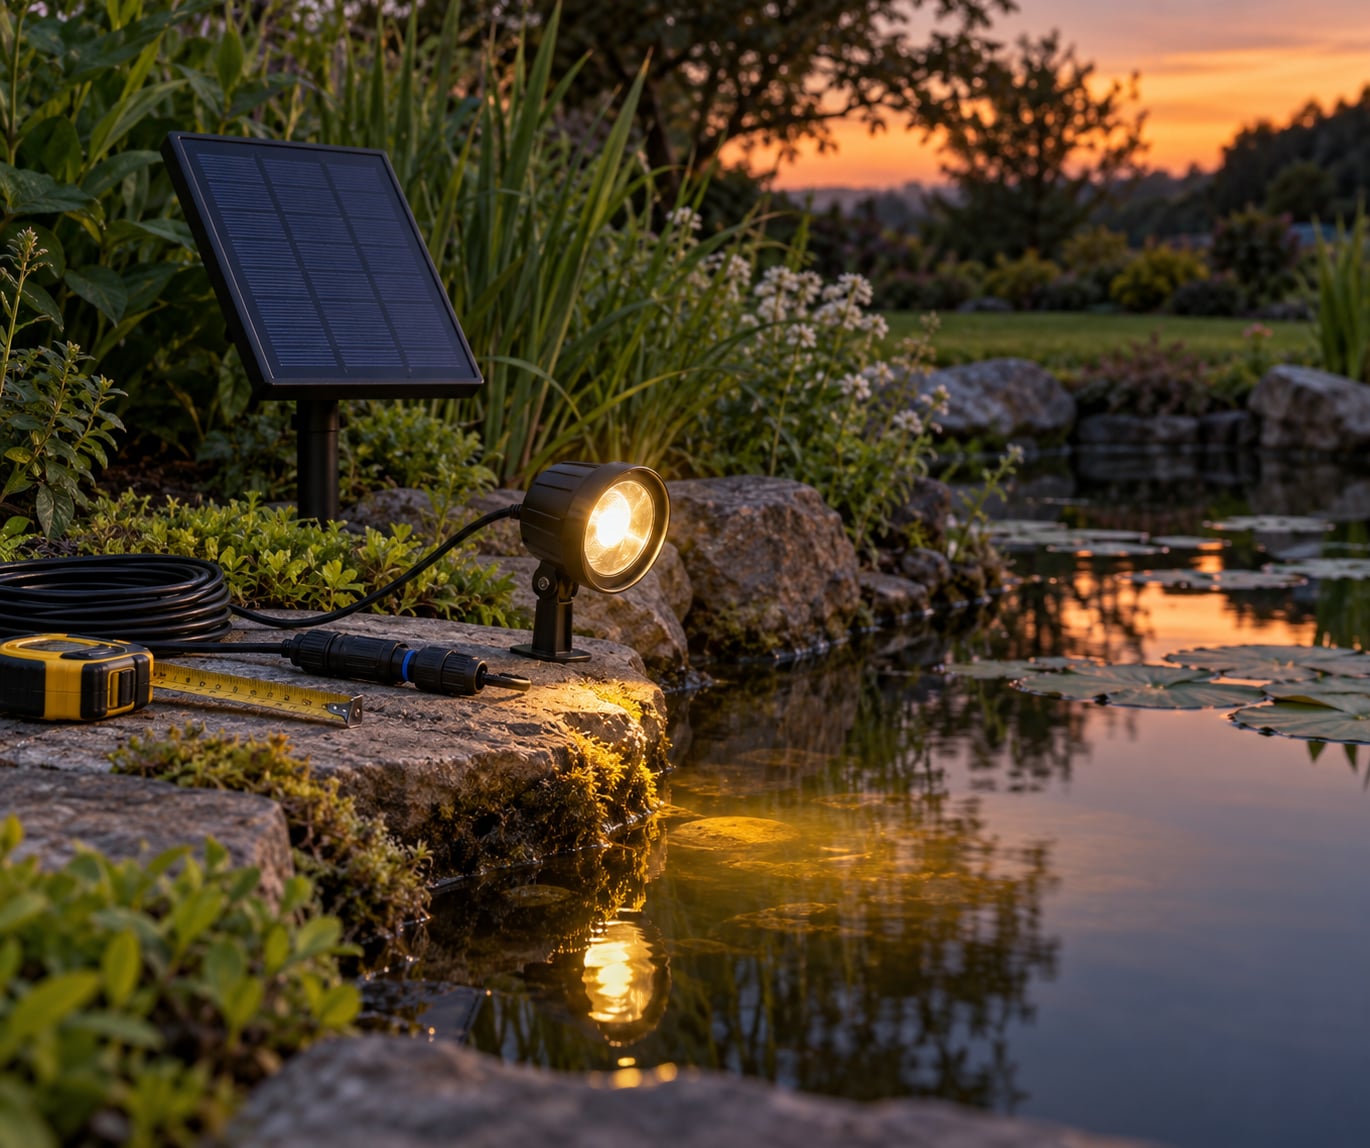
For the lights themselves, fewer and better-aimed beats more and brighter. Six positions do most of the work: behind the falling water of the waterfall, tucked under a boulder overhang, along a stream run, a deep-zone uplight aimed at a rock face, an uplight on a specimen plant, and a shielded low-level light for the path beside the pond.
Above-water fittings mounted close to the surface and concealed beneath overhanging coping give a very similar look to submerged lights, with none of the fouling. Koi keepers on the big pond forums consistently favour that arrangement over putting fixtures in the water.
Success check: every panel is in direct sun, every fixture is aimed at a surface, and no fitting sits in a spot where fish could rub against it or where a foot could catch it.
4. Route and connect the wiring
Run low-voltage cable outside the basin where you can, in a shallow trench along the coping rather than through the water. Direct-burial cable is designed for exactly this, and burying it below the frost line keeps it away from digging and from mower strikes.
Keep runs straight where you can. Sharp bends stress the conductor, and every corner is a place to leave service slack. Leave a loop at each fixture position so you can pull it up later without digging the whole run apart.
Connections stay above water unless the whole connector system is rated for immersion. Make branch joints with gel-filled direct-burial wire nuts, keep a drip loop so water runs off rather than into the joint, and check each one by pulling gently on the cable afterwards. A joint that moves is a joint that will eventually be wet.
On most low-voltage transformers, the terminals marked A and B are the lighting output. Terminal C is usually the photocell or timer input, not a third lighting circuit, which is a persistent source of confusion on these units.
Mains work is where DIY stops. Anything involving a new circuit, a buried mains line, a GFCI upgrade or equipotential bonding belongs to a qualified electrician.
Success check: every joint is above the waterline or immersion-rated, no cable crosses a path or mowing line, and slack remains at each fixture.
5. Secure the fixtures and remove trip hazards
Anchor each fixture with a suitable outdoor fixing, weighted for above-water lights and designed for the surface if a submerged light needs it. Anything in or near the water should be metal or a rated polymer with no sharp edges a fish could catch on.
Protect the liner. Use a shallow trowel and lift the liner by hand rather than driving a spade through it, and lay the cable on sand rather than on a sharp stone edge. Roots matter too, so keep trenches out of the planted margins where you can reroute them.
Walk the whole route in daylight with the system off. Any cable you can see is a cable someone can trip over, and any fixture you can see from the path is a fixture that will glare at eye level once it is lit.
Success check: the route is walkable end to end, nothing catches underfoot, and no fixing has pierced liner, edging or a root.
6. Test the system at dusk and make adjustments
Turn it on at dusk rather than at midday. Everything you are judging, beam direction, glare, spill onto the lawn, reflections off the surface, only shows up once your eyes have adjusted.
Walk the route you actually use at night. Every intended path should be visible, and nothing should be bright enough to stop you looking straight at it. Aim or re-seat any fixture that throws a beam at eye level or reflects off still water.
For solar systems, watch a full week rather than one night. Check that the panels are charging properly, that the lights switch on automatically at dusk, and that they still run towards the end of a cloudy night. A battery that is underperforming usually means too little sun rather than a bad battery.
Success check: every intended path is visible, no cable is exposed, no fixture creates glare or a wildlife-disturbing beam, and the pond still has a genuinely dark period overnight.
Common Mistakes That Make Pond Lighting Unsafe
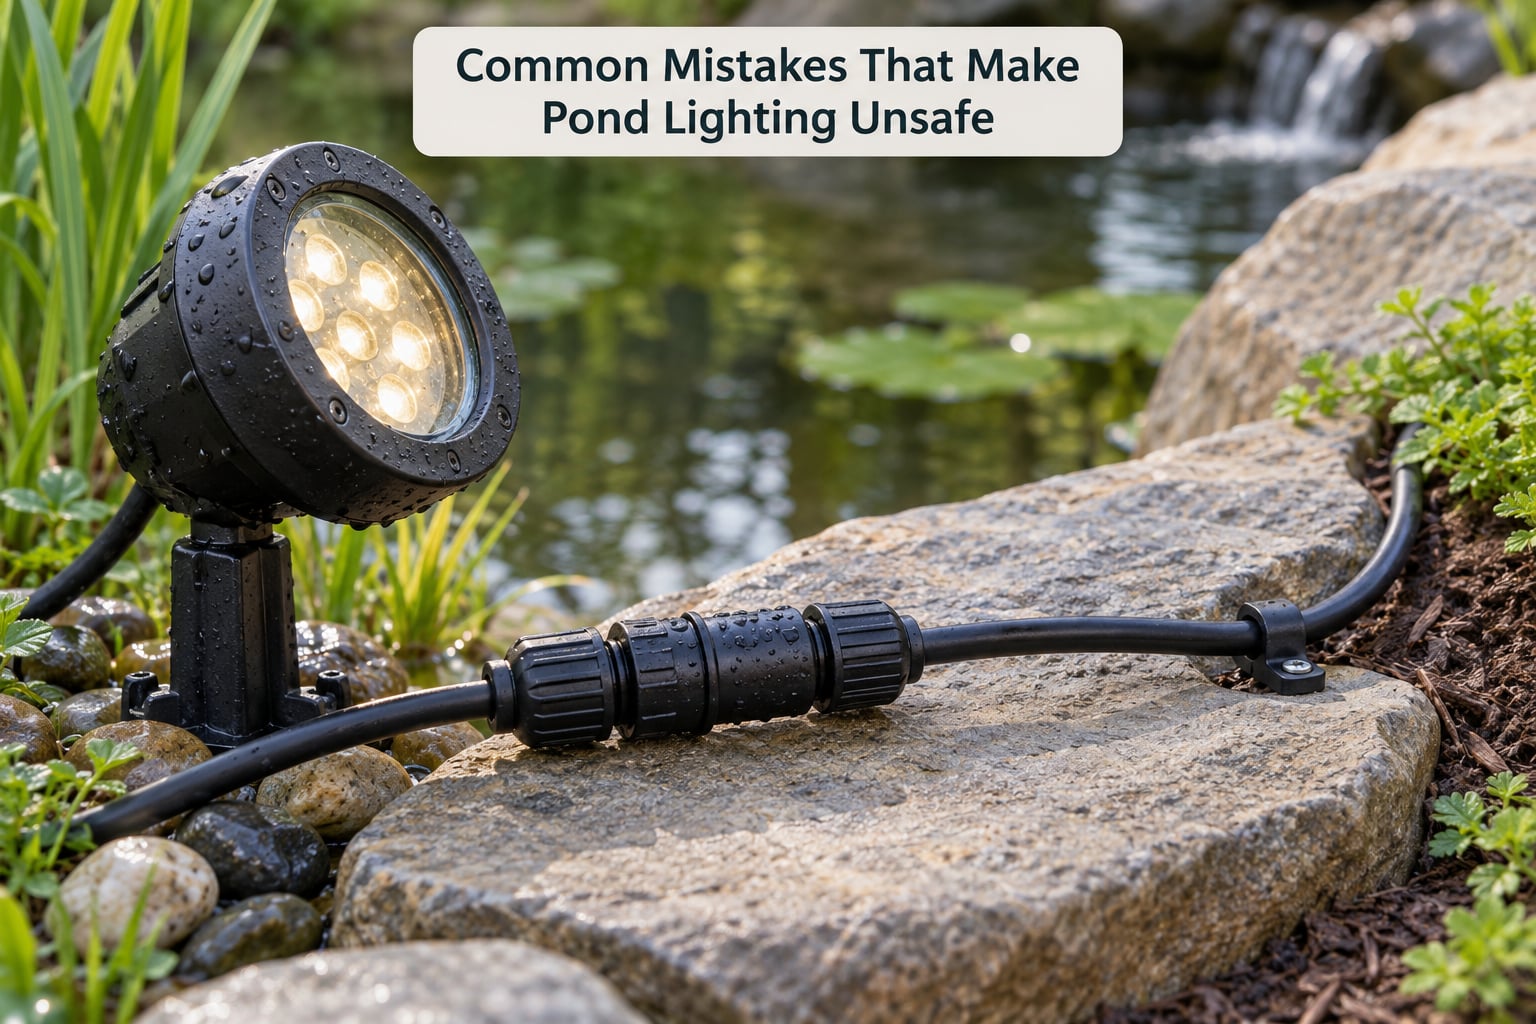
These are the errors that come up most often, and every one of them has an easy correction.
Submerging a light that is not rated for immersion
A path light or a garden spotlight is built for rain, not for permanent submersion. Once a non-IP68 fitting goes in, water sits against the seal until it fails. Submerge only fully sealed IP68 fittings, and check the whole wetted circuit, not just the head.
Leaving a connector where water can reach it
Standard wire nuts and twist joints are the most common cause of pond lighting problems. Use gel-filled direct-burial connectors, keep every joint above the waterline where the design allows, and add a drip loop so runoff falls clear of the joint.
Putting solar panels in shade
A panel under a tree or beside a wall produces less power, and the pond goes dark on exactly the winter nights you want it lit. Give panels several hours of direct sun, clean the glass a few times a year, and expect shorter runtime in winter rather than a fault.
Running cables across paths and mowing lines
Exposed low-voltage cable is a trip hazard and gets cut. Bury direct-burial cable below the frost line, keep it well clear of edges where a spade goes, and use a different route entirely if it has to cross a path.
Over-lighting the water
More brightness does not make a pond look better, and every lumen aimed at open water is light insects and fish did not ask for. Two or three well-placed fixtures beat a dozen scattered ones. Keep beams on rock, falling water, planting and paths.
Assuming solar lighting is automatically safe
Solar removes the cable, not the judgement. Panels still need sun, fittings still need a rating matched to their position, and the same rules about immersion, glare and darkness still apply. Check the label before you sink anything.
A final maintenance note. Clean lens glass every few weeks during the season, pull submerged fittings out at least once a year for inspection, and check the transformer and connections before the nights you most want light. In deep winter, submerged fittings are better lifted or left accessible so they can be pulled if the pond is drained or freezes solid.
Frequently Asked Questions
Are solar lights safe to use in a garden pond?
Solar pond lights are safe in the sense that no cable runs to the water, but only if the fixture suits the job. Most solar path lights are rated IP65 or IP67 for rain and splashing rather than permanent submersion. The panel, battery and switch all sit above the waterline, and any fitting placed underwater must be IP68 for continuous immersion. Aim solar lights at the bank and let them light the surface.
Can a solar light go underwater in a pond?
Only if the manufacturer explicitly labels it for immersion and states the permitted depth. A solar light designed for garden paths may survive spray without being safe to sink. Sealed IP68 fittings are the only appropriate choice below the surface, and many solar ranges simply do not offer one. Keeping fixtures above the waterline, concealed under overhanging coping, avoids the question altogether.
Do I need an electrician to light a garden pond?
Low-voltage solar lighting can be a manageable DIY job if the instructions are followed carefully. Mains-powered work is different: anything involving a new circuit, a buried mains line, a GFCI or RCD upgrade, or equipotential bonding should be planned and connected by a qualified electrician. Keeping the transformer and all connections above the waterline in a dry location is what keeps this a low-voltage job.
What IP rating should outdoor pond lights have?
For lights exposed to rain and splashing, choose a suitable outdoor rating, commonly IP65 or higher as the manufacturer specifies. IP67 covers temporary immersion up to one metre. IP68 is the only rating for a permanently submerged fixture, and it must cover the entire wetted circuit including connectors and junctions. A weather-resistance label is not the same thing as an immersion rating.
Will lighting a pond at night harm fish and other wildlife?
Bright, continuous lighting does disrupt insects, fish, amphibians and nocturnal animals, and koi have no eyelids, so any beam pointed across open water reaches their eyes. Aim lights at paths, decks, planting and rockwork instead of the water itself, choose warm colour temperatures and lower output, shield fixtures against glare, and run a timer so the pond keeps a genuinely dark period overnight.
Conclusion
Map the pond before you buy anything, and mark the paths, viewing areas and cable routes on the ground. Choose fittings rated for where they will actually sit, which means IP68 for anything submerged and a proper outdoor rating for everything else.
Keep the transformer and every connection above the waterline in a dry, accessible place, on GFCI or RCD protection, and keep the low-voltage cable buried well away from paths and mowing lines.
Aim light at rock, falling water, planting and paths rather than across open water, then test the whole arrangement at dusk and adjust until nothing glares. A timer gives the pond its dark period back, and the fish and the frogs will thank you for it.
Manufacturer instructions and qualified electrical advice come before anything written here. If a fitting has no clear immersion rating, leave it out of the water.