Solar lights die after one season for four reasons more often than any others: the rechargeable battery has lost most of its capacity, the panel is dirty or shaded and no longer charges the cell, water got in through the seam and corroded the contacts, or the dusk-to-dawn sensor is blocked so the light never switches on. Ninety seconds of cleaning and a two-minute test will tell you which one it is.
That clustering around one year is not a coincidence. A solar light is three parts in series — a panel, a rechargeable cell and a photocell — and each of them starts losing something on the first day it sits outdoors. The panel slowly loses charge under dust, pollen and bird droppings. The cell fades with every charge cycle, and heat makes it fade faster. The sensor picks up grime and, in some fixtures, gets painted over by a spider web.
So a fixture that worked fine in June can barely light a path in August. Then winter arrives, charging hours drop, and whatever headroom the battery had left gets used up in about nine nights. If you understand the timing, you can catch it in year one instead of writing the whole thing off in year two.
Below is the diagnosis order I would work through myself, cheapest test first, most likely cause first.
Table of Contents
- The 7 reasons solar lights die after one season
- 1. The rechargeable battery has lost most of its capacity
- 2. The panel is dirty, shaded or angled away from the sun
- 3. Water got in and corroded the contacts or the board
- 4. The dusk-to-dawn sensor is blocked or buried
- 5. The on/off switch was turned off, or is in the wrong mode
- 6. The cell was stored part-charged through a freeze
- 7. The charge controller or LED is failing
- The seasonal timeline: month 1, month 3, month 12
- Symptom to cause: a lookup table
- How to test whether it’s the panel, the battery, or the sensor
- Test the sensor first, because it takes five seconds
- Test the panel in the sun
- Test the battery last, because it is the most likely culprit
- A step-by-step revival checklist in order
- When to repair and when to replace
- How to make them last through next season
- Clean on a schedule, not on a failure
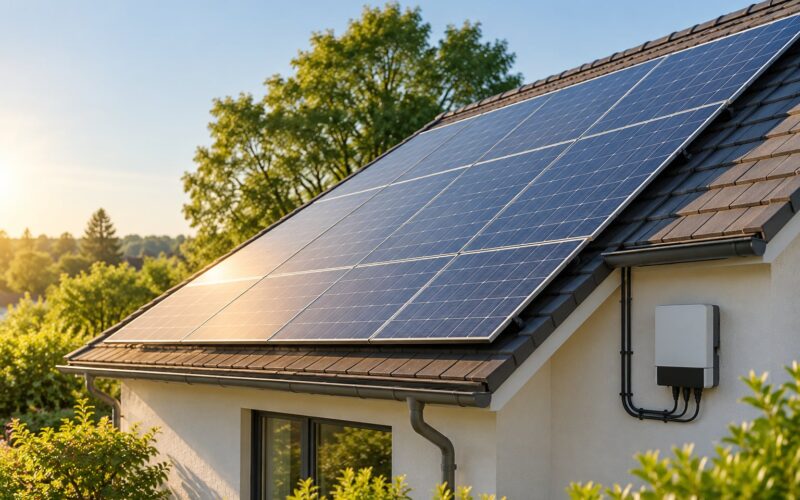
- Give the panel an unobstructed view
- Store winter lights indoors the right way
- Understand the IP rating before you buy
- Frequently Asked Questions
- How do I revive dead solar lights?
- What is the average lifespan of outdoor solar lights?
- Why are my solar lights not staying on for a long time?
- Should you leave solar lights on all the time?
- How can I get my solar lights to work in winter?
- Why do my solar lights stop working after it rains?
- What to do first
The 7 reasons solar lights die after one season
Most failures come from one of these, roughly in this order of frequency. The first two account for the large majority of cases I see.
1. The rechargeable battery has lost most of its capacity
This is the single most common cause, and it explains the phrase “one season” better than anything else. A small NiMH cell that shipped with the light is usually rated between 1000 and 2000 mAh. After a summer of daily charge-and-discharge cycles in a warm fixture, that capacity drops toward half, then a quarter.
The tell is a light that fades after an hour or two instead of burning until dawn, or one that only works at all after being left in full sun for two days. Forum owners describe the same pattern constantly: swap in a fresh cell and the fixture works perfectly again.
2. The panel is dirty, shaded or angled away from the sun
A charging shortfall and a dead cell look identical from the path. If the panel is under a shrub, behind a fence, under an eave or facing north, it never produces enough current to bring a tired battery back up.
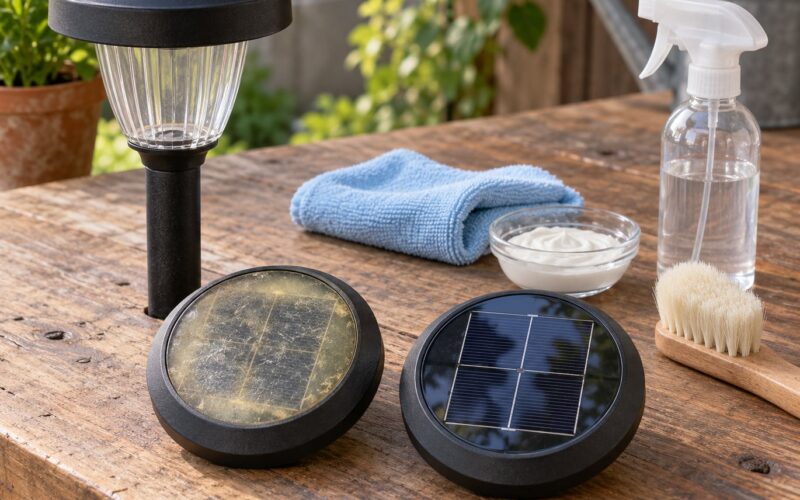
Dirty is the sneakier version. A thin film of dust and pollen cuts meaningful output, and it builds up over exactly one season of growth. Owners on gardening forums have brought dead fixtures back to life with nothing more than a cloth and some water.
3. Water got in and corroded the contacts or the board
A light that dies right after its first winter or one hard storm usually took water through the seam where the housing halves meet, or through the panel’s own edge seal. Salt from treated winter roads makes corrosion worse in northern climates.
Open it and you will see it: green or white crust on the battery terminals, a dull film across the PCB, contacts that no longer snap tight. The autumn storm timing is the giveaway, because nothing about the battery chemistry changed overnight.
4. The dusk-to-dawn sensor is blocked or buried
The photocell that tells the light when to switch on sits under a small dome on top of the fixture. Dirt, moss, a leaf, a spider web or a dab of paint will keep it reading “daylight,” so the light never turns on at night.
This is the cheapest fix on the list and the most commonly skipped. It is also the reason so many people conclude their lights are dead when the cells are perfectly fine.
5. The on/off switch was turned off, or is in the wrong mode
Many fixtures have a three-position switch: OFF, ON, and AUTO. In OFF and ON the light runs from the battery regardless of light level, which is a useful storage and shipping mode and a terrible operating mode. The light either sits dead all night or burns all day.
If a light comes on at noon and goes dark at dusk, or does nothing at all, check this before you take anything apart.
6. The cell was stored part-charged through a freeze
Stacking solar lights in an unheated shed for the winter does real damage. A partly charged nickel-based cell stored near freezing comes out in spring with permanently reduced capacity, and lithium cells held cold can refuse to charge at all for a while.
People rarely notice this until the following spring, when the lights that spent winter indoors behave fine and the ones left outside do not. That contrast is the strongest clue that storage, not the panel, is the problem.
7. The charge controller or LED is failing
Every fixture has a small circuit board that regulates charge, runs the dusk sensor and drives the LED. Water, insects or a chewed cable can kill it, and then the panel and battery are fine but nothing happens.
Symptoms here are strange rather than simple: a light that runs for a fixed 30 minutes no matter how bright the day was, one that flickers in bright weather, or one that glows faintly in daylight with the sensor covered. This is the one cause where repair usually stops making sense.
The seasonal timeline: month 1, month 3, month 12
Understanding why solar lights die after one season is easier once you picture the whole year as a slow drain rather than a sudden break.
Month 1. Everything works. The cell takes a full charge on the first sunny day and holds it through the night. You will not see any warning sign, which is why this is the cheapest time to make a small change.
Month 3. The panel has a visible film on it. The battery is down perhaps a fifth of its original capacity. Runtime slips from 8 hours to 6, and you notice the lights dimming early in the evening rather than failing outright.
Month 8. Summer heat has done most of the damage to the cell. A shaded panel is now charging below what the LED draws at dusk, so the light browns out and shuts off partway through the night.
Month 12. Winter arrives. A panel needs roughly six hours of usable direct sun to refill a small light, and in winter you may get two. The cell starts each night deeply discharged instead of full, and NiMH cells left in that state lose capacity permanently rather than recovering.
That last step is why the failures pile up at the one-year mark. A tired cell can survive a full charge. It cannot survive six months of half charges.
Symptom to cause: a lookup table
Start from what you can see, not from what you think broke. Find the closest row and work from there.
| Symptom | Likely cause | Fix | Difficulty |
|---|---|---|---|
| Light never turns on at night | Blocked or dirty photocell, or switch left in OFF | Clean the dome, set switch to AUTO | Easy |
| Comes on in daylight, off at night | Switch in ON mode, or sensor reading light all day | Move switch to AUTO, clean sensor | Easy |
| Runs two or three hours, then dims | Battery capacity fade plus low winter charge | Clean panel, then replace cell | Easy |
| Works in summer, fails after the first winter | Frozen storage, or water and corrosion | Open it, clean contacts, replace cell | Medium |
| Died right after heavy rain or a storm | Water ingress, corroded contacts or board | Dry, clean contacts, reseal with silicone | Medium |
| Works only after two or three days of sun | Panel shaded, dirty or facing away from sun | Reposition, clear foliage, wash panel | Easy |
| Flickers repeatedly | Mismatched replacement cell, or loose corroded contact | Match chemistry and mAh, tighten contacts | Medium |
| Very dim, colour shifted toward amber | Cell deeply discharged each night, LED ageing | Full charge test, then replace the fixture | Easy |
| Works over USB but not from the panel | Charge controller or panel fault | Test panel output; usually means replace | Hard |
How to test whether it’s the panel, the battery, or the sensor
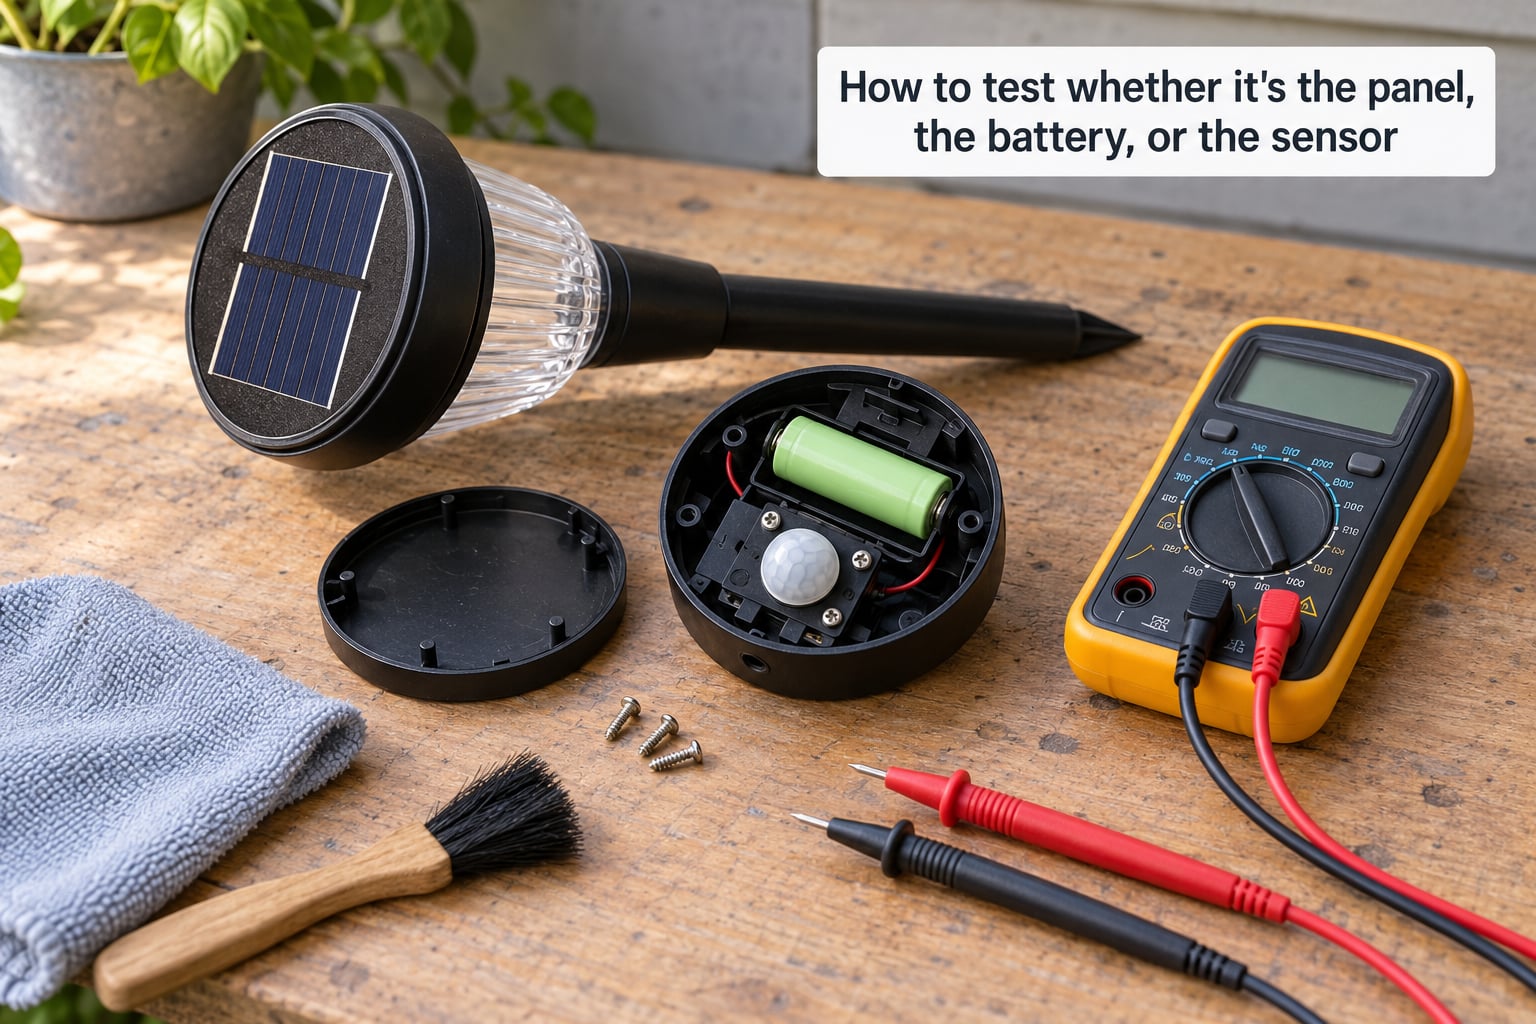
Do these in order. Each step rules something out, and you stop as soon as the light comes back.
Test the sensor first, because it takes five seconds
Flip the switch to AUTO, cover the top dome completely with your hand or a dark cloth, and wait ten seconds. If the LED comes on, the panel, battery and board are all fine and you had a sensor or switch problem the whole time.
Test the panel in the sun
Put the light in direct midday sun with the switch in AUTO, then wait until it is dark and cover the panel with a dark cloth. A working light turns on. One that stays dark either has no charge in it or cannot see darkness.
If you own a multimeter, set it to DC voltage and probe the panel’s two contacts in full sun while the battery is disconnected. A panel that powers a small LED should read somewhere in the low single-digit volts, and a bigger panel reads higher. Near zero means the panel or its connection has failed, and no amount of battery swapping will help.
Test the battery last, because it is the most likely culprit
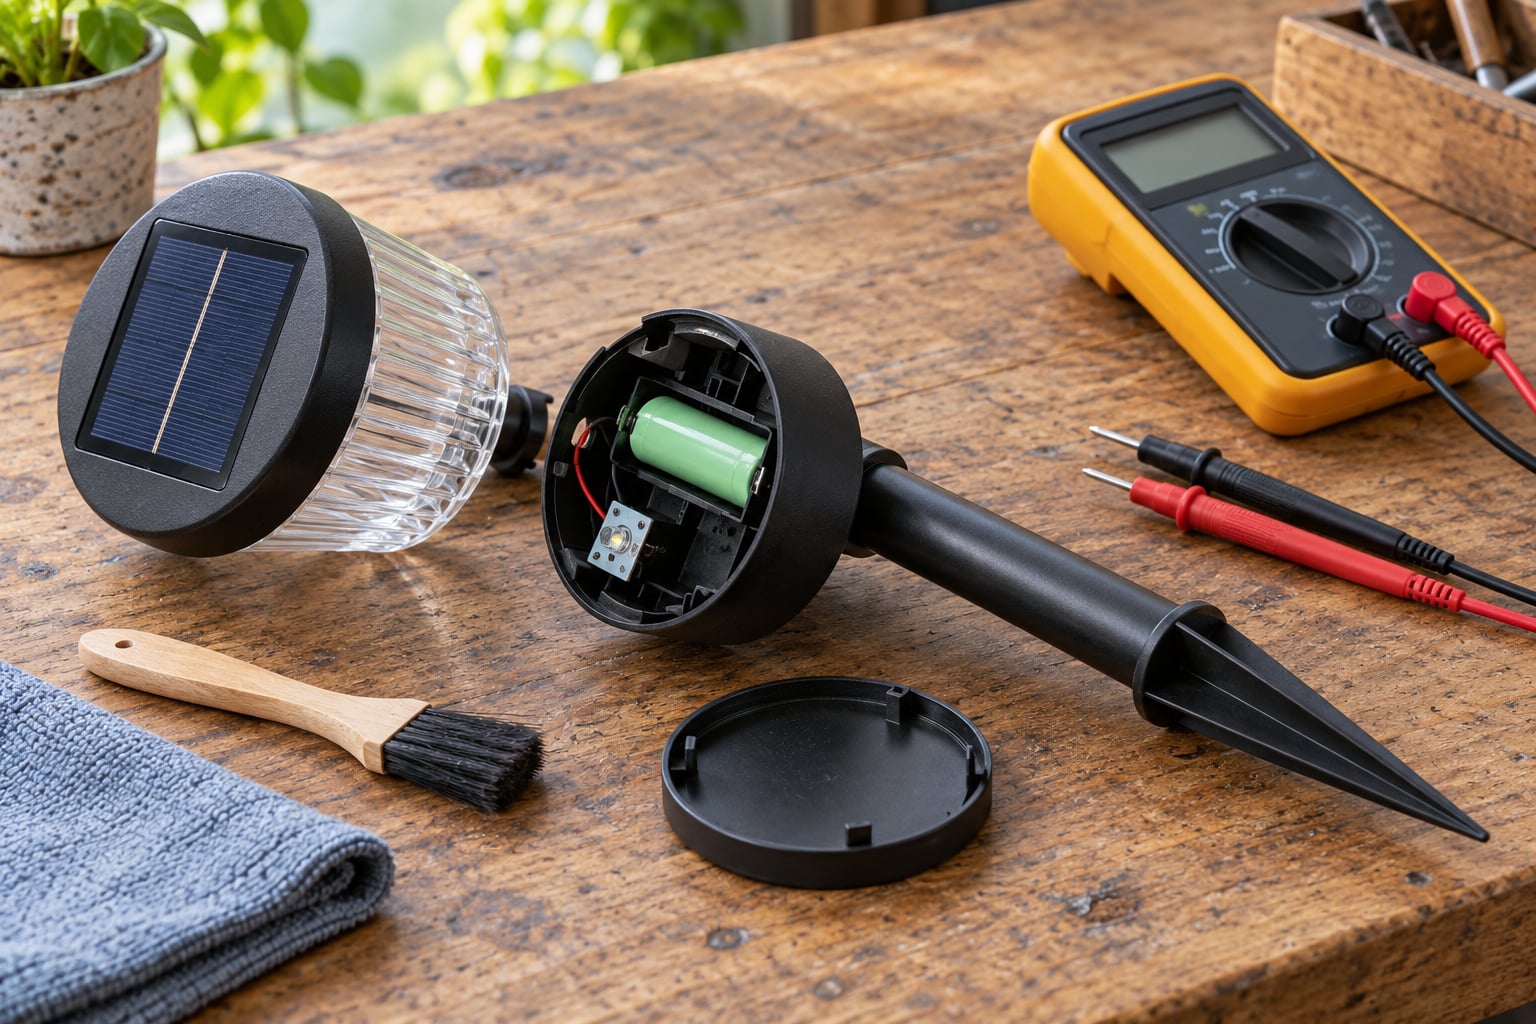
Open the battery compartment and check the cells with a multimeter on DC voltage. A tired NiMH AA or AAA reads well under 1.2 volts at rest, where a healthy one sits around 1.2 to 1.4. Look at the terminals too: white or green crust means corrosion, and clean it with a battery contact cleaner before you judge the cell.
If the panel makes power and the battery makes none, you have your answer. That is the case in the majority of failures I have worked through.
A step-by-step revival checklist in order
Work down this list. It runs cheapest and easiest first, and most lights come back at step three or four.
- Set the switch to AUTO and cover the sensor dome with your palm. If the light comes on, stop here and clean the dome.
- Wash the panel and the sensor dome with lukewarm water and a soft cloth or toothbrush. Never use a solvent, glass cleaner with alcohol, or an abrasive pad, since all of them haze the plastic and can strip the panel’s protective coating.
- Move the light into full direct sun for a full day, away from shrubs and eaves. Check that a tree or fence has not grown into the light’s spot since you installed it.
- Open the base and inspect the cells and contacts. Green or white crust on a terminal cleans off with contact cleaner and a swab.
- Leave the switch OFF for two sunny days to let the cells recover from a deep discharge, then flip it back to AUTO and let it charge through a whole clear day.
- Replace the battery if the old cells read under 1.2 volts or the runtime has not improved.
- Reseal any housing you opened with a thin bead of clear silicone on the seam, and let it cure before the light goes back outside.
When to repair and when to replace
Repair is worth it when the panel still produces power, the sensor responds to being covered, and the housing is intact. Swapping one cell restores roughly another two to three seasons of use on a decent fixture.
Give up on the fixture when the board is green or the traces have lifted, when the panel reads near zero volts in full sun, or when the light uses a glued-in cell with no battery compartment. Those three mean a new panel or a new light, and neither is a repair.
| Battery type | Typical capacity | Notes for solar lights |
|---|---|---|
| NiMH AA | 1500 to 2500 mAh | Most common in path lights; the safe default replacement |
| NiMH AAA | 1000 to 2000 mAh | Used in smaller stake lights; match the original size exactly |
| 18650 lithium-ion | 2000 to 3400 mAh | Found in premium fixtures; needs the controller’s protection circuit, so do not mix chemistries |
| Nickel-cadmium | Rare today | Legacy lights only; memory effect made these useless for seasonal use |
Buy the same chemistry the fixture shipped with. Owners on electronics forums report flickering after a swap far more often when they drop a lithium cell into a NiMH fixture or fit a cell far below the original capacity, because the charge controller expects a specific voltage range.
Be sceptical of unbranded 18650 packs. Forum consensus is that they are routinely over-rated on the label, which means your light underperforms and the cell ages faster than the number claims.
How to make them last through next season
A few minutes per season is all it takes to push a one-year fixture into year three.
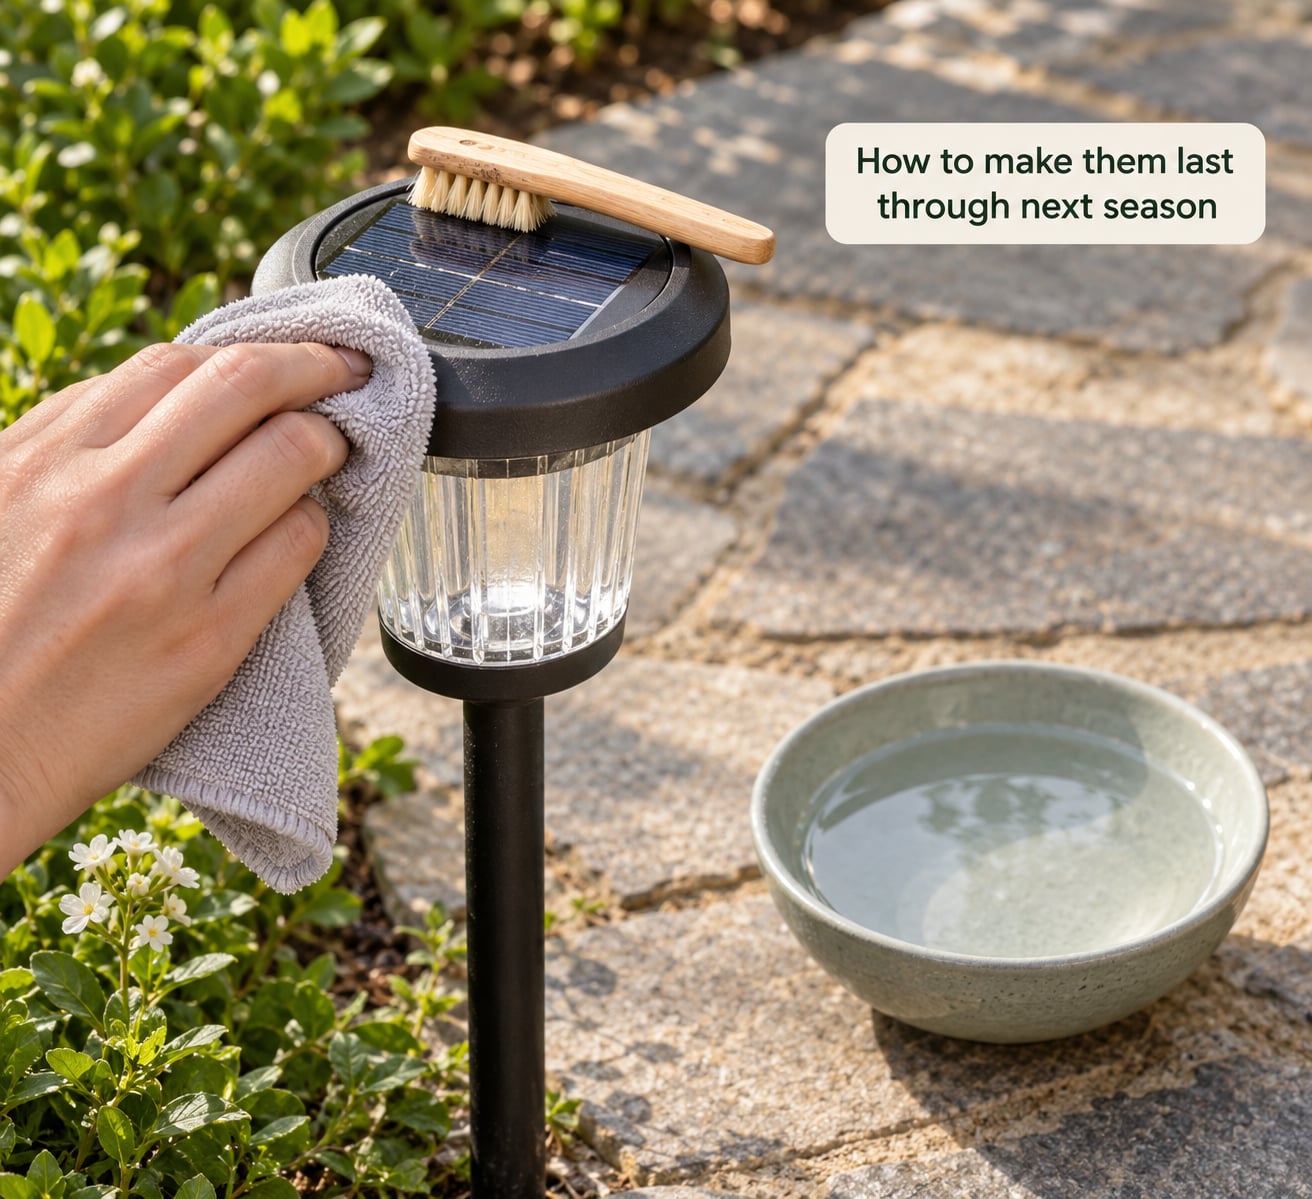
Clean on a schedule, not on a failure
Wipe the panel and sensor dome every month or two, and always do it after pollen season and before winter. Use lukewarm water, a microfibre cloth and a soft toothbrush for the rim of the dome. Skip anything alcohol-based or abrasive; haze on the panel is permanent and it costs real output.
Give the panel an unobstructed view
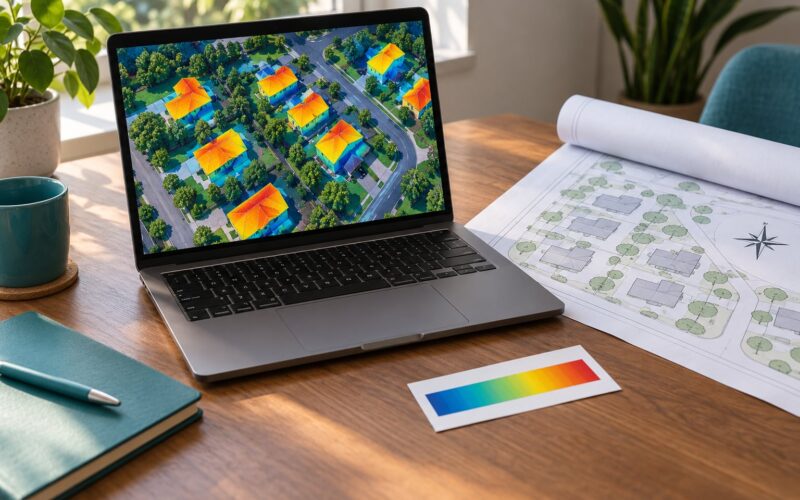
Trim back foliage twice a year. The failure pattern where lights work in spring and quit in August is almost always new leaf cover cutting the charge, not a dead cell.
Store winter lights indoors the right way
Bring lights in if your winters freeze, and switch them OFF before you do so the cell is not sitting deeply discharged for months. Keep them somewhere between roughly 5 and 25 degrees Celsius, in a dry spot, and put them back out a week before you expect to need them so they can charge.
Understand the IP rating before you buy
IP65 means dust-tight and protected against water jets from any direction, which suits an open garden stake. IP67 adds protection against short immersion. Anything rated below IP65, or with no rating printed at all, will not survive a second winter in a climate with rain and freezing nights, no matter how good the battery is.
Two habits do most of the work: keep the panel clean, and keep the cell off the floor of a freezing shed. Do those and most fixtures make it to three seasons instead of one.
Frequently Asked Questions
How do I revive dead solar lights?
Switch the light to AUTO, cover the dusk sensor with your hand to confirm it turns on, then wash the panel and sensor dome with lukewarm water and a soft cloth. Leave it in full sun for two clear days with the switch OFF, then back on AUTO. If it still fails, open the base and check the cells and contacts. A cell reading under 1.2 volts or terminals with white or green crust means the battery needs replacing.
What is the average lifespan of outdoor solar lights?
Good fixtures last two to four seasons, and cheap ones often make it through a single one. The cell is usually the limiting part, since it fades with charge cycles and heat while the panel and sensor mostly just need cleaning. Owners on forums treat lights still running past sixteen months as a good result. You will extend that meaningfully with a clean panel and indoor winter storage.
Why are my solar lights not staying on for a long time?
Usually a combination of fading battery capacity and a panel that no longer fills it back up. Once the cell drops below roughly a third of its original capacity, a six-hour winter charge will not hold an eight-hour night of LED draw, so the light fades and shuts off early. Cleaning the panel and replacing the cell restores it; if runtime does not improve after that, the charge controller is the likely problem.
Should you leave solar lights on all the time?
For normal outdoor use, yes, leave the switch in AUTO so the light charges during the day and comes on at dusk. The panel charges whether or not the LED is on, so keeping it on all day wastes stored energy without adding charge. Turn it OFF only for storage, because a partly charged cell left in a freezing shed comes back in spring with permanent capacity loss.
How can I get my solar lights to work in winter?
Expect less runtime and plan for it. A small solar light typically needs about six hours of direct sun to refill, and winter can deliver two. Reposition anything shaded, clear foliage from the panel, expect brightness to drop, and accept a shorter night. Bringing lights indoors over hard freezes and putting them out a week early helps more than anything else you can do.
Why do my solar lights stop working after it rains?
Water gets in through the housing seam or the panel edge, then sits against the battery terminals and the board. Salt in rain and road spray accelerates it, which is why failures cluster after the first winter rather than the first summer. Open the fixture, dry it, clean the terminals with battery contact cleaner, and reseal the seam with clear silicone. A board with green crust or lifted traces is not worth repairing.
What to do first
Go out tonight and cover each dark light’s sensor dome with your hand. Any that light up were never broken, and a cloth and some warm water will keep them that way. For the rest, spend the next sunny morning cleaning panels and checking the switch position before you open anything or buy a battery.