Solar garden lights are popular largely because they cost nothing to run and vanish into a flower bed. That same combination is exactly why they get taken: no tools, no force, no broken lock. The good news is that most thefts are opportunistic rather than planned, so a few hours of work on the mounting point solves the problem for good. Here is how to prevent solar light theft, starting with the fixes that take ten minutes and ending with the ones for high-risk yards.
Updated for October 2026.
Table of Contents
- What You Need
- Step-by-Step: How to Prevent Solar Light Theft
- 1. Identify the Most Vulnerable Parts
- 2. Choose a Less Obvious Location
- 3. Use a Permanent or Tamper-Resistant Mount
- 4. Lock or Conceal the Battery Compartment
- 5. Protect the Solar Panel and Light Head
- 6. Add Visibility and Environmental Deterrents
- 7. Use a Personal Tracker When the Risk Is High
- 8. Check and Maintain the Installation
- Common Mistakes
- Frequently Asked Questions
- Can thieves remove solar garden lights from the ground?
- What is the best way to secure a solar light against theft?
- Does hiding a solar light in plants reduce theft?
- Can I use screws or glue to secure a solar light?
- Is a GPS tracker useful for a solar garden light?
- How do I protect the battery in a solar light?
- Conclusion
What You Need
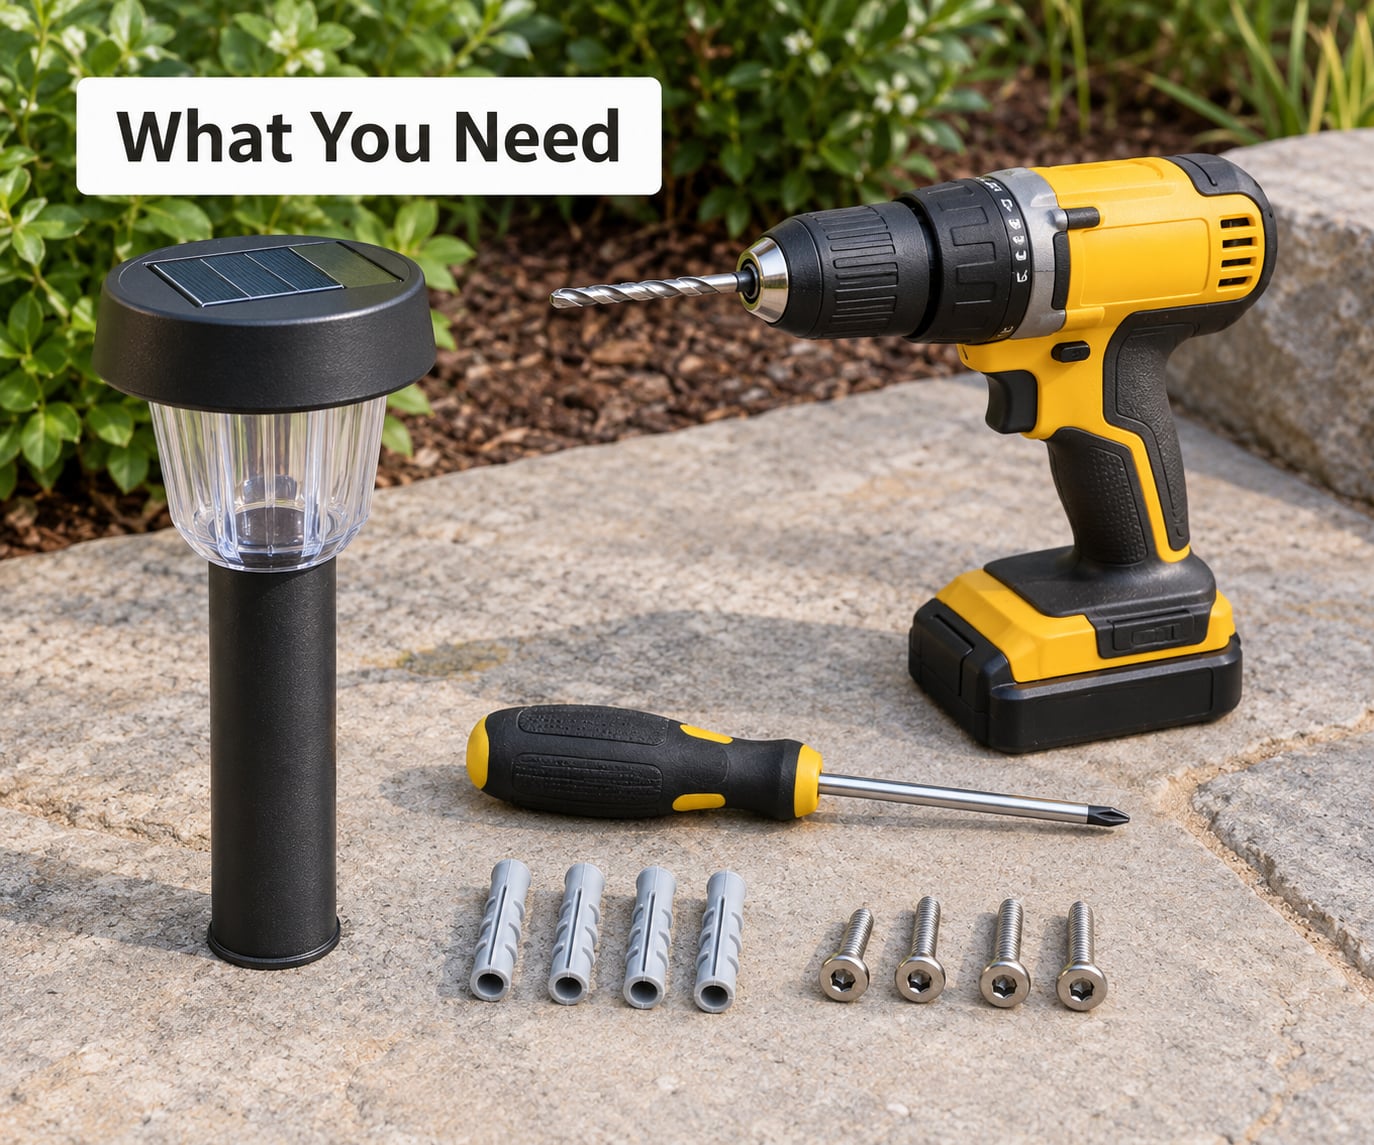
You do not need anything expensive. Gather what fits how your lights are currently fixed and you can handle a whole yard in an afternoon.
- A cordless drill and a masonry bit for brick, render or concrete fixings.
- Stainless security screws with a pin or hex head that a standard screwdriver will not turn.
- Wall plugs and a wall plate or bracket for lights you are moving off the soil entirely.
- A short length of steel cable with a loop or clip, the kind used for bike locks or trailer securing.
- One or two paving slabs or a concrete block to sit on top of the buried end of that cable.
- Outdoor-rated adhesive or a two-part epoxy for lamp heads that clip rather than screw.
- Reflective tape or a small motion sensor for visibility markers.
- Optional: a Bluetooth tracker card, a spare ground screw, and a phone to photograph serial numbers.
Buy stainless fixings rather than zinc-plated ones. Screws outdoors eventually rust, and a rusty screw head is a stripped screw head.
Step-by-Step: How to Prevent Solar Light Theft
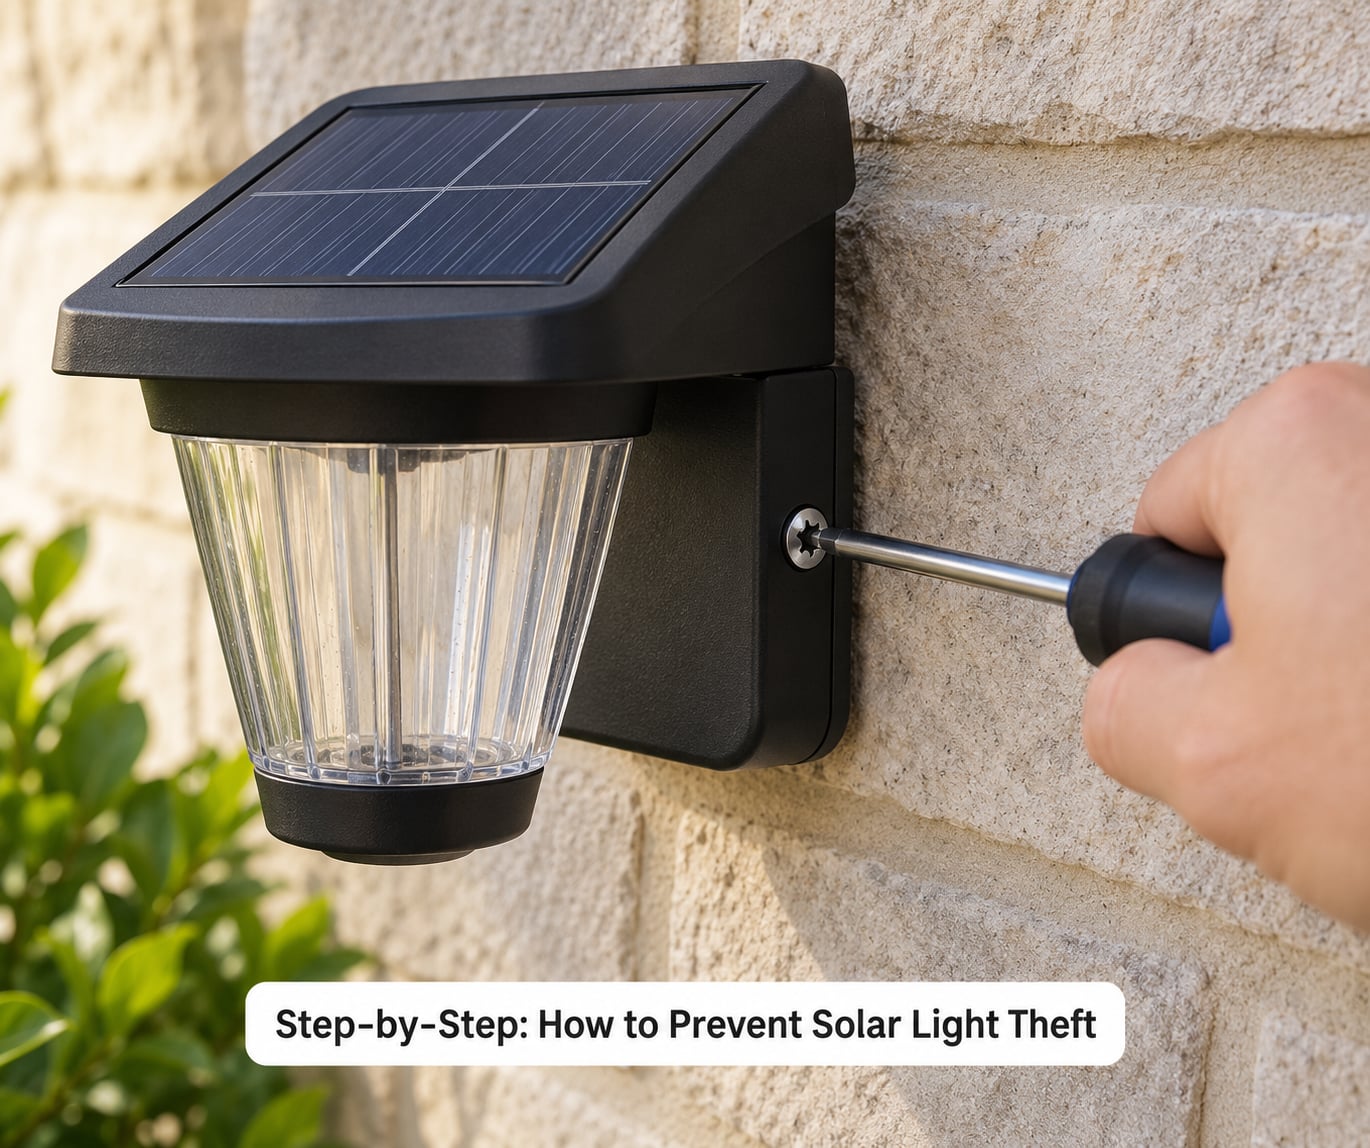
Work through these in order. Each one removes a different reason a passer-by decides your light is worth carrying off, and the first three do most of the work on their own.
1. Identify the Most Vulnerable Parts
Thieves take solar lights because a ground stake unclips in one motion and leaves nothing but an empty spike behind. The panel, the lamp head and the battery compartment are all secondary targets, and the quick-release collar at the base is where almost every theft starts.
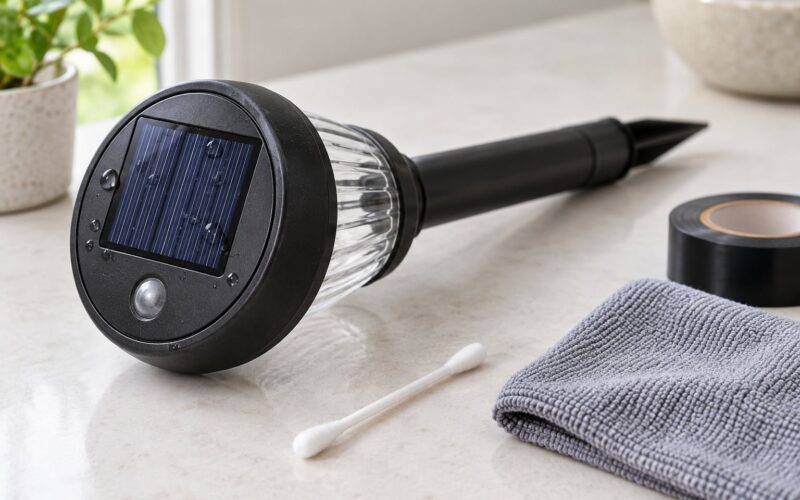
Walk your yard at night and try to lift each light by hand. Anything you can remove without a tool is a light you are offering away. Check for a collar that slides off a smooth spike, a head that lifts straight out of a socket, and a panel that is only pushed into a slot rather than fastened.
2. Choose a Less Obvious Location
Move lights away from open fences, gateways and pavement edges, and closer to walls, shrubs and the house itself. Open front beds beside a footpath are the easiest targets in a garden, while a light tucked behind a hedge at the side of the house is harder to see, harder to reach and easier to ignore.
Watch the light budget while you move things. A solar panel needs several hours of direct sun, so a deep flower bed under a mature tree will dim the lamp and tempt you to move it back into the open. If shade is the problem, pick a brighter fixture rather than a more exposed spot.
Then look at it from the street. Anything that reads as deliberate and integrated into a planting scheme looks like part of the landscape, not a bag of loose hardware sitting on spikes.
3. Use a Permanent or Tamper-Resistant Mount
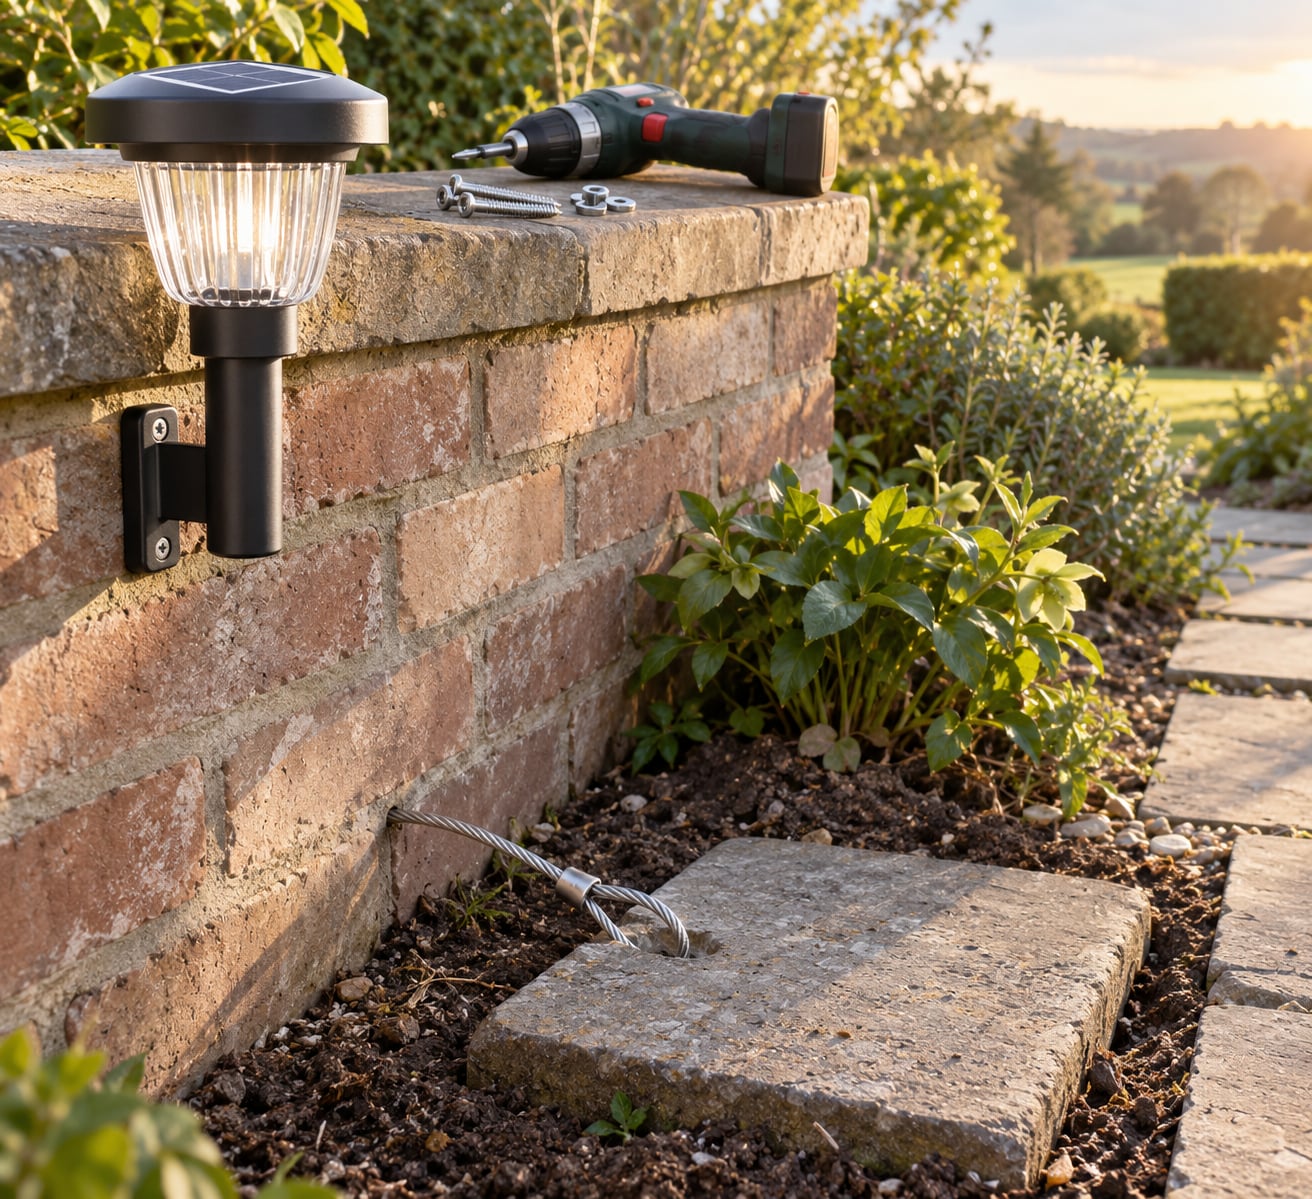
Replace every ground stake with something fixed. Screw the fixture to a wall, a fence post, a railing or a deck board, and drive the screws into masonry or timber with wall plugs rather than thin plastic anchors. If the light must sit in a bed, drive a proper ground screw or a length of rebar into the soil and bolt the base plate to that instead of relying on the supplied stake.
For anything in an open bed, run a short steel cable through the fixture’s mounting hole and loop it around a paving slab or concrete block buried about three-quarters deep. Leave a short tail of cable above ground so you can pull the block out later, but not enough slack to unthread a light. This is the approach garden forums keep coming back to, and for good reason: it costs very little, needs no power, and cannot fail.
Test it the way a thief would. If you can lift the light with a firm two-handed pull, so can they.
4. Lock or Conceal the Battery Compartment
Remove or lock the access panel on the battery compartment and fix the cover with security screws. Many solar lights have a sliding switch bay that pops open with a fingernail, which is effectively an open invitation.
If the cover is a press-fit plastic part, glue it shut with two-part epoxy and drill two small pilot holes through the flange before it cures. Keep the wiring intact and leave the vents clear, because a sealed housing that traps moisture will shorten the battery life far more than a thief ever would. Never cut or splice the leads yourself when the manufacturer offers a sealed or tamper-resistant replacement.
5. Protect the Solar Panel and Light Head
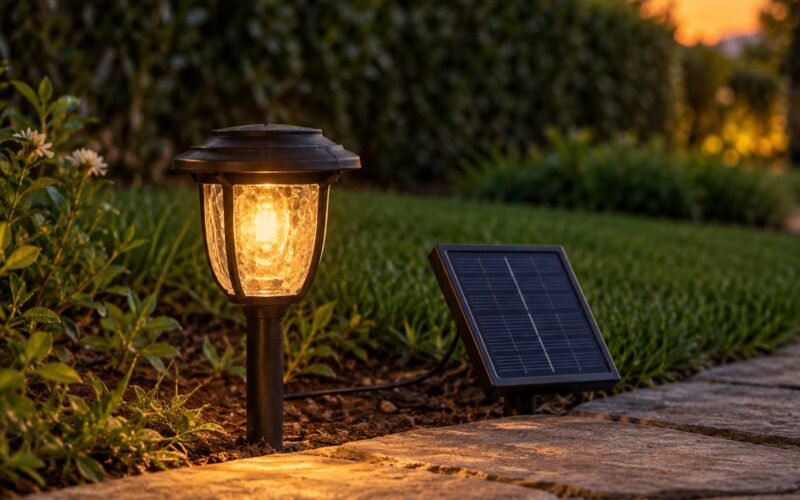
Detachable panels and lamp heads need their own fixings because they lift straight out of a socket. Bond the panel’s frame to the body with outdoor epoxy, then add a small stainless screw or cable tie as a mechanical backup so the adhesive is never the only thing holding it.
Do not cover any part of the panel face, and keep the sensor window on the lamp head clear of foliage and dirt. Both reduce charging and switching, and a light that never comes on looks broken to a passer-by, which makes it look like fair game too.
6. Add Visibility and Environmental Deterrents
Most thefts happen where nobody is looking, so light the approach instead of hiding the fixtures. Keep a motion-activated light covering the path leading to the bed, and keep a clear sightline from a front window or a doorbell camera down to the planting.
Add a small reflective marker or a strip of reflective tape on the nearest fixed surface. It costs pennies, does not need wiring, and it tells someone testing the fence at night that the area is attended.
Be honest about what this buys you. A camera helps with evidence and coverage, not prevention, and thieves who are prepared will work around a visible one. A visible camera housing, a small sign and steady illumination are the parts that do work, because the whole effect is about how watched the space feels.
7. Use a Personal Tracker When the Risk Is High
A small Bluetooth or GPS tracker card, tucked inside the housing or wrapped around the cable near the base, can help you locate a light after it goes if the device is later re-advertised or found nearby. It is worth considering for a rental, a holiday home, or a yard with several collectable pieces.
Know the limits before you rely on it. Most inexpensive solar lights are not trackable at all because the fixture has no electronics to pair with, and a tracker only reports a position once it reconnects to its app, which may be days later. Treat it as a recovery aid, not a security measure, and keep it away from any part of the circuit and from the battery terminals.
8. Check and Maintain the Installation
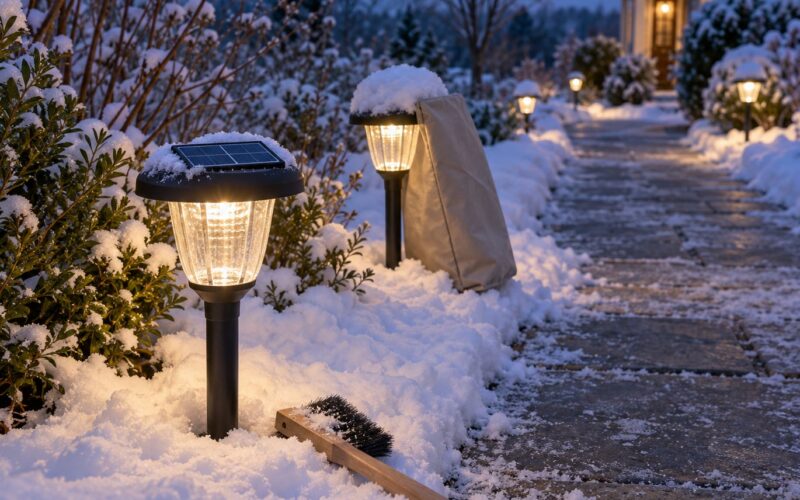
Make a monthly round after bad weather. Push on each light to test the fixing, look for a slightly tilted panel, check that the cable loop is still tight around its block, and confirm the lamp is lighting at dusk. A light that stopped working a month ago is a light nobody notices is missing.
Replace any fastener that has loosened or rusted rather than tightening it, and touch up exposed metal before it pits. If a block has settled and gone slack, dig it out and re-bury it deeper.
Common Mistakes
Most yards I see are not badly installed, just installed in a way that leaves an easy opening.
- Leaving the supplied ground stake in place. It is a display fitting, not a security fitting. Fix the light to a wall or bury a cable and block.
- Hiding a light in an isolated dark corner. Out of sight also means unwatched. Move it into a spot with a clear line of sight instead.
- Leaving the panel and lamp head unclipped. Even with a solid base, a lift-out head means an empty post the next morning.
- Assuming a locked battery bay needs no fixings. A sliding cover is not a lock. Add security screws or epoxy.
- Using household glue or a hot glue gun outdoors. Both let go in summer heat and after a frost. Use two-part epoxy rated for outdoor use.
- Never checking the install again. A freeze-thaw cycle or a mower knocks fixings loose slowly. Ten minutes a month keeps the whole scheme intact.
One more thing worth doing: photograph each light, its serial number and its position on installation day, and keep the photos with your home inventory. Marking a fixture with a small engraved code or serial decal on an underside surface costs nothing and helps both you and the police if something does go.
Frequently Asked Questions
Can thieves remove solar garden lights from the ground?
Yes, and that is the whole problem. Most solar garden lights sit on a lightweight ground stake with a quick-release collar, so a firm upward pull frees the light in a second or two with no tools and no damage. The empty stake is often the only sign a theft happened. Screwing the light to a wall, or looping a cable through a partly buried concrete block, removes that single-motion release entirely.
What is the best way to secure a solar light against theft?
Fix it to something permanent rather than to the soil. Mounting to a wall, post or railing with masonry screws and security fixings is the strongest option because there is nothing to unclip. For lights that must sit in a bed, run a steel cable through the mounting hole and loop it around a paving slab buried about three-quarters deep, then test it with a hard two-handed pull before you walk away.
Does hiding a solar light in plants reduce theft?
It helps a little, but only as part of a bigger plan. Dense planting makes a light awkward to grab and hides it from the street, yet anything visible enough to light a path is still visible enough to notice in daylight. Keep a solar panel in full sun so the light actually works, and pair the concealment with fixed mounting and a clear sightline from a window or camera. Placement alone is a nudge, not a fix.
Can I use screws or glue to secure a solar light?
Both work, as long as you pick the right type. Use stainless security screws for anything screwed down, and two-part epoxy for press-fit panels, lamp heads and battery covers. Household adhesives and hot glue fail in summer heat and after frost, which leaves the fitting loose by autumn. Always add a mechanical fastener alongside glue, and keep glue away from vents, the sensor window and the battery terminals.
Is a GPS tracker useful for a solar garden light?
Only in limited situations. A small tracker can help you locate a light later if it turns up for sale nearby, which matters most for rentals and holiday homes. Most inexpensive solar lights have no electronics to pair with, and trackers only report a position once they reconnect to the app, sometimes days later. Treat one as a recovery aid rather than a deterrent, and keep it away from the circuit.
How do I protect the battery in a solar light?
Cover the battery access panel with a lock or fix it down with security screws, and glue press-fit covers shut with two-part epoxy. The aim is to stop a quick opening with a fingernail rather than to make the housing invulnerable. Leave ventilation paths clear and never cut the wiring, because trapped moisture damages a battery faster than a thief ever would. Where the manufacturer sells a sealed compartment, that is the better fix.
Conclusion
Start at the base. Stand in your garden, try to lift each solar light by hand, and anything that comes away gets a wall mount or a cable through a buried block. That single afternoon removes the one-motion release that makes these thefts so easy.
Next check the battery compartment and the lamp head, since both lift out of fittings that feel solid. Then walk the yard from the street and ask whether anyone could stand there unseen, and move the worst spots into view of a window or a doorbell camera. Finally, set a monthly reminder to push-test every fixing, because the only installation that works is the one you last tightened.