Solar lights handle snow better than most owners expect, but the ones that quit in January usually failed for one of three reasons: the panel stayed buried, the battery froze while half empty, or meltwater crept into a housing through a cracked seal. How to protect solar lights from snow comes down to keeping that little panel clear and deciding early whether each light stays outside or comes in. Most of this takes under ten minutes per light, once a season.
Winter stresses a solar light in two ways at once. Snow and short days cut the charging window, while cold takes capacity out of the battery, so lights that glowed until midnight all summer burn out by 9 p.m. after the first cold snap. Neither problem is permanent once you know which one you have.
Table of Contents
- What You Need
- Step-by-Step: How to Protect Solar Lights from Snow
- Check the manufacturer’s weather and storage limits before you start
- Turn the lights off and disconnect removable batteries where the design allows
- Clear snow gently from the solar panel
- Inspect seals, vents, seams, and stakes
- Keep charging and lighting during thaws
- Use winter covers only when ventilation is safe
- Store removable lights correctly for long winters
- Common Mistakes
- Frequently Asked Questions
- Can I leave snow on a solar light?
- How do I remove ice from a solar panel safely?
- Should I cover solar lights for winter?
- Why is my solar light not charging after snow?
- What if water or condensation gets inside the solar light?
- Conclusion
What You Need
Winter care for solar lights takes a short list of ordinary tools. A soft-bristle brush or a plastic snow scoop, a microfiber or other non-abrasive cloth, lukewarm water in a spray bottle, and a headlamp for working after dark do most of the job. Add a breathable fitted cover, a tube of clear exterior silicone sealant, and a spare set of the same rechargeable battery your light uses.
- A soft-bristle brush, plastic snow scoop, or soft rooftop rake for panels you can reach
- A microfiber cloth and a bottle of lukewarm water for grime and light ice films
- A headlamp or flashlight, since most clearing happens in the dark
- A breathable cover or fleece sack, not a plastic bag or plastic wrap
- Exterior-rated silicone sealant and grommets for loose cable entry points
- Spare rechargeable batteries matching the type and size the light uses
- The manufacturer’s manual, for the weather rating and storage instructions
Equally important is knowing what not to reach for. A metal roof rake on a plastic stake light, a splash of hot water on a frosted lens, or a bag of ice melt piled over the panel will cost you the light. Skip those three and the rest of the routine is forgiving.
Step-by-Step: How to Protect Solar Lights from Snow
Run through these seven steps in order, ideally before the first heavy snow. If a storm has already passed, work down the list in reverse, starting with a dry inspection.
Check the manufacturer’s weather and storage limits before you start
The manual decides everything that follows. Some fixtures are rated for snow load and sub-zero standby; others are meant for mild climates only, and the manufacturer expects you to bring them inside. Look for the temperature range, the ingress rating, and the storage instructions, because a light rated IP65 survives a soaking but not a seal that has been pried open.
Read the storage section too, especially about charge level. It matters more than most people expect, and it overrides anything you have heard elsewhere.
Turn the lights off and disconnect removable batteries where the design allows
Flip the switch to off before you touch anything. A light left on will drain whatever charge it has left while it sits in the cold, and many dusk-to-dawn sensors will switch themselves on mid-afternoon if the panel is exposed while you work.
If the light has a removable battery pack, take it out before storage and keep it at the level the manual prescribes. Members of r/solar put it plainly: it is hard to freeze a fully charged battery, so in snowy regions you want yours reasonably charged, not topped off.
Clear snow gently from the solar panel
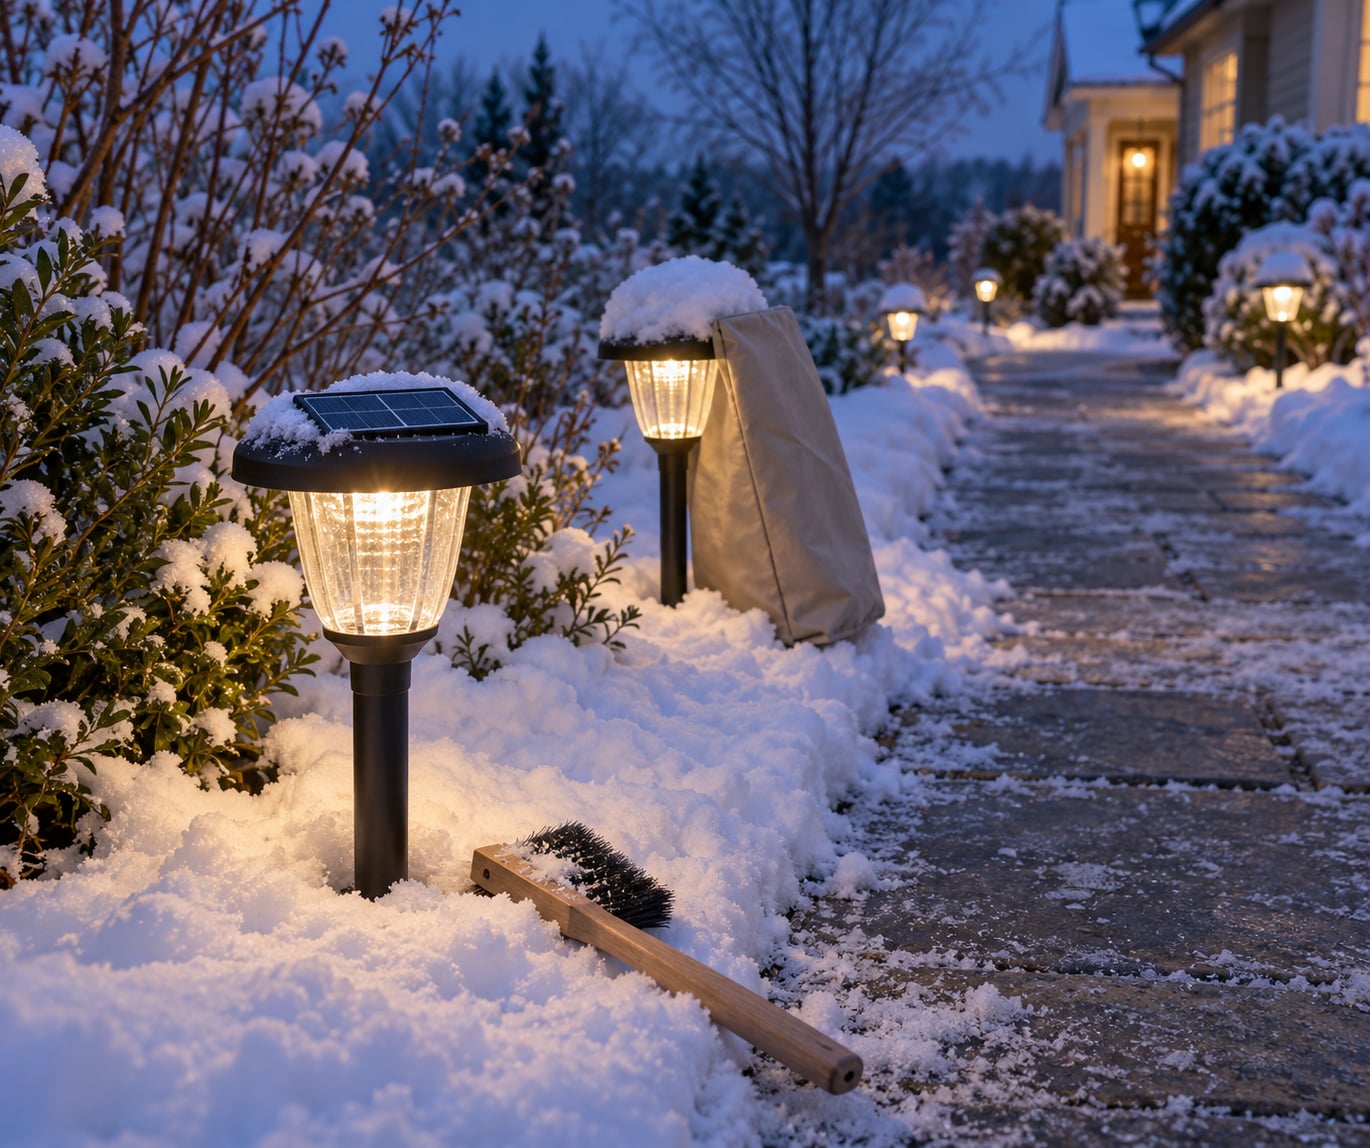
Fresh powder comes off a panel with a soft brush or cloth and almost no force. Brush along the slope so snow moves away from the housing instead of into the seams, and never scrape, chip, or pry at a frozen panel. Small garden panels have no glass thick enough to survive a metal edge or a plastic shovel corner.
| Method | Safe on garden lights? | Notes |
|---|---|---|
| Soft plastic scoop or snow brush | Yes | Best first choice for fresh snow on a panel you can reach |
| Lukewarm water from a spray bottle | Yes | Works on thin ice films; wipe before it refreezes |
| Warm moving air from a hair dryer on cool | Careful | Keep several inches away, never on a sealed or icy housing |
| Soft rubber roof rake | Only on high mounts | Aim for a fixed panel or wall light, never a stake light |
| Hot water, metal scraper, ice melt | No | Cracks lenses and plastic housings, corrodes contacts |
You will know the panel is clear when the cell looks evenly dark blue or black with no white patches and no rim of ice along the frame. If it stays frosted no matter what you do, a cracked or delaminated panel is the likely cause, and no amount of brushing fixes that. Replace the light rather than pushing on it.
Inspect seals, vents, seams, and stakes
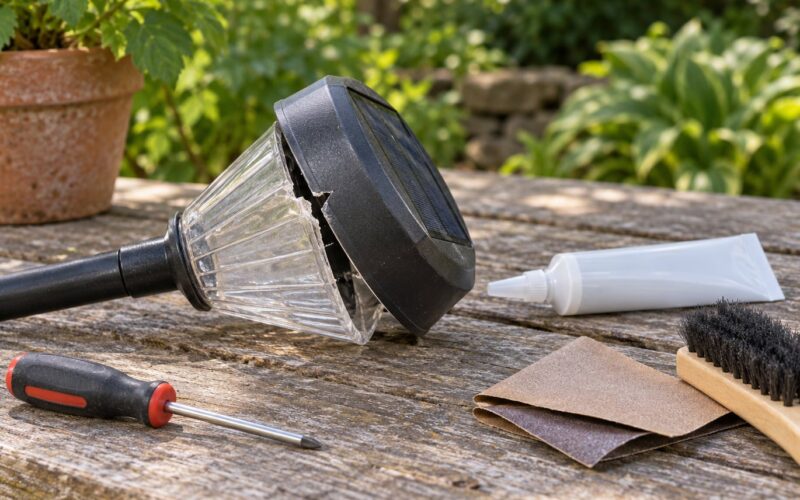
Freeze-thaw cycles are the real enemy. Meltwater runs down the housing, finds any opening, and freezes inside the enclosure, and each cycle widens the crack a little. Run your fingers around the lens seam, the back cover, the stake collar, and every cable entry, and look for a soft lens, a rattling back plate, a green or white bloom on the contacts, or a stake sitting loose in the ground.
Do not open a sealed unit or splice a wire unless the manufacturer authorizes it. Put a dab of exterior silicone sealant around a lifted seam or a gapped cable entry, and let it cure fully before the next rain.
Keep charging and lighting during thaws
Leave snow in place when a clear day is forecast to melt it, especially on lights you cannot reach without a ladder. Once the panel is exposed again, wipe it dry, confirm the light switched on at dusk, and check the next morning for condensation inside the lens. A light that dims noticeably in the evening is usually low on charge, not dying.
Members of r/solarenergy report a Canadian study that examined the clearing question directly and landed somewhere in the middle: panel angle mattered more than how often snow came. If your panels are adjustable, tilting them 45 to 60 degrees toward the south is the single biggest winter improvement you can make, versus 5 to 10 degrees in summer.
Use winter covers only when ventilation is safe
A fitted breathable cover on a removable light is fine, as long as it is loose, vented, and made of a material that passes moisture. The same goes for shielding a fixed panel with a small canopy: keep the whole fixture uncovered, because sealing a light that is still generating heat traps condensation against the panel and the battery.
Never wrap a light in a plastic bag, drape plastic sheeting, or run tape across a panel. Airbags of trapped moisture do more damage in spring than any snowstorm, and taped plastic tears the frame in the cold.
Store removable lights correctly for long winters
Clean and fully dry each fixture first, remove the battery pack if the design allows, and store everything in a cool, dry place away from direct heat. Charge the batteries to about 60 to 70% before they go into storage, and check them monthly, topping any that have dropped below 50%. Do not freeze a stored battery, do not leave it fully depleted, and do not park a storage tote on a concrete floor in an unheated garage.
How you store the batteries sets whether the light works next spring. Storage charge guidance usually comes down to the same principle: partial charge, kept cold but not frozen, rechecked monthly through the off-season.
Common Mistakes
Almost every ruined winter light traces back to one of these. Each has a simple correction.
- Pouring hot water on ice. Thermal shock crazes the lens and warps the housing. Use lukewarm water and wipe it before it refreezes.
- Scraping with a metal tool or roof rake. It gouges the photovoltaic cell, and you cannot see the damage until the light stops charging. Use plastic or a soft brush.
- Brushing snow toward the vents and seams. You are packing slush into the exact openings that let water in later. Sweep downhill, away from the housing.
- Wrapping lights in plastic for the winter. Airtight wrapping traps condensation that freezes and cracks the enclosure. Use a breathable fabric cover, or nothing at all.
- Keeping a damaged light running. A cracked lens or loose back plate lets meltwater into the charge controller. Switch it off, seal what the manual allows, or replace it.
- Piling salt or ice-melting chemicals on the panel. The meltwater carries salt into the seams and corrodes the contacts. Clear the light first, then the walkway.
One more habit is worth naming. Users on r/OffGrid dealing with heavily snowbound cabins report months without enough solar to cover even basic needs, and a post over in that community was titled something closer to trying not to break my neck clearing off the snow. If clearing a panel means a ladder in the dark, leave it until a brighter, safer day. A buried panel costs you light for a day; a fall costs you the season.
Frequently Asked Questions
Can I leave snow on a solar light?
Often, yes. Snow usually melts within a day or two, and dark panels absorb enough sun to shed it on their own. Leave snow when it will clear on its own and when clearing it would mean climbing in bad conditions. Brush it off when you can reach the panel safely and clear weather is forecast, because buried panels stop charging entirely and winter daylight hours are already short.
How do I remove ice from a solar panel safely?
Use lukewarm water from a spray bottle, then wipe the panel dry with a non-abrasive cloth before it refreezes. A soft brush handles fresh snow. Avoid hot water, metal scrapers, ice melt, and a hair dryer held close to the housing, since all four can crack the lens or warp the plastic. If ice persists after gentle warming, the panel is likely damaged and the light needs replacing.
Should I cover solar lights for winter?
Only with a breathable, fitted cover, and only on a light you have switched off and dried. Plastic bags, sheeting, and tape trap condensation that freezes inside the housing. For lights that stay outside in heavy snow, no cover at all is usually better than a badly fitted one, since an open fixture dries after a melt while a wrapped one does not. Check the manual first.
Why is my solar light not charging after snow?
If the panel is clear and the light still will not charge, the snow is a symptom rather than the cause. Look for a dirty or shaded panel, a tripped dusk sensor, a cracked lens, or a battery that sat empty through weeks of short days. Expect a battery to lose 20 to 30% of its capacity in freezing temperatures, and remember that a fully overcast day delivers only 10 to 25% of normal charging.
What if water or condensation gets inside the solar light?
Power it off and let it dry completely before switching it on, ideally in a warm, ventilated indoor spot. If the lens is fogged, the back plate is loose, or the contacts look green or white, the seal has failed and moisture will keep coming back. Seal what the manufacturer allows with exterior silicone, and replace the light if the housing, lens, or charge controller is compromised.
Conclusion
Start with the three things that matter: switch the light off, check the manual for its weather rating and storage charge level, then clear the panel with a soft brush and no heat, no abrasives, and no ice melt. After that, keep an eye on the seam around the lens and the cable entry, where meltwater does the most damage.
How to protect solar lights from snow is mostly about the panel staying clear and the battery staying partly charged. Lights that work all summer usually keep working through winter if you clear them once, dry them properly, and store the ones you bring in at about 60 to 70% charge.