Frost damage to outdoor lights starts with water, not ice. Moisture that enters a fixture, lens, conduit or battery compartment freezes and expands, cracking housings and corroding contacts — even when the light is rated for wet locations. To protect outdoor lights from frost damage, confirm the fixture is rated for outdoor use, clear the drainage paths, protect the seal where the wiring enters, and keep snow off solar panels before the first freeze. Budget about an hour per area, and do it a weekend before the first hard freeze rather than the night before.
Table of Contents
- What You Need
- Step-by-Step: How to Protect Outdoor Lights From Frost Damage
- 1. Check the Light’s Weather Rating and Instructions
- 2. Clean and Inspect the Fixture Before Winter
- 3. Use the Right Location and Orientation
- 4. Protect Seals, Connections, and Solar Panels
- 5. Maintain the Light During Freeze-Thaw Weather
- 6. Inspect for Damage After the Cold Weather
- Common Mistakes
- Frequently Asked Questions
- Can outdoor lights really be damaged by frost?
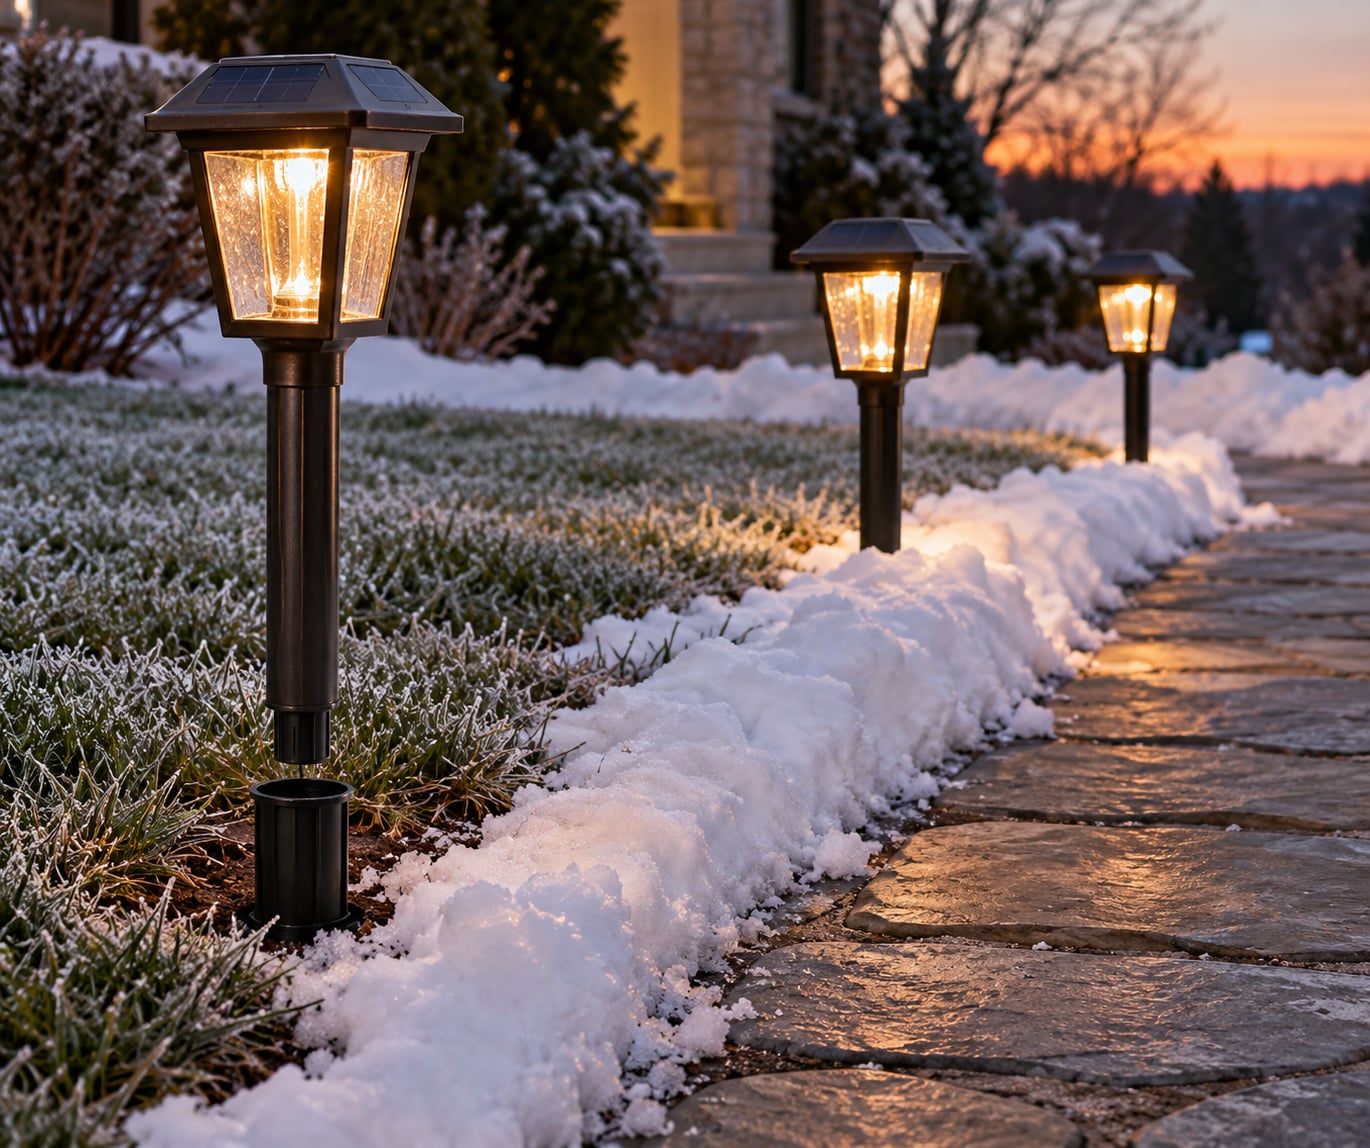
- How do I protect solar garden lights from frost?
- Should I put a cover over my outdoor light in winter?
- How can I tell if frost has damaged an outdoor light?
- Is it safe to use heat or hot water to remove ice from a light?
- Conclusion
What You Need
The short list matters more than the long one: the manufacturer’s instructions, a way to isolate power, and materials rated for exterior electrical use. Start by finding the model number or nameplate on each fixture so you can pull the install sheet.
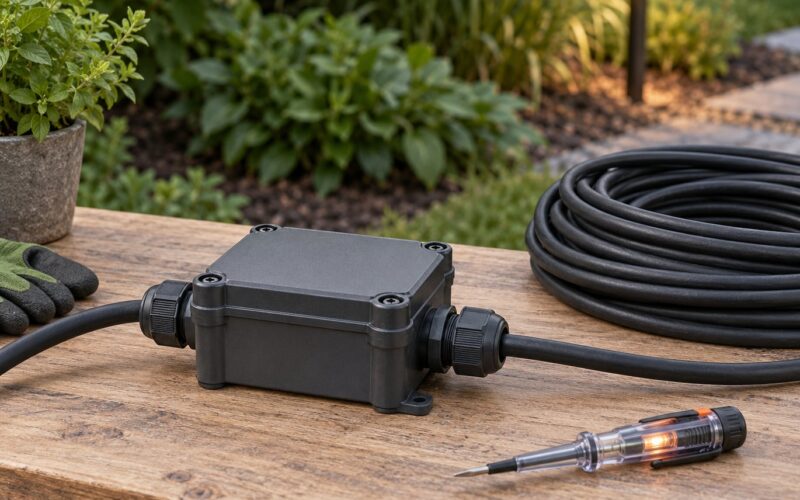
Then gather a wet-location cover or an outdoor-rated fixture listing marked for damp or wet use, neutral-cure silicone sealant labelled for electrical applications, corrosion-resistant fasteners, nitrile gloves, a stable ladder, a soft brush, basic hand tools and a flashlight. Any hard-wired fixture should be fed from a GFCI-protected outlet with an in-use cover that closes over the plug.
Know what the rating symbols mean before you buy anything. A wet-location listing (usually marked on the box or body) plus an IP code is the baseline: IP44 resists splashing, IP65 is dust-tight and resistant to water jets, and IP66 adds resistance to heavy water jets.
Solar lights need far less. A soft brush, a dry cloth, and somewhere indoors with a dry floor cover it. Panel cleaning and relocation do more for solar lamps than sealing ever will.
One rule overrides everything else in this guide: turn the breaker off and confirm the circuit is dead before you touch anything hard-wired. Anything beyond that — new wiring, a fixture swap, a recurring GFCI trip — belongs with a licensed electrician.
Step-by-Step: How to Protect Outdoor Lights From Frost Damage
Work through these six stages in order. The first two happen in autumn; the last two happen the week the thaw arrives, and skipping them is how a small problem becomes a replacement.
1. Check the Light’s Weather Rating and Instructions
Start at the nameplate, because it decides everything else. A fixture with no outdoor listing and no IP code has no business sitting outside through a winter, no matter what the previous owner did with it.
Then check the operating-temperature range for the driver or transformer inside the light. If your local winter lows fall outside that range, expect dim output, flickering, or a driver that simply stops until the unit warms up.
Replace anything rated for indoor use only with a wet-location fixture in the same style. If the fixture is hard-wired and the problem is a wiring run, a loose box, or a seal that has already failed, book a licensed electrician rather than working on it yourself.
2. Clean and Inspect the Fixture Before Winter
Isolate the light first: flip the breaker for hard-wired fixtures, or switch off and remove the battery from solar units. Then clean the lens and the seams with a damp cloth, and clear out leaves, vines, mud, and spider webs sitting against the housing.
Look for the four things that always fail. A hardened or torn gasket, a hairline crack in the lens or housing, corrosion around the base and screws, and any opening where wiring or conduit enters the body.
Fix what you can before the cold sets in: reseat a loose gasket, replace a cracked lens, tighten hardware with corrosion-resistant fasteners, and clear any blockage that would hold water. Small repairs done in early autumn cost nothing compared with the same work in March.
3. Use the Right Location and Orientation
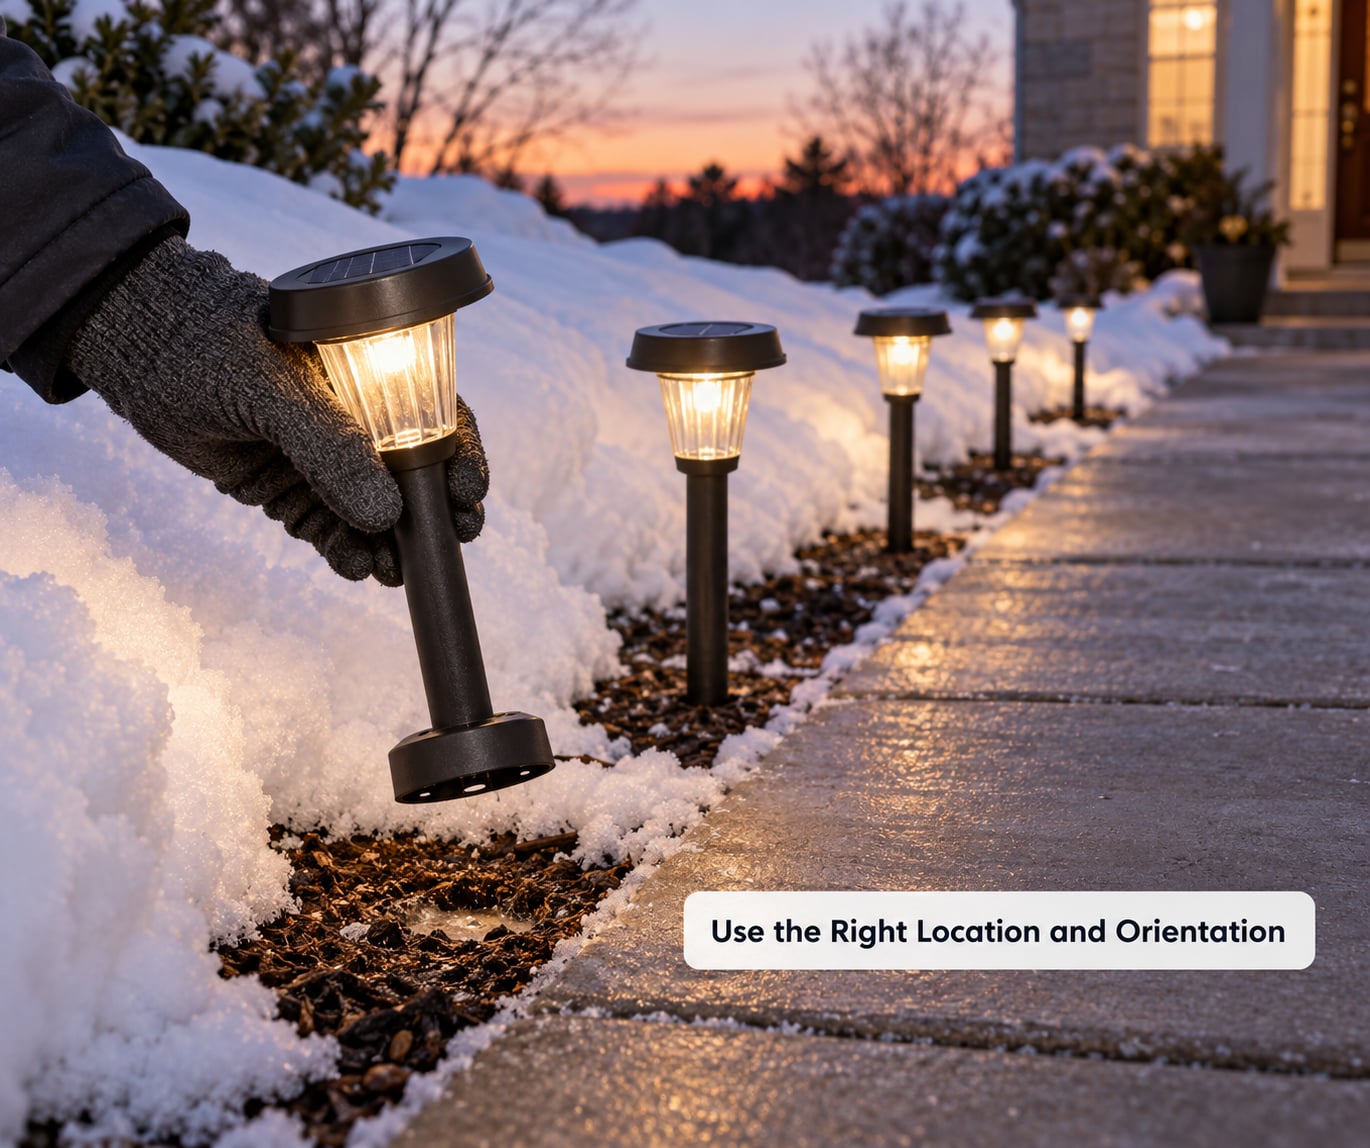
Location decides how much ice a light holds, and that matters more than any cover. Repeated freeze-thaw cycles, roof drip lines, sprinklers, snow banks and low spots where water pools all put the same fixture in standing water more often.
For wall sconces and porch lights, mount under an eave or roof edge so water runs off the drip line, and tilt the lens downward. For path lights, move them to a slightly raised spot with open southern sky, away from where the plow throws salt and slush.
Floodlights aimed flat at the driveway collect ice load and glare. Angle them down and across. In-ground uplights are the quiet failure: keep the fixture body above your local frost line or use an adjustable body, because water trapped in a buried housing is what cracks it.
| Fixture type | Can it stay outdoors? | Best protection | Bring it inside? |
|---|---|---|---|
| Solar path lights | Yes, but not deep cold | Keep the panel clear, raise the base, store indoors during hard freezes | Yes, for the coldest weeks |
| Holiday string lights | Yes, if outdoor-rated | Keep connections off the ground and dry, no coverings | Optional |
| Wall sconces | Yes, with a wet-location listing | Mount under a drip line, reseat the gasket | Rarely |
| Floodlights | Yes | Aim down, clear ice gently with a plastic scoop | No |
| Low-voltage yard lighting | Yes | Keep the transformer dry and above ground, seal junctions | Transformer only, in a garage |
| In-ground uplights | Yes | Body above the frost line, adjustable aim | No |
| Portable lanterns | No, not through winter | Store in a dry, unheated spot | Yes |
4. Protect Seals, Connections, and Solar Panels
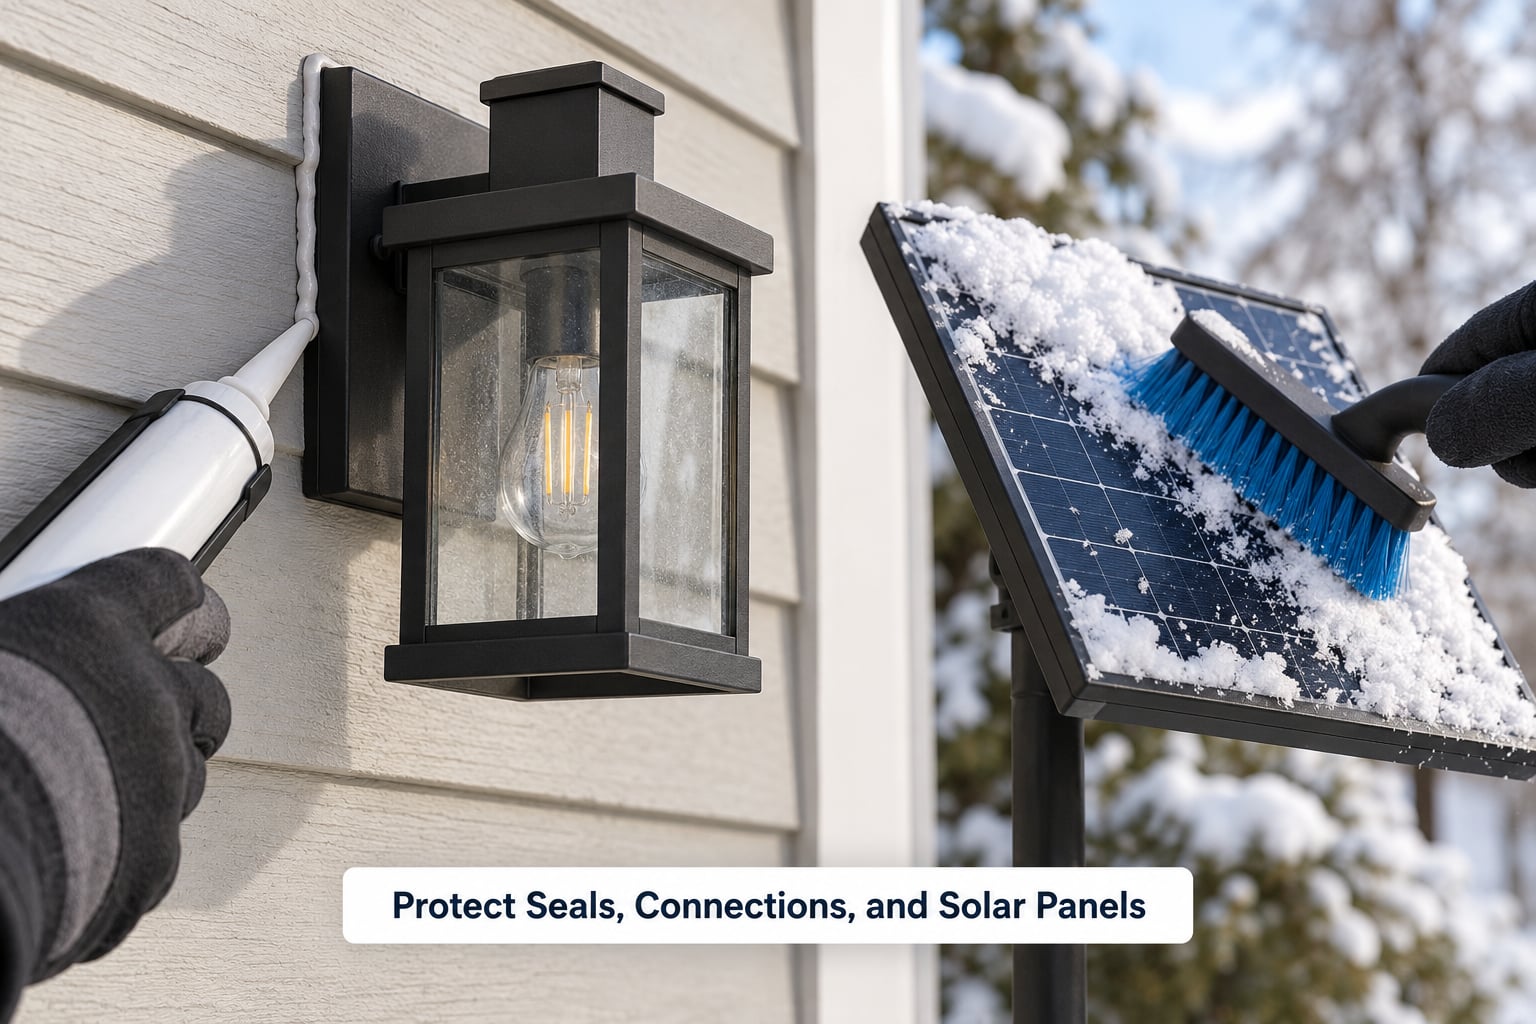
Seal the entry points, not the electricity. With power off and the surface dry and frost-free, run a bead of neutral-cure silicone labelled for exterior electrical use around the mounting edge and the point where conduit or cable enters the housing. This is the step that decides whether the same fixture survives ten winters or one.
Duct tape and electrical tape are temporary at best. They peel in cold weather and trap water against the housing, which is exactly the condition you are trying to prevent.
If you use a cover, it must be fitted and vented. A cover that seals tightly collects condensation, and condensation is what freezes. Never drape plastic, sheets or anything flammable over a lit fixture, and never over a bulb that runs hot.
For solar panels, brush snow and ice off with a soft plastic brush and never scrape with metal, which scratches the surface. Wipe off grime so charging survives short winter days, and keep the panel aimed at the most open sky you have. On the battery side, check whether the cell is NiMH or lithium-ion, and store the lamp indoors during extreme cold if you want it to work in spring.
5. Maintain the Light During Freeze-Thaw Weather
Scoop snow off the top of a fixture gently with a plastic shovel, and never bang on a lens. Bulbs and polycarbonate lenses are brittle when frozen, and one tap can end the season.
Keep drainage paths and vents open so meltwater has somewhere to go. And never pour hot water, use a hair dryer or a heat gun on ice around a fixture. That thermal shock is the fastest way to shatter a lens that would otherwise have survived.
Regarding whether lights need to be switched off during a freeze: they don’t. Cold weather itself does not damage a properly rated fixture, so leave the circuit as it is. What matters is that covers stay off, plugs stay dry, and any GFCI cover closes properly over the connection.
Fogging inside the lens that clears by midday is normal venting. Droplets that never go away, flickering after rain and cold, or a breaker that trips twice means moisture has reached the connection. Switch off, let it dry fully, and have it checked.
6. Inspect for Damage After the Cold Weather
Winter damage often stays invisible until you turn the lights on in spring. Walk the property and match each symptom to its cause.
| Symptom | Likely cause | What to do |
|---|---|---|
| Cracked or frosted lens | Freeze expansion inside the housing | Replace the whole wet-rated fixture |
| White or green powder at the base | Corrosion from moisture ingress | Clean and reseal, or replace if pitting is deep |
| Flickering after rain and cold | Water at a connection or socket | Isolate, dry, inspect; electrician if hard-wired |
| Solar light dim or dead | Battery drained or cold-damaged | Clean the panel, replace the battery, reset |
| One dark section of string lights | Corroded or wet plug | Dry and reseat, or replace that run |
| Repeated GFCI trips | Moisture reaching live parts | Stop using it, call an electrician |
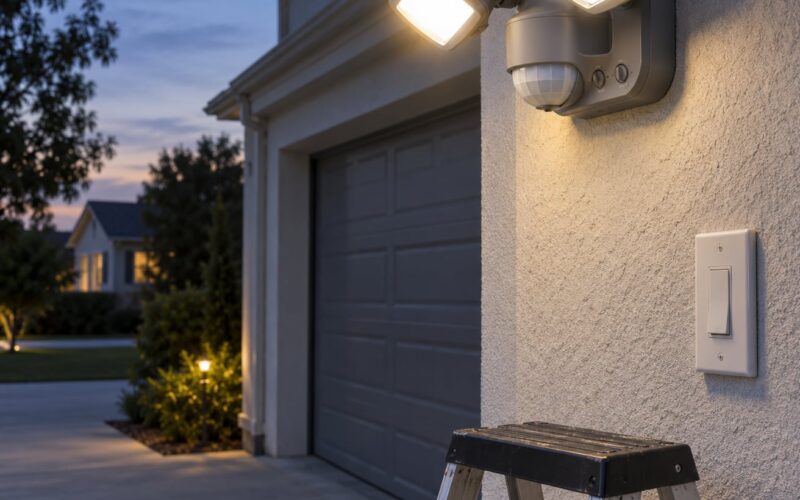
| Motion sensor stuck on | Snow or ice on the sensor lens | Clear with a soft cloth, no heat |
Repair when the housing is sound and one part failed: a loose gasket, a dead socket, a corroded screw, a solar battery. Replace when the seal itself is compromised, because a replacement part on a cracked housing is a temporary fix at best.
Stop using any light with damaged wiring, a warm or discolored plug, or a housing that stays wet inside. That is not a weekend job.
Common Mistakes
Assuming every outdoor light is frostproof. A wet-location rating means the fixture handles rain, not that it shrugs off frozen water inside it. Old gaskets harden, drainage paths clog, and water collects where the design left no way out.
Sealing live electrical connections. Isolate and confirm the circuit is dead. Seal housings, entries and gaskets, never a wire you could touch.
Using indoor acrylic caulk or ordinary latex sealant. Both go brittle in cold weather and let go at exactly the wrong moment. Use neutral-cure silicone rated for exterior electrical use.
Leaving solar lights where snow piles up. A buried panel charges nothing, and the weight of ice cracks the housing. Relocate them to an open, raised spot or bring them in.
Using hot water or salt to clear ice. Hot water shatters a frozen lens. Salt etches concrete and corrodes metal fasteners within a season.
Fitting covers that trap moisture. If air cannot move under the cover, condensation forms, and that water is the whole problem.
Prevention is simpler than any of these fixes: raise the base, keep the drainage path clear, reseat gaskets in fall, brush panels off snow, and check the seal on every fixture once a year.
Frequently Asked Questions
Can outdoor lights really be damaged by frost?
Yes. Frost damage almost always starts with water, not ice. Rain or condensation enters a fixture, conduit or battery compartment, and when that water freezes it expands and cracks the housing, the lens or the joint. Repeated freeze-thaw cycles then corrode contacts and let in more moisture. A wet-location rating slows this down but does not prevent it.
How do I protect solar garden lights from frost?
Keep the solar panel clear of snow, ice and grime with a soft plastic brush, and set the lamp in a raised spot with open southern sky. During hard freezes, store lamps indoors on a dry surface, since cold storage is what kills rechargeable NiMH and lithium-ion cells. Swap the battery when output drops, and reset the lamp by switching it off overnight.
Should I put a cover over my outdoor light in winter?
Usually no. A tightly fitted cover collects condensation, and that moisture is what freezes and cracks the housing. If you use one, make sure it is vented and sized for the fixture. Never drape plastic, sheets or cardboard over a lit fixture, and never over a bulb that runs hot. Clearing snow gently is safer than covering.
How can I tell if frost has damaged an outdoor light?
Look for a cracked or frosted lens, white or green corrosion powder around the base and screws, and water sitting inside the housing. Electrically, flickering after rain and cold, dim output from a solar light, or a GFCI that trips more than once all point to moisture reaching live parts. Damage is usually invisible until spring.
Is it safe to use heat or hot water to remove ice from a light?
No. Hot water, a hair dryer or a heat gun creates thermal shock, and a lens or bulb that is frozen and brittle will shatter. Scoop snow with a plastic shovel and clear ice with a soft plastic brush, working gently. Never point a heat source at a fixture, and never use a flame or a space heater near any light fixture or cover.
Conclusion
Start with one thing: confirm each fixture’s outdoor listing, IP code and operating-temperature range against your install sheet. Everything else follows from that — seals, placement, drainage, panel care.
Then walk the property before the first freeze, reseat gaskets, clear the drainage paths, raise solar lamps out of snow, and store anything portable indoors. That is how to protect outdoor lights from frost damage season after season. Follow the manufacturer’s specifications rather than improvised covers, and bring in a licensed electrician for hard-wired faults. Get it right in 2026 and the same lights will still be working next spring.