Yes, you can run your own home energy audit, and a good one takes an afternoon plus a couple of hours of bill review. The method is simple: read your usage, measure what you can, look for air leaks and insulation gaps, inspect the equipment you own, then rank every finding by savings, effort and risk. Most of it costs nothing beyond a flashlight, a notebook and an optional infrared thermometer.
This guide walks through how to do a home energy audit yourself in seven stages. It assumes no training and no demolition, and it works for renters as well as owners, because every stage has a version you can do without touching anything that belongs to your landlord. Read the safety notes before you start, and treat anything involving wiring, gas or structure as a licensed professional’s job.
Table of Contents
- What You Need
- Step-by-Step
- 1. Establish Your Baseline Energy Use
- 2. Read Your Meter Correctly
- 3. Inspect Insulation, Air Leaks, and Ventilation
- 4. Check Heating and Cooling Equipment
- 5. Review Lighting and Appliance Consumption
- 6. Look for Water and Energy Waste
- 7. Create a Prioritized Improvement Plan
- Common Mistakes
- Frequently Asked Questions
- Can I do my own energy audit?
- Is it worth getting a professional home energy audit?
- Can I get a free energy audit for my home?
- How long does a DIY home energy audit take?
- Should I air seal or add insulation first?
- Conclusion
What You Need
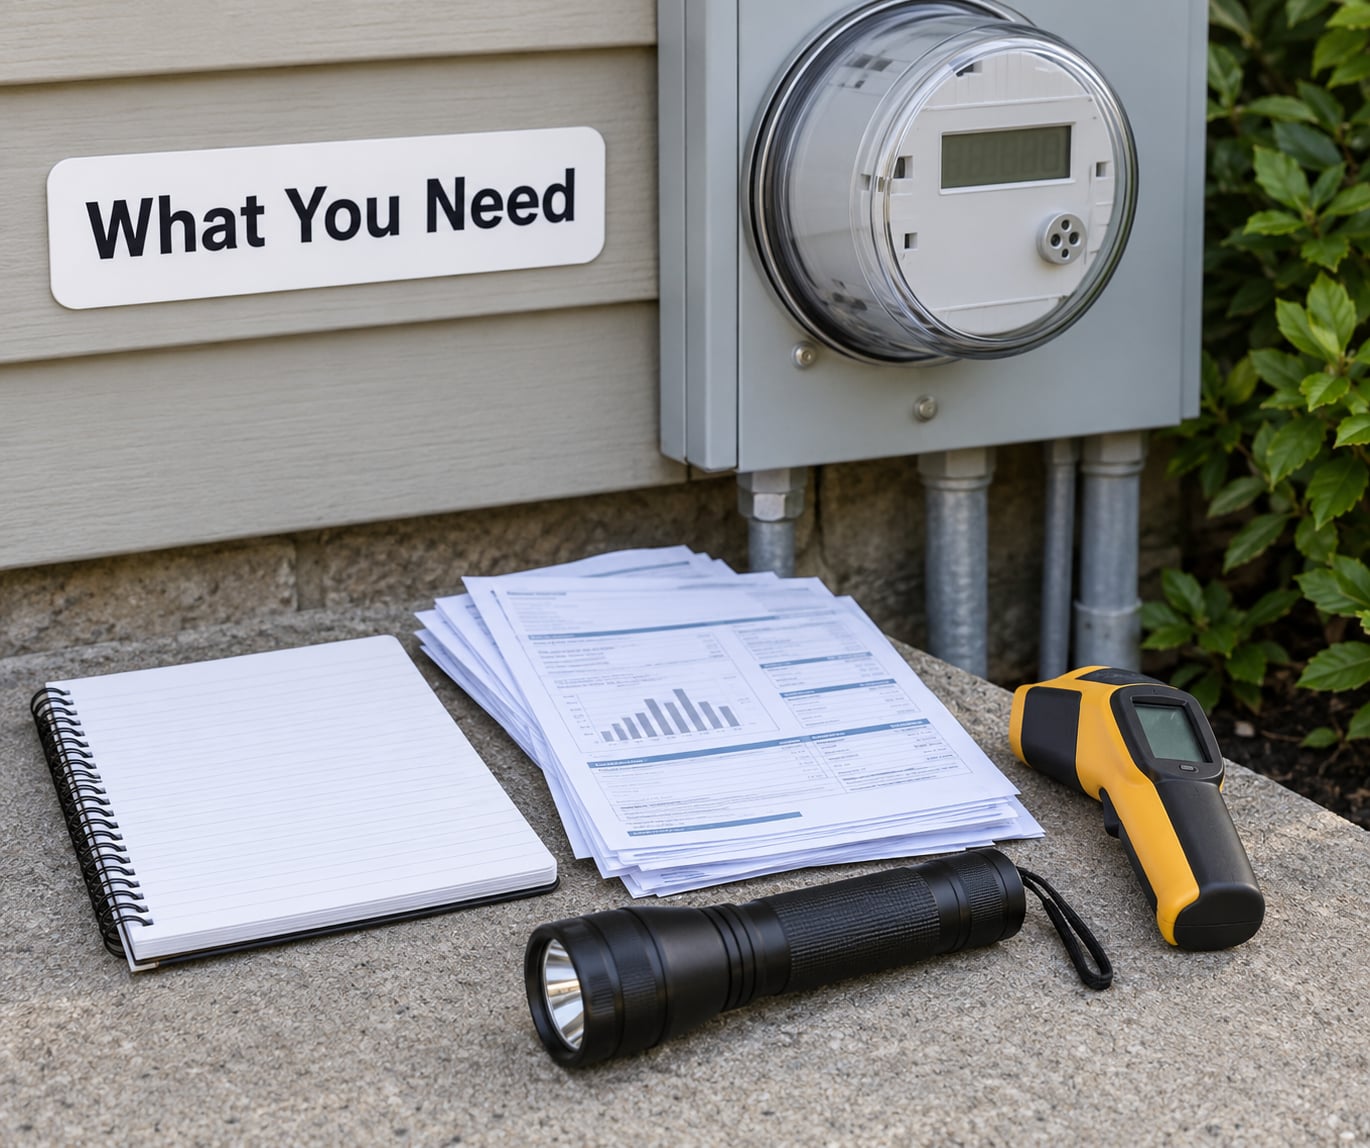
Gather four things before you touch the house: your bills, your meter, a notebook and your senses. Everything else is optional.
- Twelve months of bills. Twelve months matters because a single winter bill tells you almost nothing. Pull the PDF archive from your utility’s account portal rather than digging through paper.
- Access to your meter. Usually outside a front or side wall, sometimes in a basement or garage. You need a flashlight and a clear path.
- A notebook or phone notes. You will be crouching in an attic corner and holding a flashlight; write numbers, do not try to remember them.
- An infrared thermometer. Optional. A basic non-contact model in the 40 to 90 dollar range is enough for spot checks. Rent a thermal camera if you want to scan whole rooms properly.
- Optional: a small box fan, a smoke pencil or incense stick, a step stool, and a pair of knee pads for crawl spaces.
Safety first. Do not open your electrical panel, do not remove covers from a meter or gas appliance, and do not enter a crawl space with standing water, exposed wiring or obvious animal waste. Attics can be hotter than the outside and structurally weaker than the joists suggest, so step only on boards or joists and bring a headlamp rather than balancing a flashlight.
Step-by-Step
A home energy audit works best as a seven-stage pass that moves from your consumption data, outward through the building shell, down to the equipment and habits inside it. Do the stages in order, because each one tells you what to look for in the next. Budget two to four hours for the walkthrough on a typical house.
1. Establish Your Baseline Energy Use
Start with numbers, not with the attic. Pull a full year of bills and write down two figures per month: total kilowatt-hours for electricity, and total therms or cubic metres for gas. Divide each by days in the month so you can compare a 28-day February against a 31-day July.
Then look for patterns. Most homes show one of three shapes: winter-peaked (heating dominates), summer-peaked (cooling dominates), or flat, which usually means electric heat or a lot of standby load. Write down the three highest months and the three lowest, because those are the months to re-measure after you make changes.
If you cannot find twelve months of bills, a smart meter in-home display or utility app is a good substitute. Many utilities show daily or hourly usage, which makes it far easier to spot a single appliance behaving badly. Also note your rate per unit, because a dollar figure tells you nothing without knowing what a unit costs you.
2. Read Your Meter Correctly
A meter reading is the one hard number that outranks everything a bill estimate can tell you. Take the reading at roughly the same time of day, write the date and the unit label, and photograph it so you have a copy. Repeat it a month later and compare.
If your meter is digital, it will display either a cumulative total or a set of digits that rotate. Record whatever it currently shows without touching any button, switch or sealed component. Analogue meters with dials can be read to the nearest whole number, and if a dial sits between digits, read the number it has passed most recently.
Renters can do everything up to this point. Note the meter reading in your move-in inspection notes, and you have both a baseline and a paper trail if a shared meter ever makes a bill look strange.
3. Inspect Insulation, Air Leaks, and Ventilation
Work room by room rather than floor by floor, and use the same three checks in each one: drafts, insulation, and ventilation.
For drafts, close the house down for the day so the indoor-outdoor temperature difference shows, then move a lit candle or a stick of incense slowly along window frames, door edges, and where walls meet the ceiling. Flickering or smoke that moves consistently points at a leak. The hand test works too, and it works in summer: a room that is warmer than the hallway when the AC is running is pulling in unconditioned air.
For insulation, the attic is the highest-value place to look and the easiest. If you can see the tops of the ceiling joists from the attic floor, you are under-insulated. Measure the depth with a tape, then check what the fibre says on its label for R-value, since depth alone is meaningless without the material. Basement and crawl space rim joists are the second priority: a rim joist is the band of wood between the joists at the foundation wall, and it is often uninsulated with a hairline of air moving past it.
For ventilation, make sure bathroom and kitchen exhaust fans actually run, and check that dryer and range hoods vent outdoors rather than into the attic. Poor venting shows up as winter condensation on windows, musty smell in closets, or a dark stain pattern on drywall after a heavy rain season.
If you rent, the drafts and readings are documentation worth keeping. So is the attic check, done only if it is safe and you are permitted on the property.
4. Check Heating and Cooling Equipment
Find the data plate on your furnace, air conditioner or heat pump. Write down the model number, the manufacture year, and the efficiency rating printed next to it: SEER for air conditioners and heat pumps, AFUE for furnaces and boilers. Those two numbers are what an equipment quote is built around, and having them ready saves a trip.
From there, stay on the outside of the system. A clogged filter is the single most common cause of a system running hard without delivering comfort, and checking the filter every season is the highest-return five-minute task in this audit. Look for visible obstructions at outdoor units, ice or heavy frost on the outdoor line in winter, pooled water near the pad, and a thermostat that is mounted next to a heat source or a draft, which makes readings unreliable.
Inside, trace what the system serves. Registers in odd places, like a bathroom or a back bedroom, suggest ductwork running through an unconditioned attic or crawl space, which means your conditioned air travels through hot or cold air before it reaches the room. Note that as a finding for a professional, not a project for you.
5. Review Lighting and Appliance Consumption
Inventory what uses electricity without anyone thinking about it. Count bulbs by room and note the type and wattage; a 60-watt incandescent bulb uses about a tenth of what an equivalent LED uses, and LEDs last far longer. Check outdoor and porch lighting, since those run long hours and are often the biggest avoidable load.
Then hunt phantom loads, also called vampire loads: the electronics that draw standby power whenever plugged in. TVs, game consoles, set-top boxes, printers, coffee makers and desktop computers are the usual list. A smart power strip switches these off at the wall with one switch instead of twelve remotes.
Rank the list by rough hours of use. A fridge runs around 15 percent of the day; a desktop left on 8 hours a day costs more than the fridge does. Use your smart meter or plug-in meter to check the real draw of anything you suspect, then write the appliances that contribute most at the top of your findings list.
6. Look for Water and Energy Waste
Water heating is usually the second-largest energy use in a home after space conditioning, and it wastes energy quietly. Check for dripping faucets and running toilets, and note how long showers last, since cutting a shower from ten minutes to five often saves more hot water than any fixture upgrade would.
Look at the water heater itself: its tank size, its age from the data plate, whether it has a drain pan and drip switch, and whether a blanket or timer is in place. A conventional tank left at the factory setting burns energy to keep stored water hot even when nobody is home. Faucet aerators that have lost their flow restrictors and a dryer vent packed with lint, which makes the dryer run longer on every load, are two more easy wins.
Outdoors, check for irrigation leaks and standing water, and note pool or spa equipment that runs on a schedule nobody set. Those loads rarely appear on a bill breakdown, but they are pure loss.
7. Create a Prioritized Improvement Plan
This is the stage that separates an audit from a walkaround. Write every finding in one list with four columns: the action, the likely effort, the safety risk, and whether it needs a professional. Then sort it.
Use a simple order that works for most homes. First come changes that are free or near-free and improve safety or comfort, like setting the thermostat schedule and fixing a loose weatherstrip. Next come air sealing, because sealing the shell before adding insulation stops conditioned air from escaping through the new material. Then insulation. Then equipment decisions and big purchases, which only make sense once the shell is fixed.
Get that order right, because attic air sealing and blowing in new insulation are commonly reversed, and reversing them can trap moisture against the roof deck. Check your local rules before starting any work on the thermal envelope, since some jurisdictions require a permit or an inspection for blowing in insulation.
Before you touch anything, take a fresh meter reading and write today’s date next to your baseline numbers. That reading is how you prove a fix worked three months later instead of guessing. Keep the list, re-read your bill a season later, and mark what changed.
Common Mistakes
Estimating without measuring. The most common error is starting with an attic inspection and never looking at a bill. Bill data tells you which months matter and which systems deserve attention; without it you are guessing.
Comparing bills from different seasons. A warm January and a cold January can differ by a third. Normalize per day, and compare like months, ideally with the same weather pattern.
Opening equipment that should stay closed. Meters, electrical panels, water heater gas controls and flue dampers all have a reason to be sealed. A stuck breaker or a gas leak is a call for a licensed electrician or gas technician, not a screwdriver.
Ignoring recurring comfort problems. A room that is always cold, a bathroom mirror that fogs every morning, or a hallway that drafts in winter are findings. They point at air movement, and comfort complaints are often the cheapest way to find a serious leak.
Treating every item as equally urgent. A list with fifteen entries and no ranking is a list nobody acts on. Rank by payoff and effort, start at the top, and finish something before adding to the list.
Testing a thermal camera at the wrong time. A scan during a sunny afternoon mostly shows you sun-warmed surfaces, which looks dramatic and means nothing. Scan before sunrise or at night when the indoor-outdoor temperature difference is 20 degrees or more, and treat results as clues for follow-up rather than proof.
Frequently Asked Questions
Can I do my own energy audit?
Yes, and most people should start there. A DIY audit covers your bills and baseline usage, air leaks, insulation depth, HVAC condition, lighting, phantom loads and hot water habits, using a flashlight, notebook and optional infrared thermometer. It takes two to four hours and finds the common problems in ordinary houses. It cannot see moisture inside walls, unsafe wiring or combustion appliance faults, so those still need a licensed professional.
Is it worth getting a professional home energy audit?
Worth it when your bills are high and unexplained, when your home is older or about to go on the market, or when you are about to install rooftop solar, a heat pump or a large insulation project. A professional brings a blower door test, whole-house infrared scanning, moisture readings and combustion safety checks you cannot replicate. Treat the report as a shopping list rather than a contract, and compare any recommendation against the air-sealing-first sequence in this guide.
Can I get a free energy audit for my home?
Quite often, yes. Most electric and gas utilities run free or heavily discounted energy audits, sometimes remotely and sometimes in person, and several also offer rebates for insulation, HVAC and water heating upgrades that offset the cost of the work. Some local governments and state energy offices run similar programs. Call your utility and ask specifically about residential energy assessment programs, evaluation services and any current rebates before you pay anyone for an audit.
How long does a DIY home energy audit take?
Plan on two to four hours inside the house plus another hour or so organizing bills and meter readings. The attic and crawl space checks are the slow part, especially in a home that has not been touched in years. Split it across two evenings if you like. Write everything down as you go, because a half-finished audit with no notes is worth far less than a focused evening with a clean list.
Should I air seal or add insulation first?
Air seal first. Sealing the leaks in your thermal envelope keeps conditioned air from escaping through fresh insulation. If you add insulation over open air leaks, you can drive moist outdoor air into the building, where it condenses inside the insulation. Plug obvious gaps, fix ducts and check ventilation, then add insulation to reach the target for your area. Both jobs together usually beat either one alone.
Conclusion
Three actions get you most of the way. Pull twelve months of bills and record monthly usage per day. Take a dated meter reading and photograph it. Then walk the house room by room with a flashlight, checking drafts, attic insulation depth, filter condition, bulbs and dripping fixtures.
Write the findings into one ranked list, air seal before you insulate, and keep the baseline reading so you can measure the change later. Bring in a licensed professional for anything electrical, gas-related, structural or inside an appliance, and call your utility first, since a free program may already cover the professional inspection you were about to pay for.