To light a mailbox area, mount a solar lamp above or beside the box so it points down and inward across the door and the address, then place the panel where it gets at least six hours of direct sun. Most single mailboxes need 100 to 300 lumens, and the whole job takes about an hour with basic tools.
That last part matters. A mailbox light is one of the easiest outdoor lighting projects there is: no trenching, no electrician, no wire to run from the house. The part that trips people up is not the install, it is aiming the light so it actually helps instead of glaring into oncoming drivers.
This guide covers the layout, the brightness and placement choices that matter, and the night test that tells you whether it worked. Adjust for 2026 model designs and local conditions as you go.
Table of Contents
- What You Need
- Step-by-Step
- How to light a mailbox area
- Choose a solar lamp with enough output
- Find a sunny mounting position
- Mount and aim the light
- Test the area at night
- Common Mistakes
- Frequently Asked Questions
- Can you put a light on a mailbox?
- Should solar lights be on or off while charging?
- How long do solar post caps hold a charge?
- Do solar mailbox lights work in winter?
- How bright should a mailbox light be in lumens?
- Conclusion
What You Need
The short version: one solar fixture sized to your area, a sunny spot for its panel, and a few stainless fasteners. Everything else is optional.
- A solar lamp or fixture. A post cap light for a wooden 4×4 post, a solar address light for the side of the box, or a solar path light staked near the approach. Match the type to the mounting surface.
- A way to judge sun exposure. Spend part of a clear day watching where shadows fall across your post and mailbox. This is the step that decides whether the project will work at all.
- A tape measure and a small step ladder. You need the mounting height and the distance from the lamp to the box.
- Stainless steel hardware. Screws, brackets, hose clamps, or masonry anchors for a stone or brick mailbox. Galvanized hardware rusts and streaks the wood within one season.
- Optional: motion sensing or a dimming mode. Motion sensing cuts runtime dramatically and removes the need for a manual switch. A dim setting helps with neighbor glare.
- Optional: a spare battery. Only worth buying if your fixture uses a standard cell. Many cheap ones have sealed batteries, and a dead one means a new fixture.
Anything with a wire running back to a transformer needs a licensed electrician and usually a permit. That is the one job here that is not a weekend project.
Step-by-Step
How to light a mailbox area
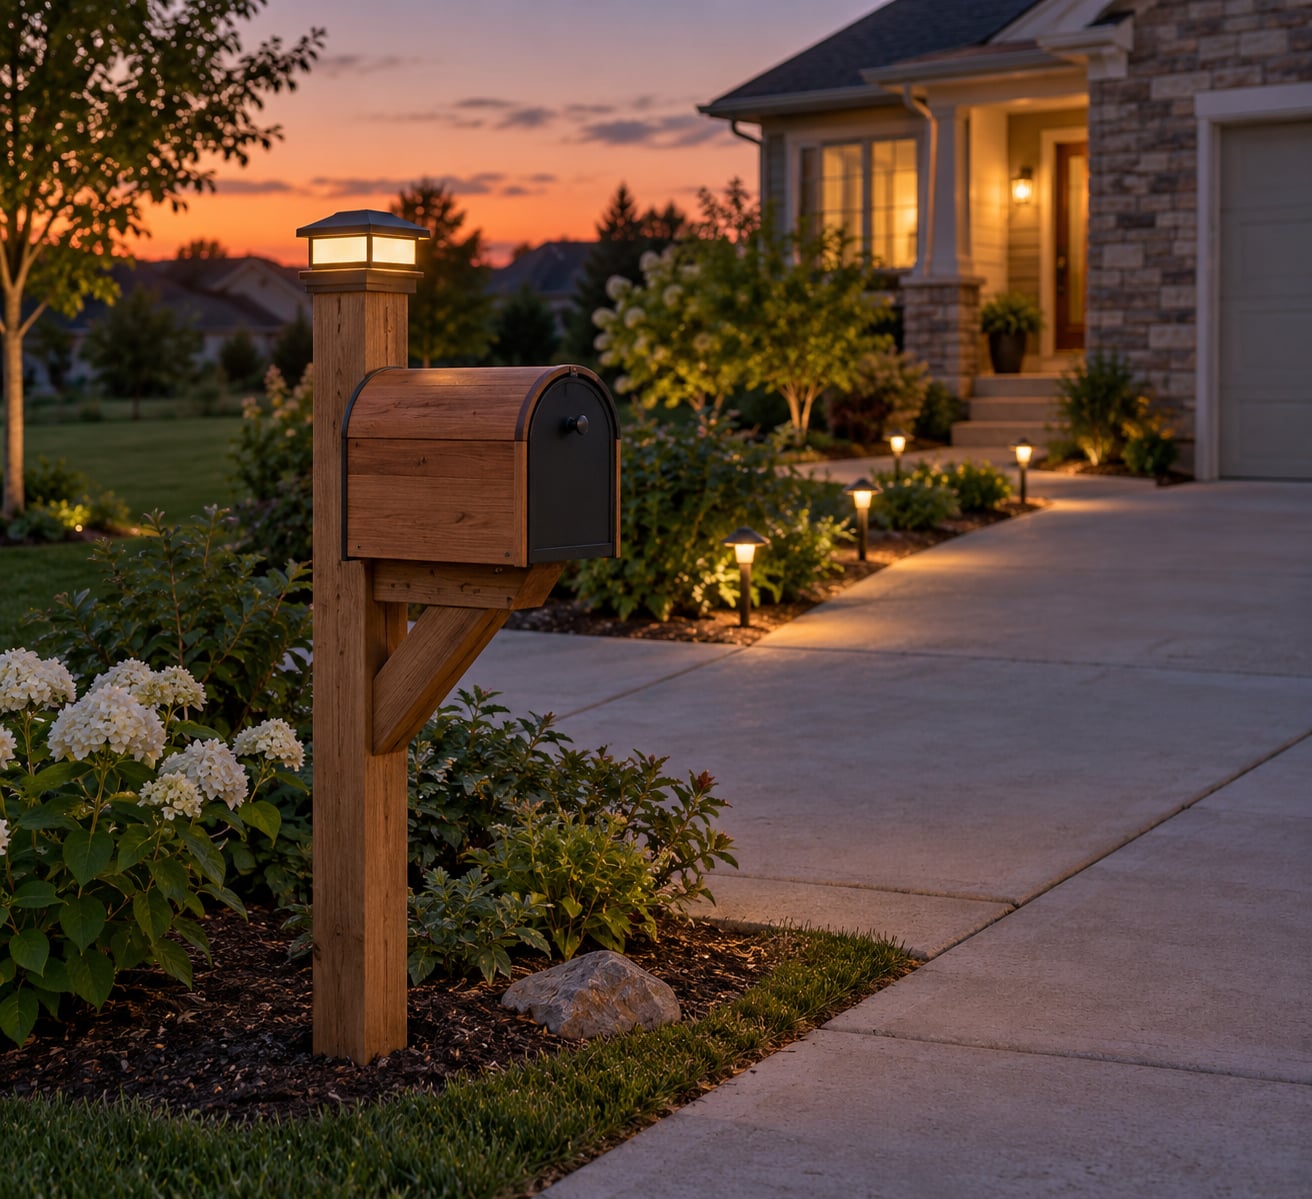
Decide what you are lighting first: the mailbox door itself, the house number, the ground at the end of the driveway, or all three. Most people need the first two, and a single lamp above the post can cover both if it is aimed correctly.
Put the main fixture high on the post, roughly 5 to 7 feet from the ground, and tilt the lamp so the beam falls down onto the box and slightly back toward the house. Light that points forward into the road is wasted light and pure glare for anyone driving past.
For a long driveway, one lamp at the mailbox is not enough. Add path lights every 10 to 15 feet along the walk so the route is readable end to end.
Choose a solar lamp with enough output
Brightness is measured in lumens. Below about 100 lumens you get a soft glow that works for a lit house number but nothing more. The range most single mailboxes fall into is 100 to 300 lumens.
| Situation | Useful output | What to look for |
|---|---|---|
| House number only | 60 to 100 lumens | Small solar address panel light |
| One mailbox and its door | 100 to 300 lumens | Post cap light, warm white |
| Long driveway approach | 150 to 300 lumens per fixture | Path lights plus one post cap |
| Cluster mailbox bank | 300 lumens or more | Dusk-to-dawn fixture, not a path light |
Color temperature matters more than people expect. Warm white, around 2700K to 3000K, sits comfortably in a residential setting and keeps insects down. Anything above 5000K reads as blue-white and looks harsh from a driveway.
Check the IP rating too. IP65 means dust-tight and protected against rain from any direction, which is the minimum worth buying for an outdoor mailbox. IP67 adds temporary submersion protection, which matters if the fixture sits low or floods.
Battery capacity and panel wattage decide runtime, not brightness. A larger panel with a matched battery gives you longer nights of light, which is where most cheap fixtures fall short.
Find a sunny mounting position
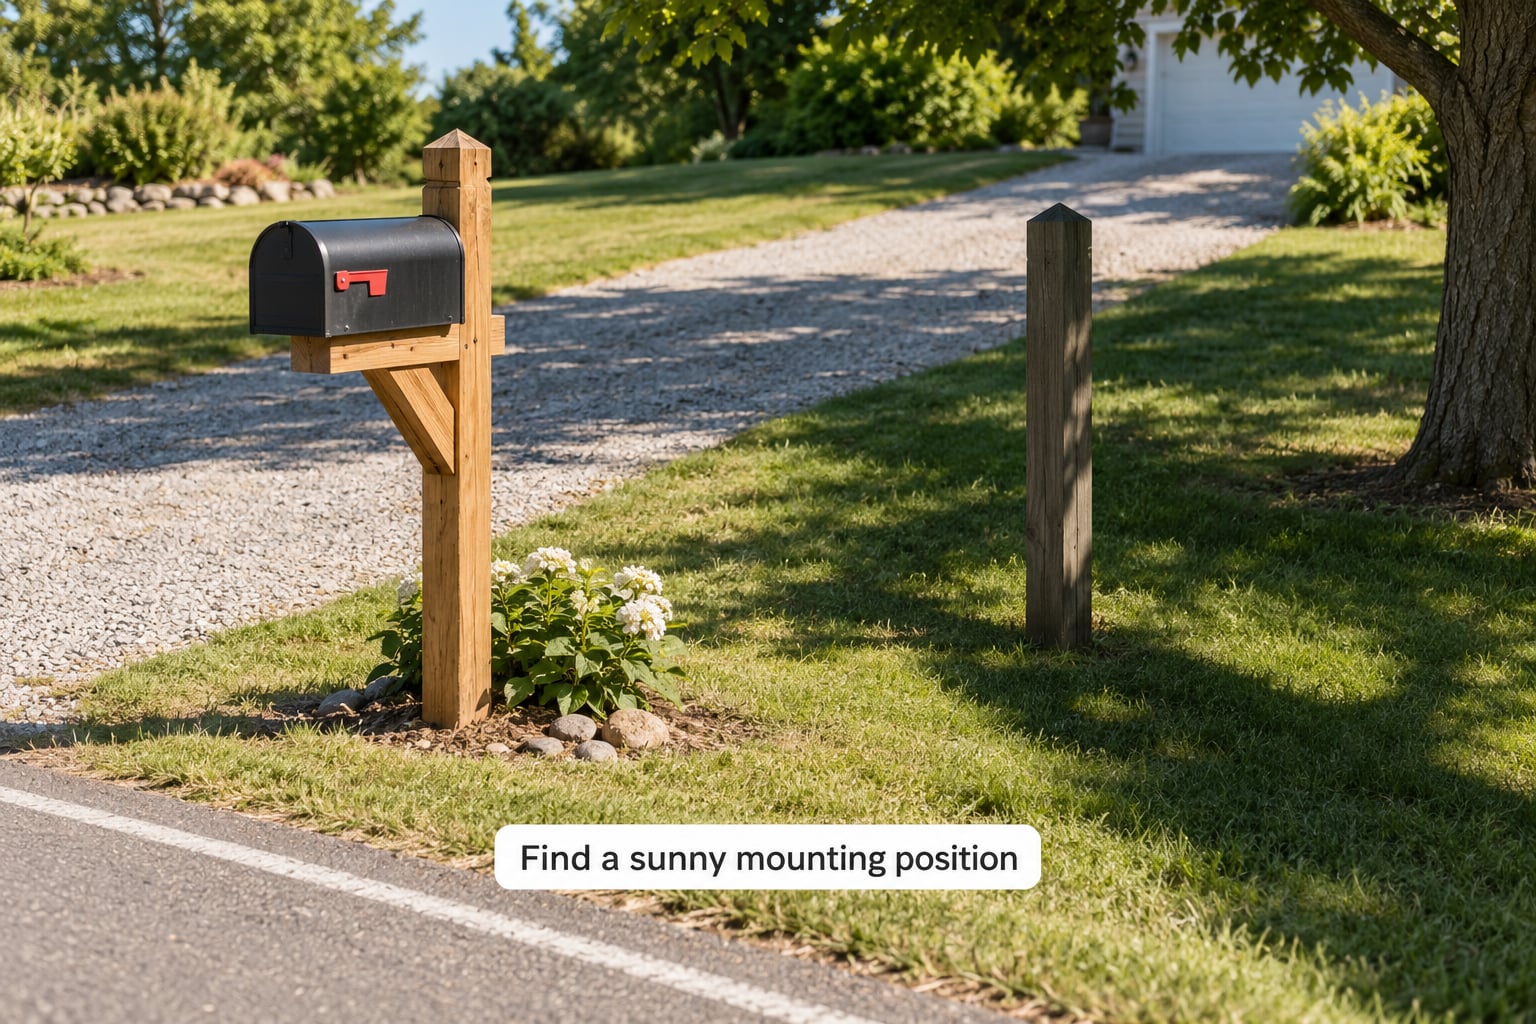
Solar panels charge from direct light, and an hour of sun is worth about an hour of moderate shade in output terms. Watch your post across a full day and note every shadow that crosses it: the mailbox itself, a tree, the house roofline, a wall, a gutter downspout.
The mailbox casting its own shadow is the most common mistake. A panel mounted flat on top of a wide mailbox box in the middle of the day gets maybe a third of the light it needs. Mount the panel higher, on the post above the box, or angle it toward open sky.
Orient the panel toward the equator. In the northern hemisphere that means roughly south, and in the southern hemisphere, north. A little tilt, around 15 to 30 degrees, helps in winter when the sun sits low, but do not overthink it. Any position with six or more hours of unobstructed daylight will charge.
If the mailbox sits under a mature tree or a deep porch overhang, solar is a poor fit. In that case run a low-voltage line from an existing circuit instead of fighting the shade.
Mount and aim the light
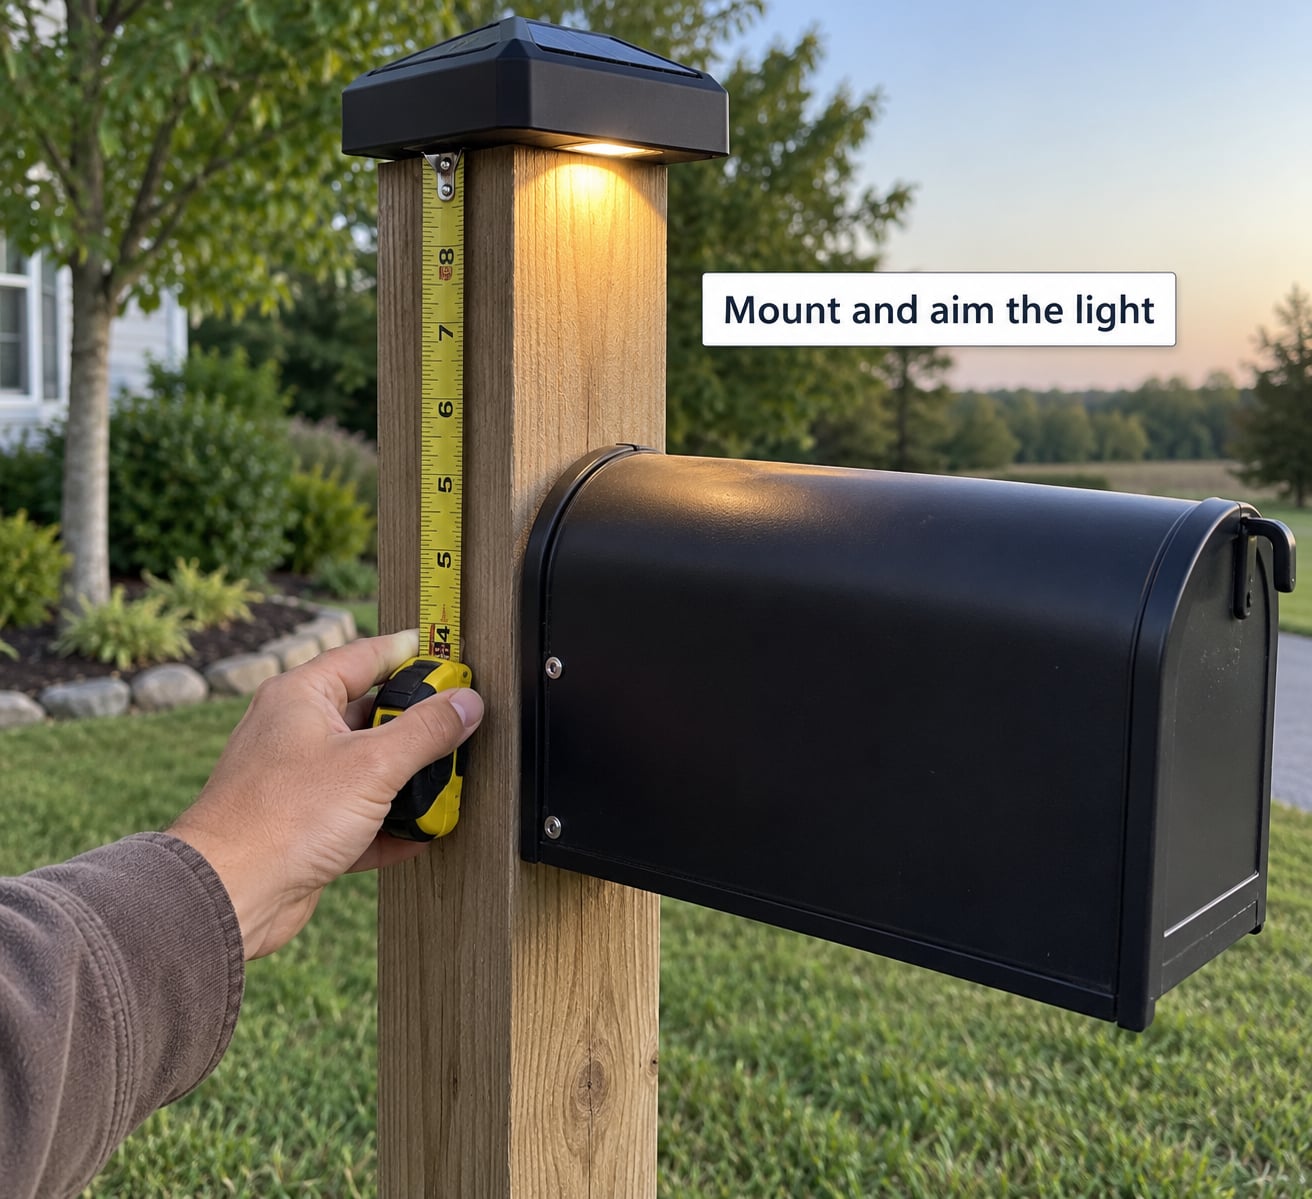
For a standard 4×4 post, a post cap light is the cleanest option. Slide it on, run the provided screw through the cap into the wood, and check that the cap seats flat with no rocking. Add a dab of exterior sealant under the base if rain blows across the post sideways.
For a round metal post, use a two-piece clamp bracket or a hose clamp sized to the diameter. Drilling round steel post tends to deform it, so clamp instead.
For a stone, brick, or masonry mailbox, use masonry drill bits and anchors rated for the material. Do not drill into the mailbox itself if it is a plastic or metal carrier mounted on the post, because that is where water collects and the housing cracks around the hole.
Aim after mounting, not before. Stand in the road at the position a driver would be and look straight at the lamp. If you see the bulb or the LED array directly, it is too bright and too far forward. Rotate or tilt until you see the lit mailbox, not the light source.
Leave the power switch in the OFF position for the first full day of charging. Most fixtures ship with the switch on, which drains the battery overnight and leaves nothing for the panel to store.
Test the area at night
Wait one full charging day, then check after dark. Bring a flashlight so you can inspect without ruining your own night vision.
Walk the approach from the street toward the box. Look for the address from about 40 feet away, the way a delivery driver would, and confirm you can read it without a flashlight. Then check the mailbox door itself for a usable shadow-free pool of light.
Watch for dark spots. Gaps usually come from aiming too far back, so widen the beam or nudge the fixture toward the approach rather than adding more brightness.
Confirm the sensor works: dusk-to-dawn lights should switch on within a minute of full dark, and motion lights should wake on approach after their dark period. If the light is off at dusk, it usually means the panel is in shade or the battery arrived uncharged.
Finally, time it. Note when the light goes out. Several hours before midnight is normal. Going dark by 9pm means undersized battery, shade, or both, and no amount of extra lumens fixes it.
Common Mistakes
Nearly every disappointing mailbox light comes down to one of these.
- Panel in shade. Symptom: light dims or dies by early evening, worse in winter. Cause: the panel gets fewer than six hours of direct sun. Fix: move the panel to the top of the post or to a separate sunny mount, even with a short wire to the lamp.
- Aiming at the street. Symptom: neighbors complain, drivers flinch, the mailbox is still dim. Cause: the beam points forward. Fix: tilt down and back until the bulb is not visible from the road.
- Lamp too dim. Symptom: you can see a glow but not read the address. Cause: under 100 lumens for the job. Fix: match output to the table above rather than adding more fixtures.
- Mounted too high. Symptom: a small bright circle on the ground with darkness around the mailbox. Cause: the fixture sits above 7 feet, spreading the light too thin. Fix: lower it so the beam concentrates on the box.
- Switch left on during charging. Symptom: first night is good, then it never recovers. Cause: the fixture ran all night, so the battery started each day empty. Fix: leave the switch OFF for two or three full sun cycles.
- Sealed battery and panel. Symptom: dim or dead after a season, no way to fix it. Cause: non-replaceable cells. Fix: buy a fixture with a replaceable battery from the start, or accept that you will replace the whole unit.
- Excessive glare and light spill. Symptom: a lit window across the street and more bugs than light. Cause: cool color temperature and no shielding. Fix: warm white under 3000K, a downward aim, and a shielded housing.
One more worth knowing: many fixtures have three modes, and the brightest one is the shortest lasting. Middle mode is usually the right setting for a mailbox, since you want usable light for hours, not a flash for twenty minutes.
Frequently Asked Questions
Can you put a light on a mailbox?
Yes, as long as it is your mailbox and the fixture does not interfere with the carrier’s access. Avoid drilling into the mailbox body itself, since that is where water collects and cracks the housing. Mount on the post, the side of the box, or a nearby wall instead. If you have sent or received mail through this box, check with your postal branch first.
Should solar lights be on or off while charging?
Off. Most solar fixtures ship with the switch on, which lets the battery drain overnight so it never stores a full charge. Leave the switch in the off position for the first two or three full days of direct sun. After that, set it to auto or the mode you want and it will switch on at dusk by itself.
How long do solar post caps hold a charge?
A well-matched panel and battery in good sun will run all night, often 8 to 10 hours. A small panel with an undersized battery may manage 4 to 5 hours, which usually means the light fades out well before midnight. Runtime is set by panel size and battery capacity, not by the lumen rating, so check both before buying.
Do solar mailbox lights work in winter?
They do, but runtime shortens. Winter days are shorter and the sun sits lower, so a panel collects less energy and cold reduces battery output. A fixture that runs all night in June might manage 4 to 6 hours in December. Expect dimmer, shorter output and keep the panel clear of snow and ice.
How bright should a mailbox light be in lumens?
Around 100 to 300 lumens handles a single mailbox, the door, and a readable house number from 40 feet away. Under 100 lumens is fine for a house number panel alone. A cluster mailbox bank needs 300 lumens or more. Going past that rarely helps and usually just adds glare and neighbor complaints.
Conclusion
Start by spending one day watching the shadows on your mailbox post. That single observation tells you whether solar will work at all and where the panel belongs. Then pick a fixture in the 100 to 300 lumen range with a replaceable battery, mount it 5 to 7 feet up, aim it down and back, and test it after dark from the road.
Most of the work is in that aiming, not the drilling.