The fastest way to fix an address nobody can read after dark is to put a small light on the viewer’s side of the digits and leave it on a dusk-to-dawn sensor. Most people need about an hour, no electrician, and no new wiring.
A porch light alone rarely does the job. It sits too high, points down at the door, and leaves the numbers in shadow. Couriers and paramedics both describe the same problem in forums: getting out of the car and walking the driveway hunting for digits that are perfectly visible at noon.
This guide walks through the four power options that actually work, the placement rules that stop glare, and the dusk test to run before you commit. Updated for 2026.
Table of Contents
- What You Need
- Step-by-Step: How to Light House Numbers at Night
- Step 1: Choose Where to Light House Numbers at Night
- Step 2: Choose Solar, Battery, or Wired Illumination
- Step 3: Mark and Mount the Fixture
- Step 4: Connect the Light Safely
- Step 5: Test and Adjust the Beam
- Common Mistakes
- Frequently Asked Questions
- What is the best light for house numbers at night?
- Do solar house-number lights work well in winter?
- Can I install a light for house numbers without running electrical wire?
- How bright should an exterior light be for house numbers?
- What weather rating should an outdoor house-number light have?
- Conclusion
What You Need
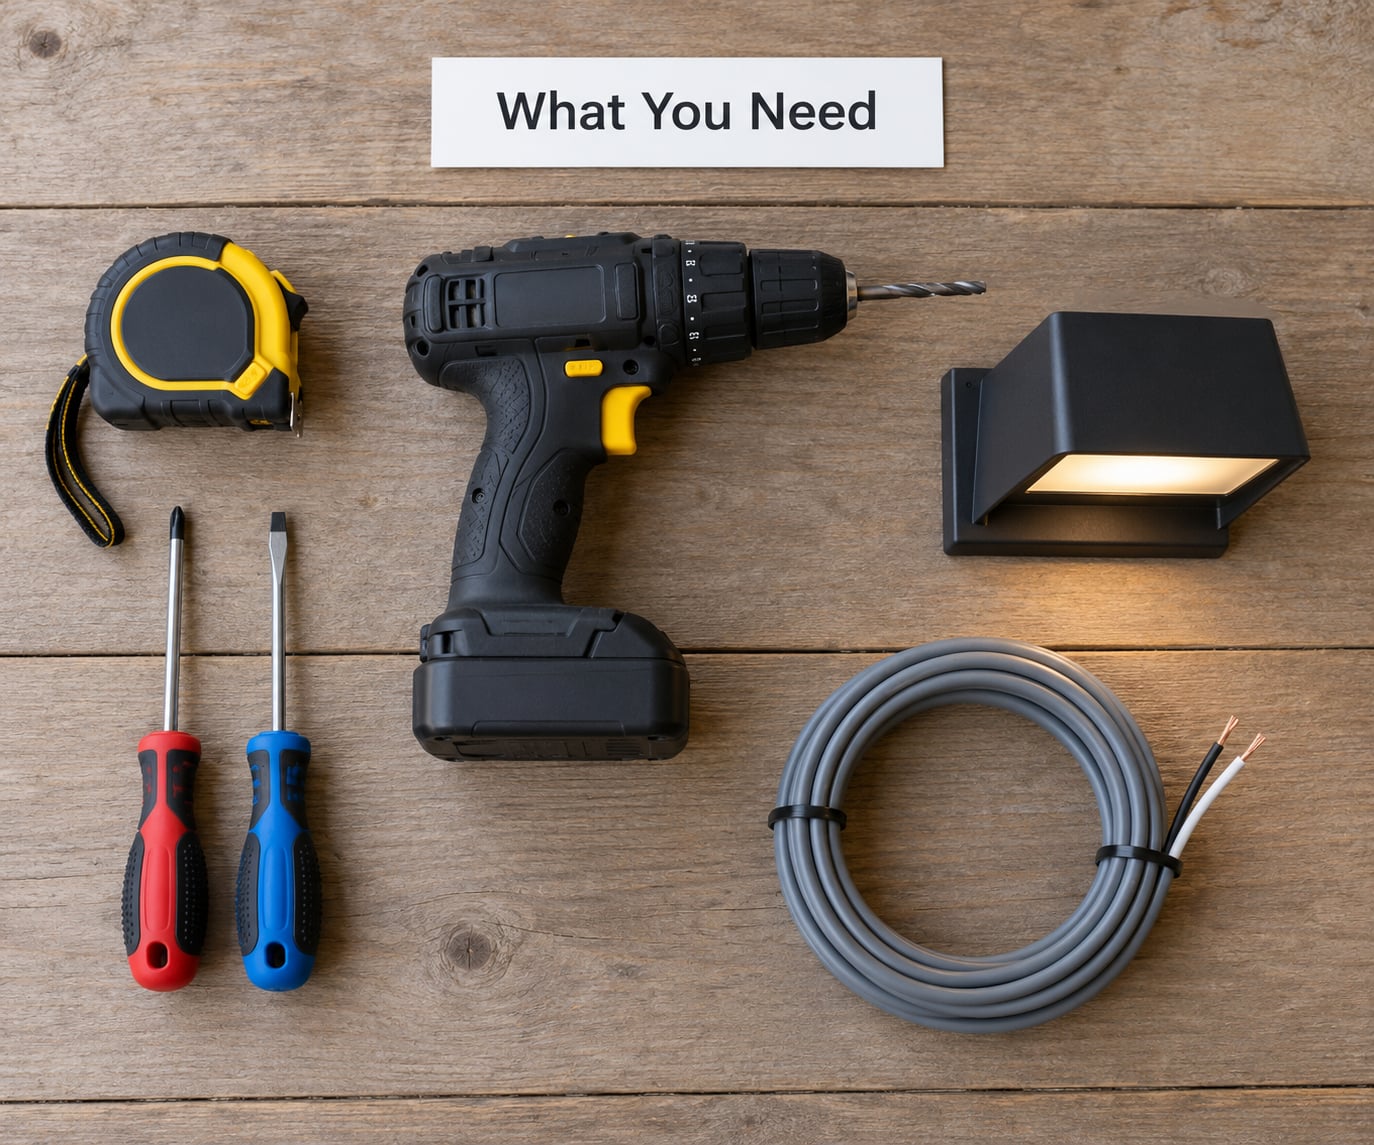
Start with the measuring tape and a pencil. Almost every bad install starts because someone eyeballed the distance from the light to the digits.
- Measuring tape and pencil for marking the position on the wall or post.
- Drill plus the right bit for your surface: masonry bit for brick and concrete, a standard bit for wood, and a spade bit if a cable has to pass through siding.
- Exterior-rated fixings — stainless screws and a plastic anchor set for masonry, or a bonded mounting block for vinyl siding.
- Screwdrivers and wire strippers if you are running low-voltage cable or a hardwired fixture.
- A phone flashlight for checking depth behind the wall before you drill.
- A dusk-to-dawn fixture with an IP44 rating or better, and enough lumens to reach the numbers from the mounting point.
If the numbers sit on a long driveway or a mailbox column and you already run 12V landscape lighting, a low-voltage fixture from that existing transformer is all you need. No new power, no trench.
Step-by-Step: How to Light House Numbers at Night
Step 1: Choose Where to Light House Numbers at Night
Stand at the curb at dusk and look at your entrance the way a driver would. Then decide whether the numbers are readable at all before adding any light.
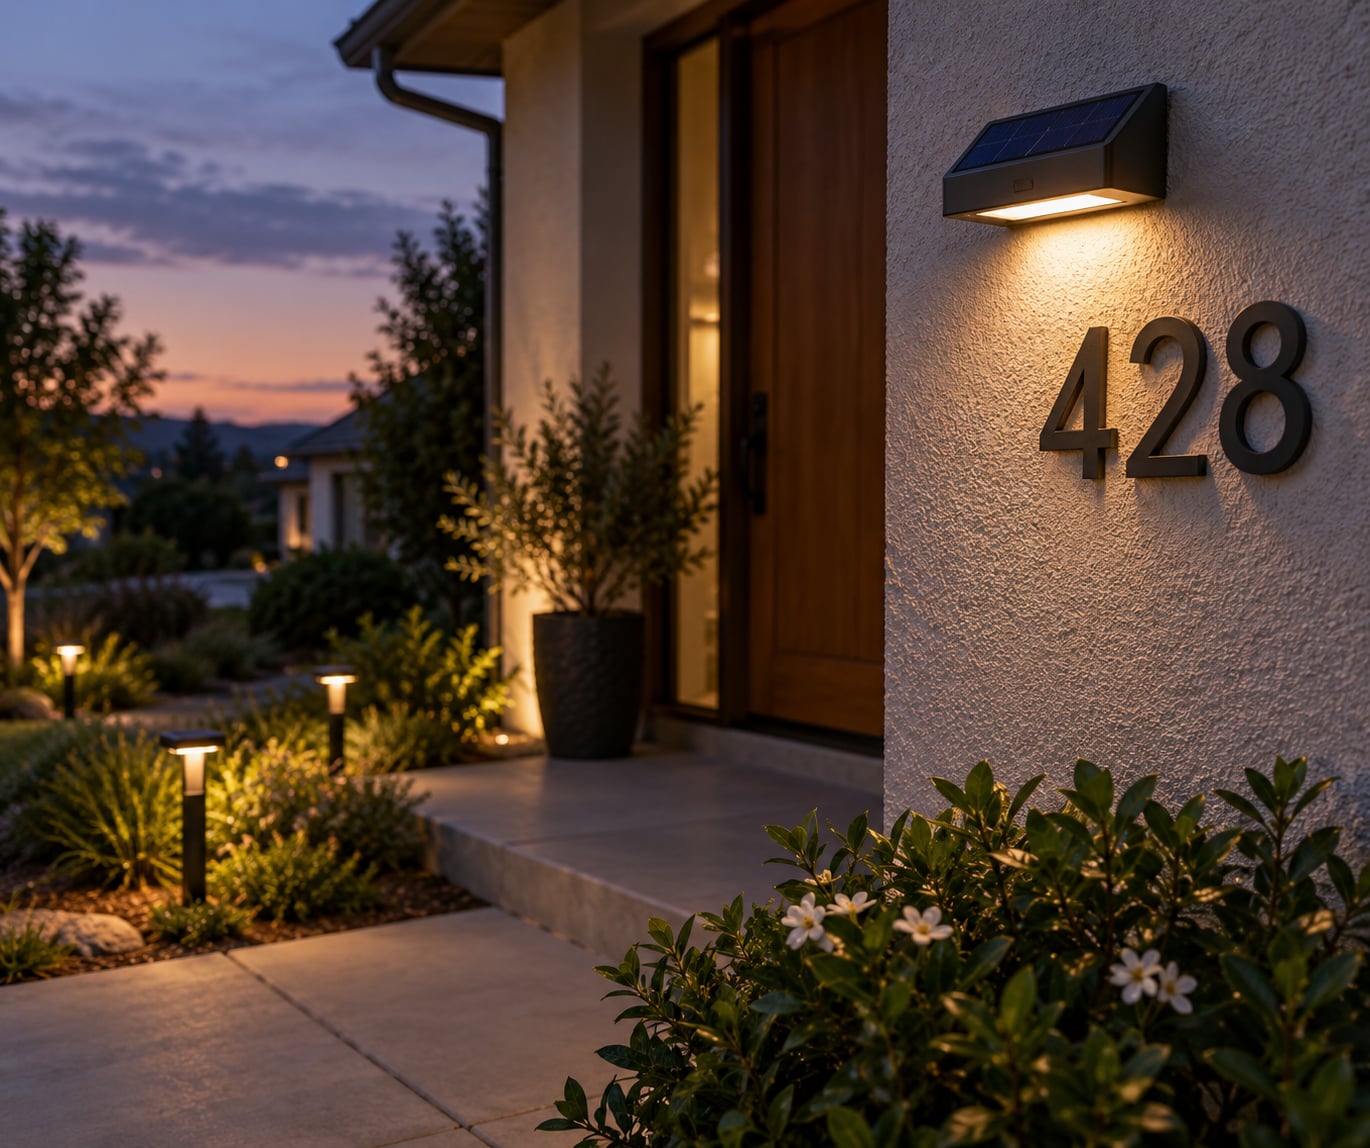
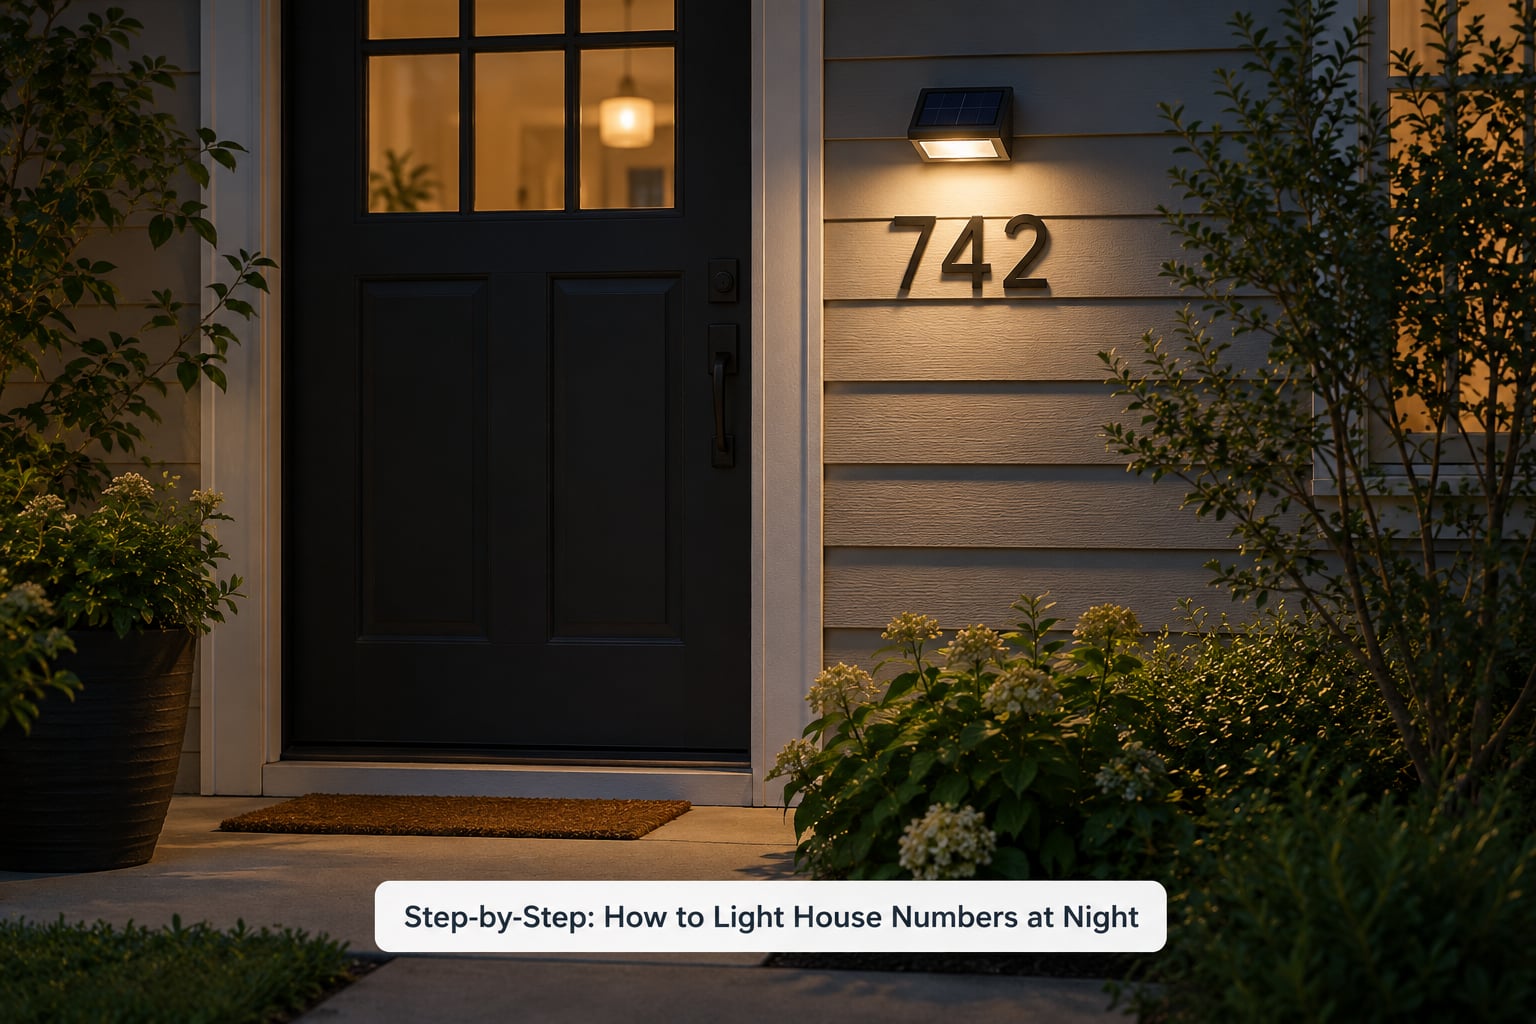
There is one placement rule that matters more than any other: the light has to come from the viewer’s side. A fixture on the fence behind the numbers leaves the front face dark, which is the single most common mistake people make. Lighting from above or from the side, angled down at roughly 30 to 45 degrees, is what reads well.
Aim to keep the beam off neighbouring windows and off the door itself. If your neighbours can see the glow from inside their kitchen, you have the angle wrong.
Step 2: Choose Solar, Battery, or Wired Illumination
Pick the power source before you pick the fixture, because it decides how the install goes.
- Solar — a small panel charges a battery by day and a photocell switches the LEDs on at twilight. Nothing to wire, nothing to permit, and it keeps working through a power cut. Weaknesses: it needs several hours of direct sun and a panel that is not shaded by a eave or a tree.
- Battery-operated — replaceable cells and a dusk sensor, no panel. Simple and renter-friendly, but you are changing batteries every season or two.
- Low-voltage landscape — a 12V fixture on the transformer you already own for the path lights. Cheapest option if the system exists, and it lights whatever numbers you have now rather than requiring new ones.
- Hardwired LED — constant power through concealed cable, no battery to fail. Brightest and most consistent, but this is electrical work. Switch off the breaker and hire a licensed electrician if you are not certain about any of it.
Renters should stop at solar or battery. Nobody is going to run conduit through a wall they do not own.
Step 3: Mark and Mount the Fixture
Measure the horizontal distance from the centre of the numbers to where the light will sit, then mark both ends of that line with pencil. Transfer the position to the wall or post with a level.
Before you drill anywhere, run a flashlight along the wall and check the drill bit will not meet wiring, a water line or a stud you needed to hit. Drill a shallow exploratory hole if the surface is hidden behind anything.
Then match the fixing to the surface. Masonry anchors for brick and concrete; a screw into a stud or a rail for wood; a bonded mounting block or adhesive on vinyl siding, which will crack around any screw hole.
Step 4: Connect the Light Safely
For solar, position the panel where it gets unobstructed daylight — usually the top or the side of the fixture, facing away from the building. Give it a full day of sun before you judge the output, because a unit straight out of the box may be flat.
For low-voltage, run the cable from the transformer to the fixture, keep the connections above ground inside a rated box, and add a drip loop so water runs off instead of into the entry point.
For anything hardwired: shut off the breaker, test that the circuit is dead with a non-contact voltage tester, and let a licensed electrician take it from there if you have any doubt. Check whether a permit is required in your area before you start.
Step 5: Test and Adjust the Beam
Wait for the first real dusk rather than testing at noon. Stand where a vehicle would stop, roughly where you park, and ask whether you can read every digit without leaning forward.
If one digit stays dark, the beam is too narrow — move the fixture back rather than closer, or swap to a wider flood. If the numbers look washed out, reduce the angle so the light grazes the face instead of staring into it. Two small adjustments usually fix what one big one cannot.
Common Mistakes
Each of these comes up repeatedly in homeowner threads, and each has a simple correction.
- Lighting the numbers from behind. The face stays dark, so the whole install does nothing. Move the light to the viewer’s side.
- Pointing the beam into eyes. A fixture aimed straight out at the curb dazzles anyone who looks up. Angle it down and shield it.
- Using an indoor or non-weather-rated fixture. Look for an IP44 rating minimum outdoors, IP65 if it takes rain head-on. Water behind the face is the number one failure.
- Putting the solar panel in shade. A north-facing wall or under a deep eave will not charge the battery. Relocate the panel or switch to a wired fixture.
- Forgetting battery replacement. If the numbers fade each winter and recover in spring, the cells are the problem, not the panel. Replace them or move to hardwired.
- Running wiring without checking local rules. Exterior cable runs and new circuits can need a permit. Look it up before you pull any cable.
- Making the digits too small for the viewing distance. Bigger is safer than brighter. For a house set back from the road, 6 to 8 inch digits read more easily than small ones under a stronger lamp.
Frequently Asked Questions
What is the best light for house numbers at night?
A small solar or low-voltage LED flood aimed at the digits from the viewer’s side is the best light for house numbers at night. Angle it down at about 30 to 45 degrees rather than straight out, and keep it shielded so it does not glare. If you already run a 12V landscape system, reuse that transformer.
Do solar house-number lights work well in winter?
They work, but output drops. Winter days are shorter and the panel charges less, so a unit sized for summer may run dim or shut off after a few cloudy weeks. Give the panel full, unobstructed daylight and clear snow and leaf debris off it each season. In deep shade or long winters, a low-voltage fixture is the more dependable choice.
Can I install a light for house numbers without running electrical wire?
Yes. Solar fixtures and battery-operated lights both need no wiring at all, which makes them the practical option for renters and for finished walls you would rather not open. Low-voltage fixtures also avoid mains power, though they still need a cable run back to a 12V transformer somewhere on the property.
How bright should an exterior light be for house numbers?
Enough to read the digits from where a vehicle stops, and no more. A narrow flood or wall light in the low tens of lumens is usually plenty at 3 to 6 feet. Very bright fixtures wash out the contrast between digits and backing, so more output is not better. Test at dusk from the curb and judge from there.
What weather rating should an outdoor house-number light have?
Look for IP44 or higher, which means it is protected against solid objects and splashing water. If the fixture sits on an exposed wall, post or mailbox column and takes rain directly, go for IP65. Check the rating before mounting rather than after the first leak, since water behind the digit face is what ruins the unit.
Conclusion
Walk out to the curb after dark first and watch where the existing light falls. Most of the time, the fix is a single small fixture moved to the viewer’s side of the digits, on a dusk-to-dawn sensor, with no wiring at all.
If the numbers are far from the door or the entry is shaded, choose solar and give the panel a full day of sun before judging it. Anything hardwired goes through a licensed electrician. That is the whole job.